10.6.5 Printer
Printers are essential for POS systems, as they generate the required cash register receipts and invoices for transactions. Under the Printer section, you can configure various printer functions, including whether a printer is required for POS functionality, receipt header and footer configuration, PDF and HTML format options, and at which transaction steps the printer should operate and how. While some settings have default values that can be adjusted, some are best left unchanged. If you need assistance or have any questions, please contact our support team.
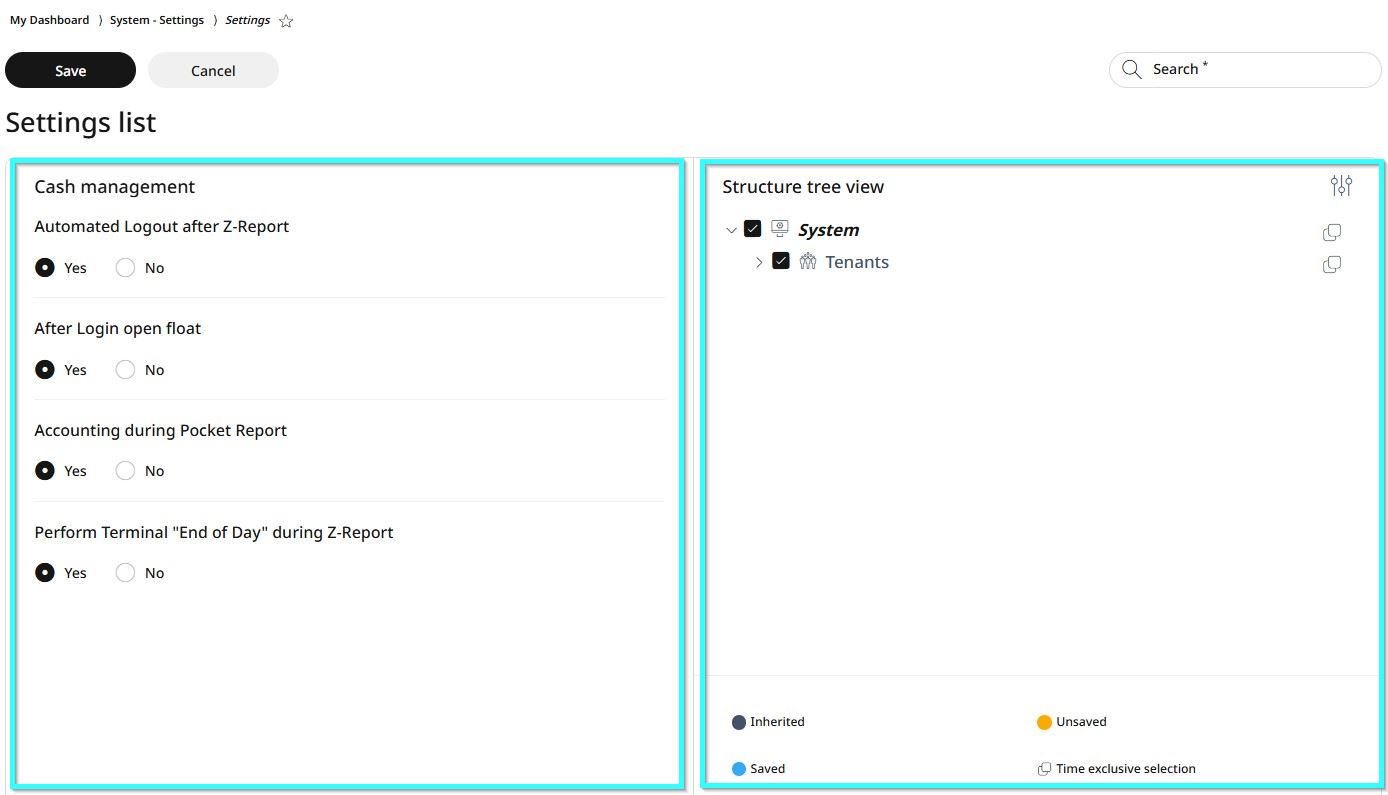
Some setting view is divided into two panels: on the left, you can configure the setting options, while on the right, the structure tree allows you to specify which levels these settings apply to. This enables different settings to be assigned to each branch of the tree, down to individual devices.
Using the Structure Tree View
Click the settings icon in the upper right corner to open the full tree view.
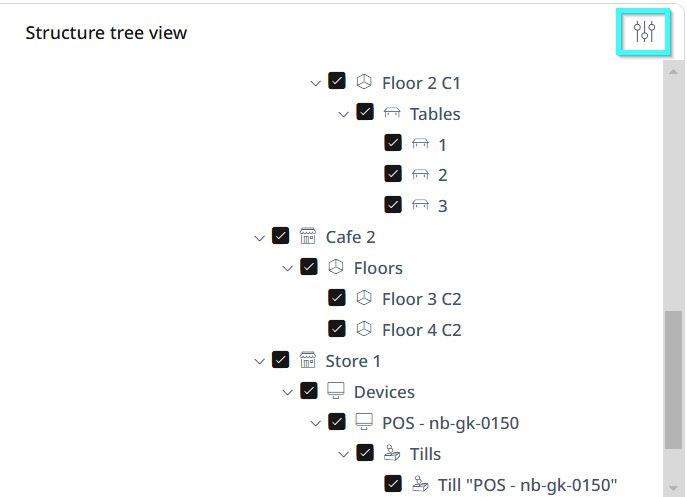
By default, all levels are selected. Scroll down to find the level where you want to apply changes.
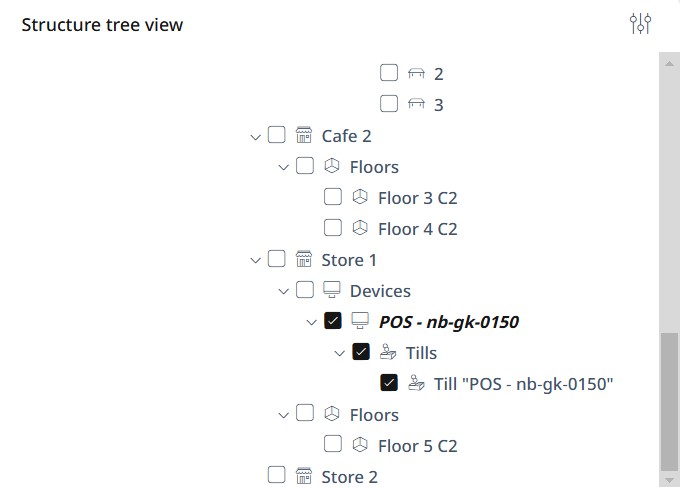
Click the checkbox next to that level to deselect all levels.
Click the checkbox again on the specific level where you want the new settings applied. Now, only this level is selected.
Now go to the right-side panel, configure the new settings and click Save, or select Cancel to discard changes.
Settings list
PDF print
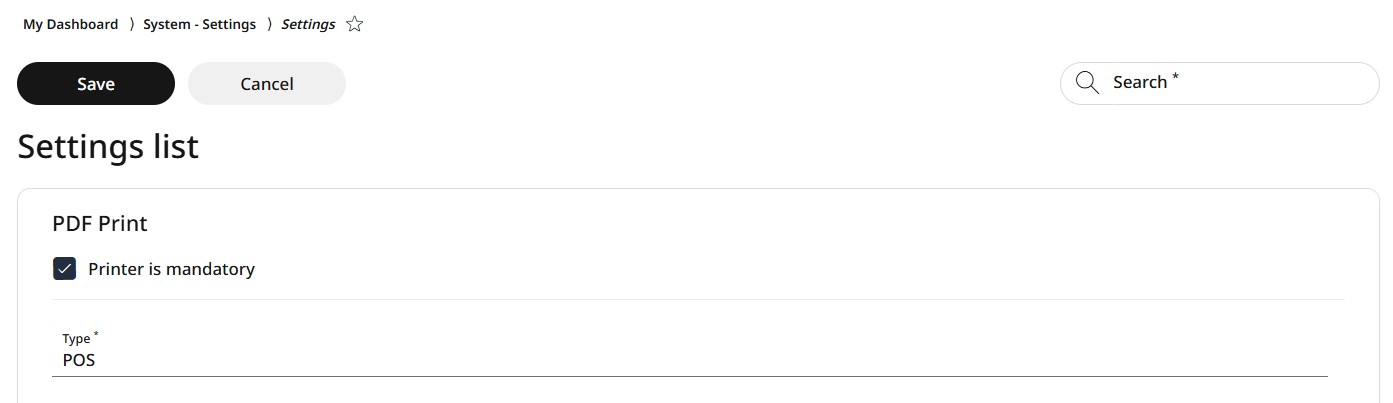
Under PDF print settings, you can enable or disable whether a PDF printer is mandatory for transactions and assign the type of device where it is used.
HTML printer
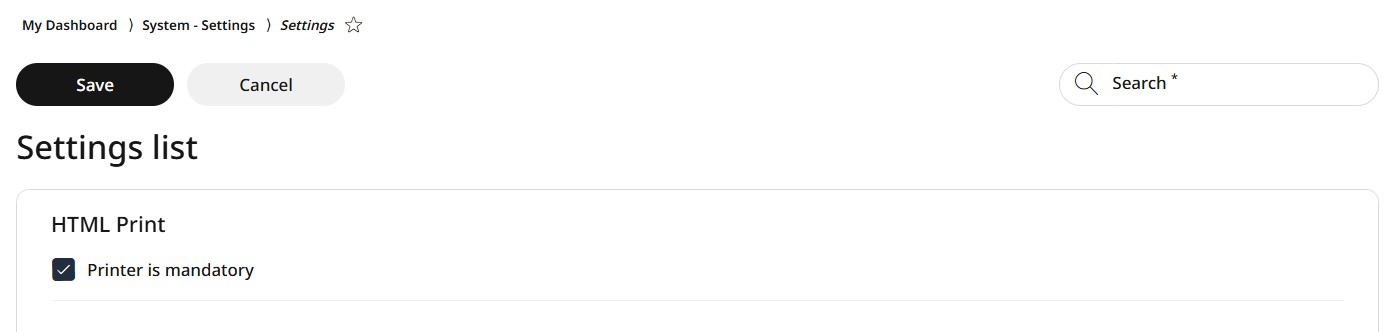
Under HTML print settings, you can enable or disable whether a HTML printer is mandatory for transactions.
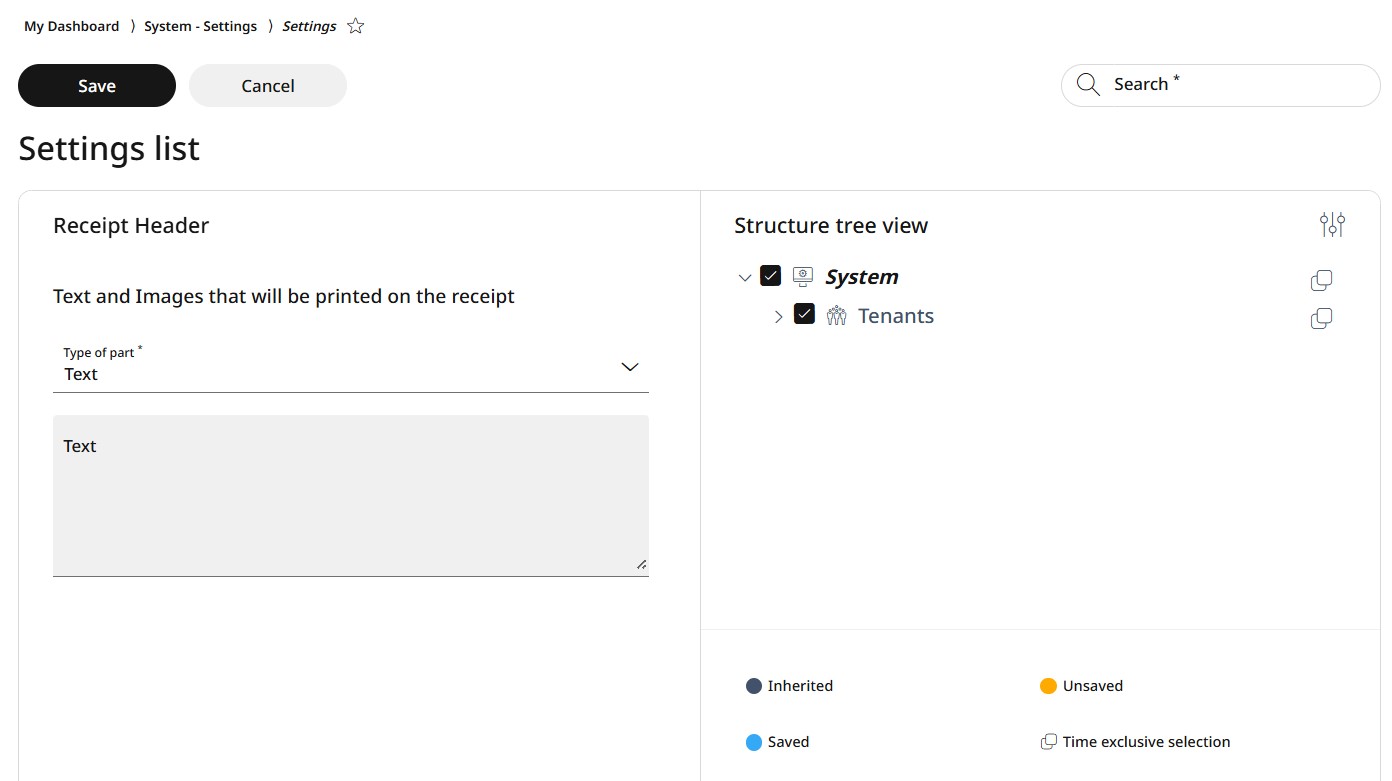
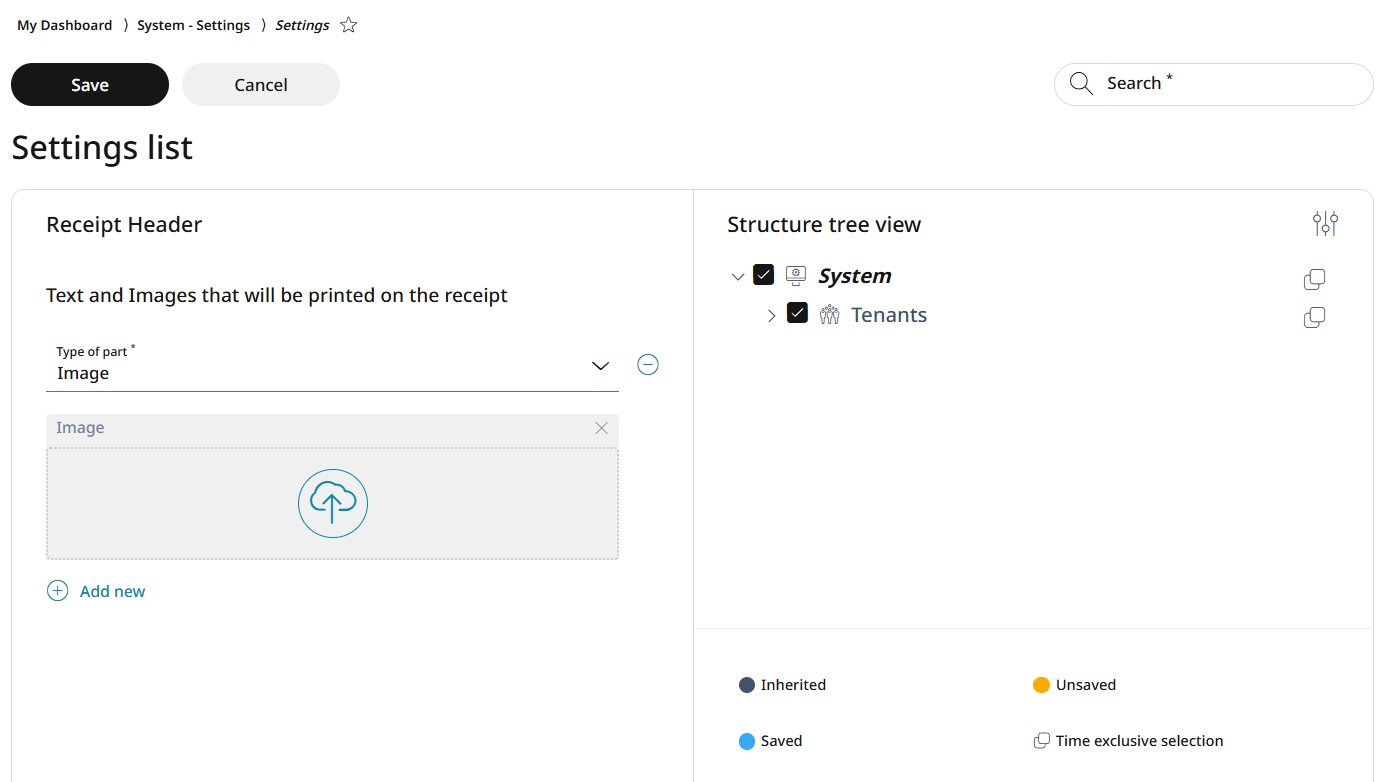
Receipt header
Under Receipt header settings, you can upload texts and images that will be printed on the receipt header.
If you select Text from the dropdown menu, you can manually enter the desired text in the provided field.
If you select Image, you can upload an image by dragging and dropping the file into the upload field.
To apply changes, first follow the steps in the right-side panel as explained in the Using the Structure Tree section. Then, make the necessary changes in the left-side panel and click Save.
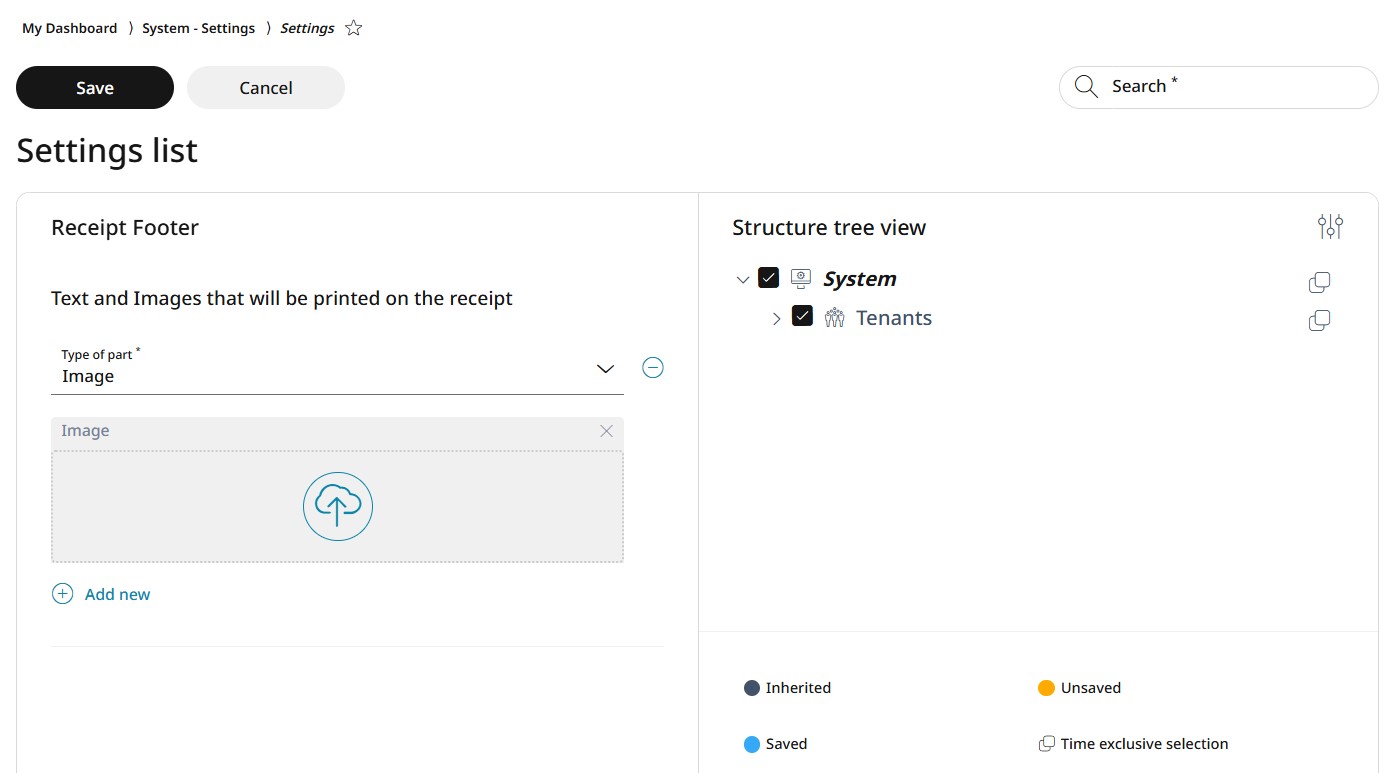
Receipt footer
Under Receipt footer settings, you can upload texts and images that will be printed on the receipt footer.
If you select Text from the dropdown menu, you can manually enter the desired text in the provided field.

If you select Image, you can upload an image by dragging and dropping the file into the upload field.
To apply changes, first follow the steps in the right-side panel as explained in the Using the Structure Tree section. Then, make the necessary changes in the left-side panel and click Save.
Control transaction
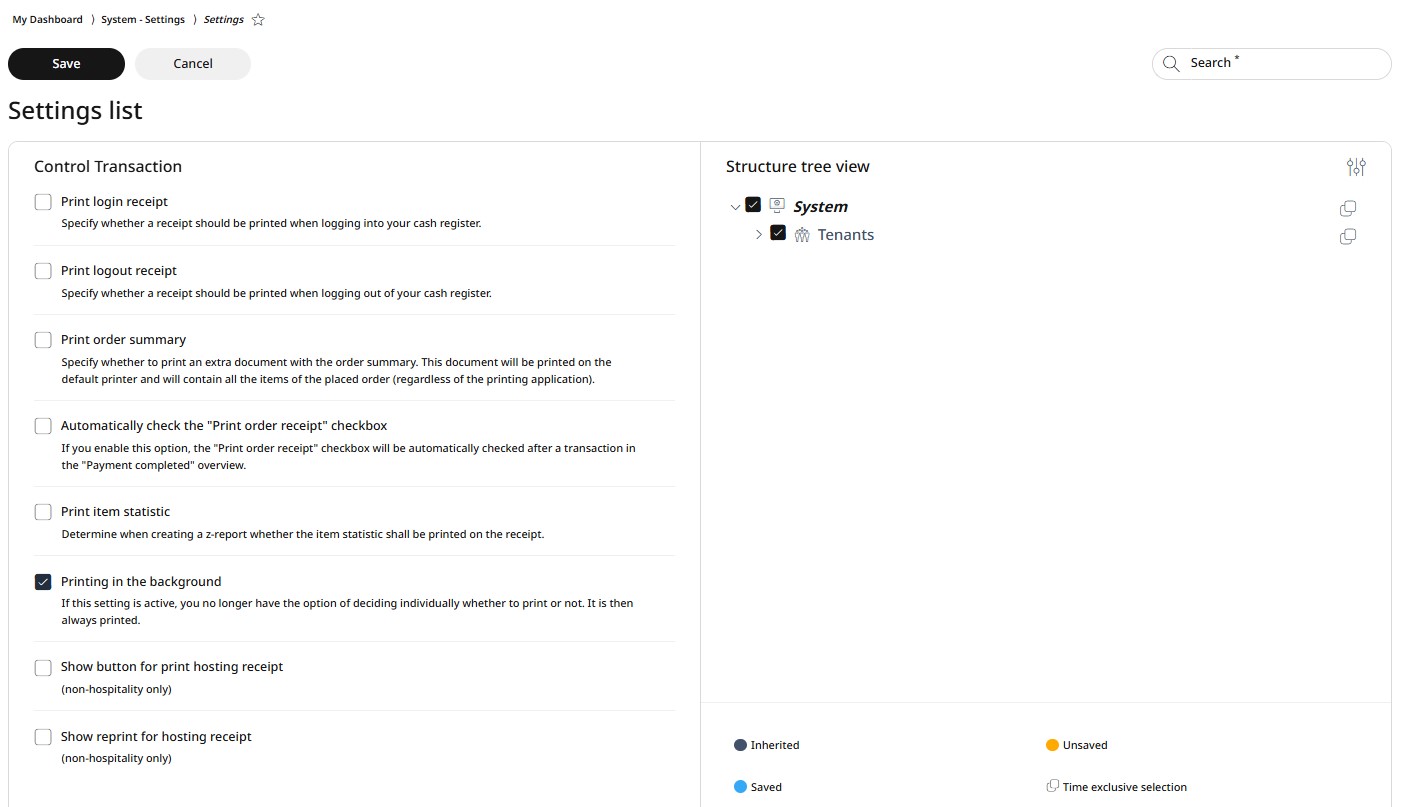
Under Control transaction settings, you can manage, enable or disable the following:
Printing a login receipt when logging into a cash register
Printing a logout receipt when logging out of a cash register
Printing of an order summary, containing all the items of the placed order
Automatically checking the "Print order receipt" checkbox after a transaction in the "Payment completed" overview
Printing item statistic (when creating a Z-report)
Printing in the background
Showing the button for print hosting receipt (for non-hospitality businesses only)
Showing reprint for hosting receipt (non-hospitality businesses only)
To apply changes, first follow the steps in the right-side panel as explained in the Using the Structure Tree section. Then, make the necessary changes in the left-side panel and click Save.