4.1.3 Item groups
To maintain an organized and clear view of the items in your business, item groups can be created. These groups allow you to assign items to specific categories, resulting in a more structured and logical arrangement of your inventory.
For instance, if you create an item called "Espresso," it can be assigned to an item group named "Hot Drinks." This approach helps in keeping the inventory well-organized and makes it easier to locate and manage items within the system.
You can view the item groups assigned to specific items by navigating to Menu → Masterdata → Items → Item list. Here, you can search for an item by name, confirm your search, and see the item along with its assigned group displayed in the overview. This functionality ensures an easy and efficient way to manage your inventory and enhance the clarity of your item selection.
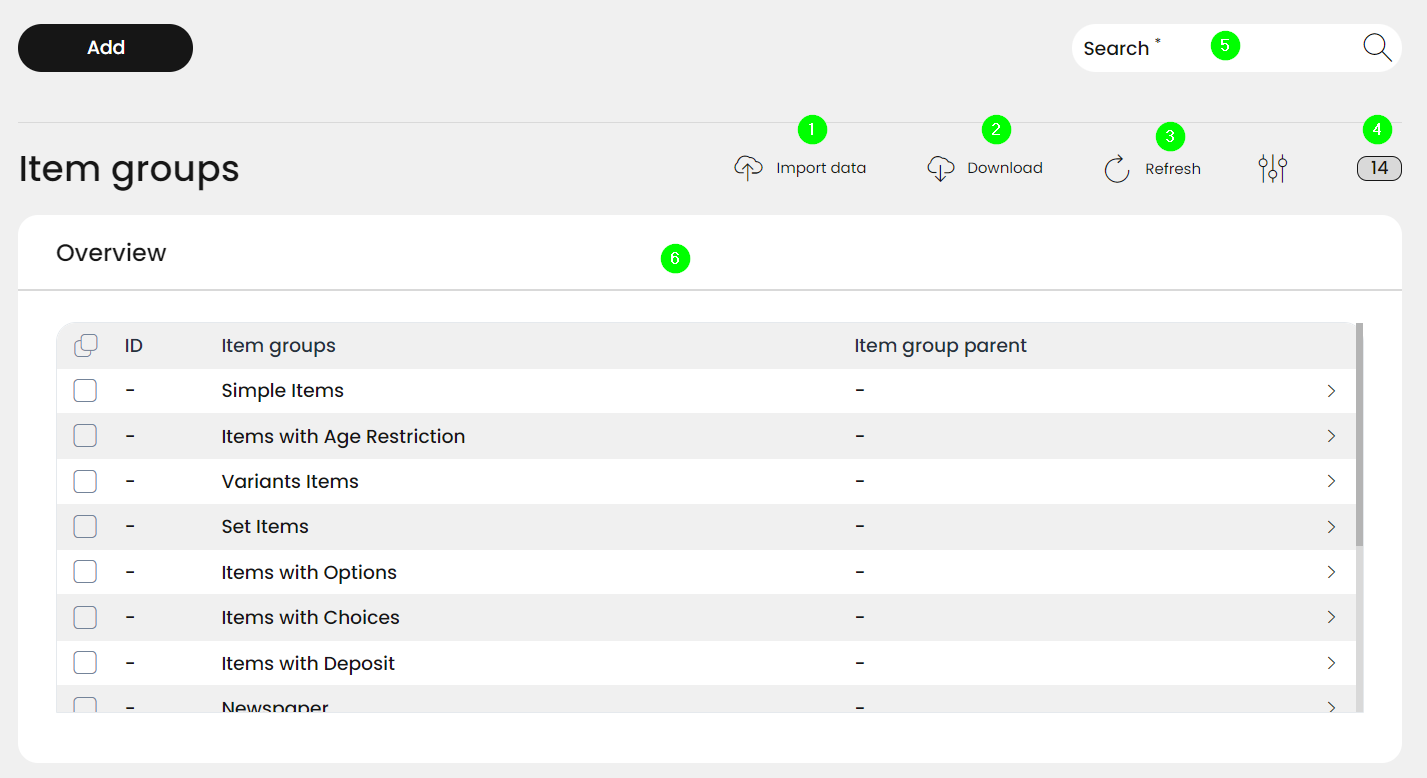
Import item groups
Download item groups
Update item groups list
Number of item groups
Search items groups
Item groups - Information
Add new item groups
If a new element needs to be added to your item groups database, you can create it by clicking on the Add button. Also, if more than one new elements are to be created, there is an option for that by using the Create another checkbox.
Please note that all mandatory fields are marked with *, i.e. these fields must be filled in to create an item.
Here we explain how to add new item groups.
Open Menu → Masterdata → Items → Item group.
Click Add.
Add an item group ID.
With this ID the item group can be deposited uniquely in the system, since no item group receives the same ID. Therefore, it is possible to filter out item groups using the assigned ID with the help of the search function. The search is available after the item group has been saved successfully.
Give the item group a name.
The group name can be chosen freely, but it is important that a name with recognition value is assigned so that the group can be assigned after saving. With the name, the item group can be filtered out via the search function. The search is available after the item group has been successfully saved.
Assign the parent item group to the new item group.
With this function the item groups can be sorted in a unique hierarchy in the system. It is important that the parent group has a general name, such as "Beverages". Cold and hot beverages, for example, can then be assigned under this category. In this way, item groups can be easily assigned or found.
Click Save.
If you used the Create another option, the Add item group mask remains open so you can create and save the next needed new elements. The loop ends only when you remove the tick from the Create another checkbox before the last Save.
Edit item group
Please note that all mandatory fields are marked with *, i.e. these fields must be filled in to create an item.
With the help of this function, item groups can be configured after they have been successfully saved. Thus, it is possible to make changes to the groups at any time.
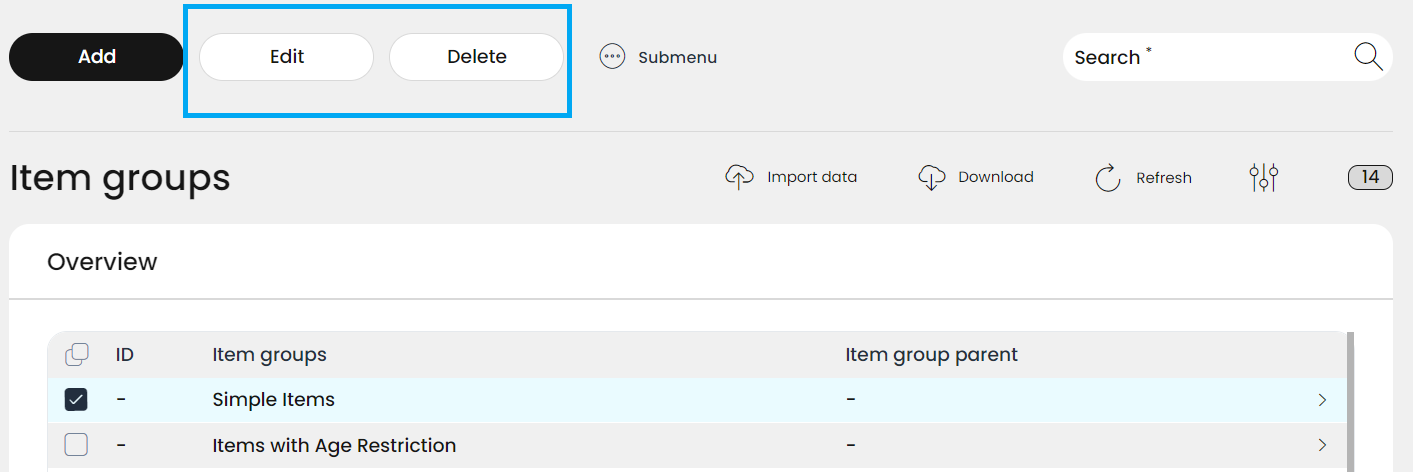
Select the desired item.
Click on Edit.
Make all necessary changes, which can be the following:
editing the ID number: the ID numbers are automatically assigned to the newly created item groups by the system.
editing the Item group name: this can be done
editing the Parent item group
Click Save.
Delete item group
Please note that all mandatory fields are marked with *, i.e. these fields must be filled in to create an item.
It is always possible to delete item groups if you decide to order your items another way.
Select the desired item group.
Click Delete.
Confirm it with Yes.
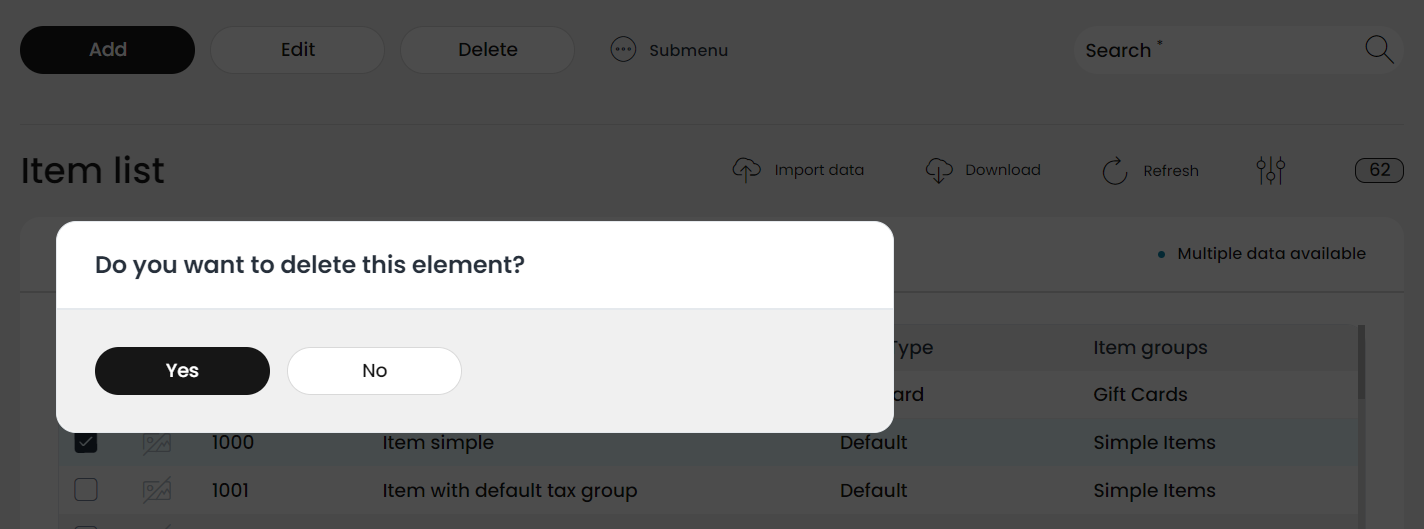
If you select No, the deletion process will be canceled.
Duplicate item group
When you have an item group, and you need an (almost) identical new one, you have the option to, instead of creating one from scratch, just duplicate an already existing one, and set it up with the needed differences.
For this, besides the Add, Edit and Delete buttons, there is a Submenu button on the top of the page, which has one function under it: Duplicate.
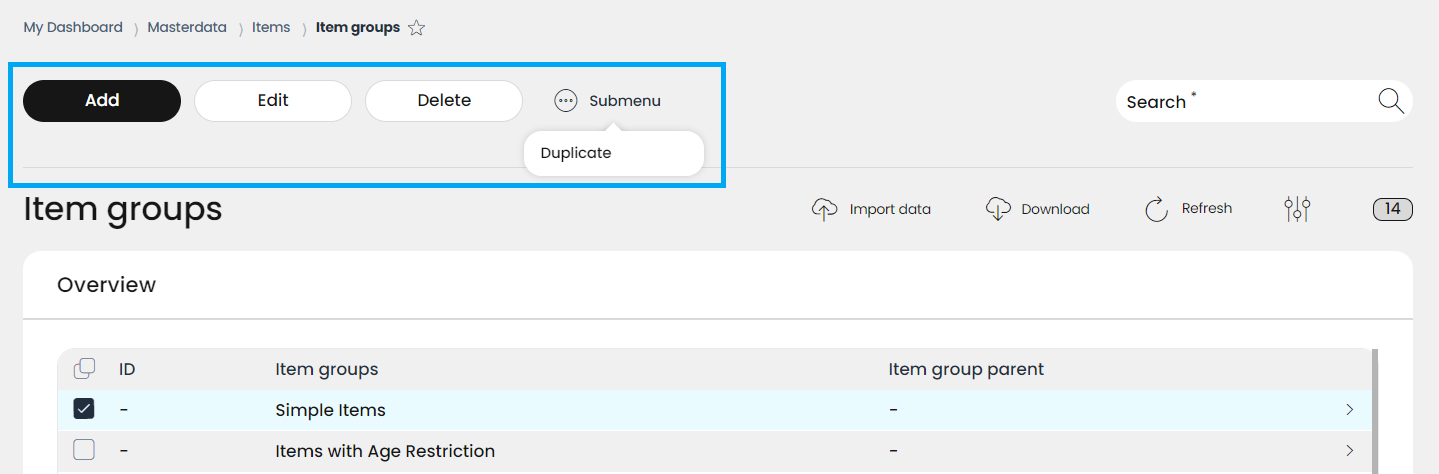
When choosing an item group and clicking on Duplicate, a new item group is created, which is identical to the original one, except the unique ID number. This duplicated item group will be added to the end of the item group list.
In case you would like to change any of the attributes of the new item group, you can use the Edit function, as it was already described above.
Additional role of item groups
Please be aware of the difference between item groups and item menus. While item menus allow the users to create menu buttons in the POS app, the same is not possible with item groups. So what are item groups for, then?
Besides giving better overview of the item selection, item groups are important when promotions and discounts are created and obtain a more delicate configuration of assigning promotions to not just items separately, but to whole item groups, if needed. More about creating and assigning promotions in the 9. Promotions chapter of this user documentation.
Item groups are also part of the reports. You can find a detailed breakdown of sales data of each item group under Reports -> Turnover -> per item group. You can create reports covering different stores and different periods of time, from the current day until current or last year (see more about this in the 7. Reports chapter of the user documentation).
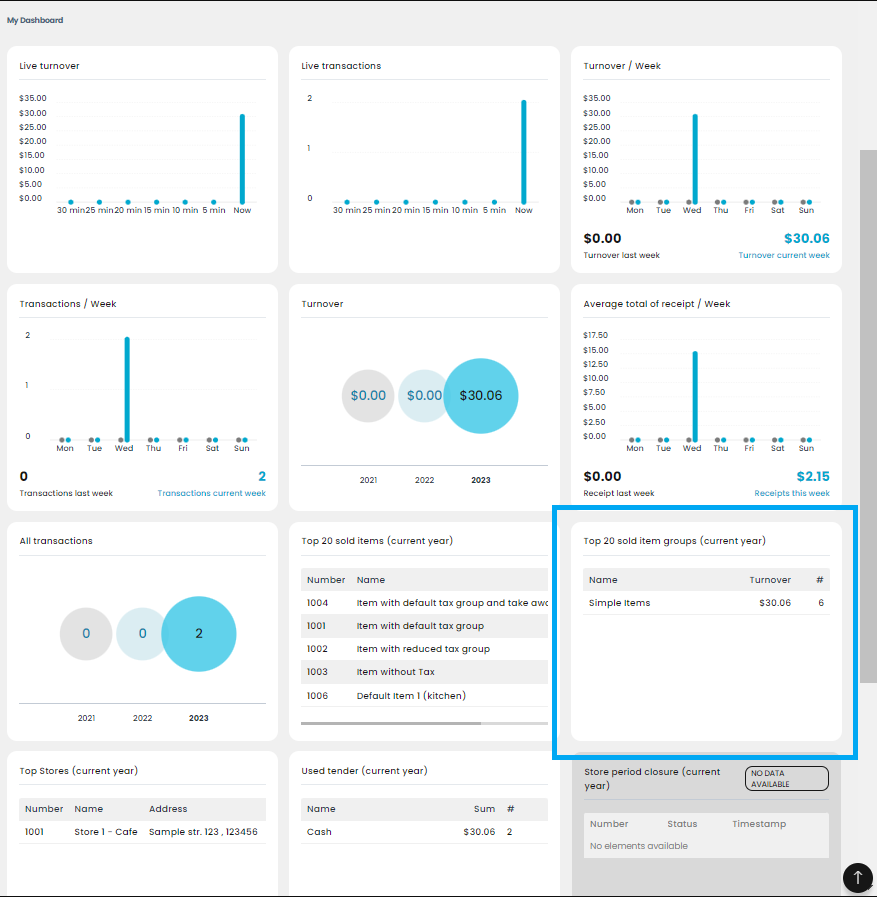
You can also see the top 20 sold item groups report on your dashboard, created from Reports: