6. Team calendar
The RETAIL7 system includes a Team Calendar function for seamless work schedule management. This feature displays shifts and assignments in a calendar view, with each employee in a separate column and schedules detailed in hours/minutes. You can filter by store and toggle between daily, weekly, or monthly views for better planning and oversight. Here's how to use it effectively.
When opening the Team calendar menu, the first view is the employee list.
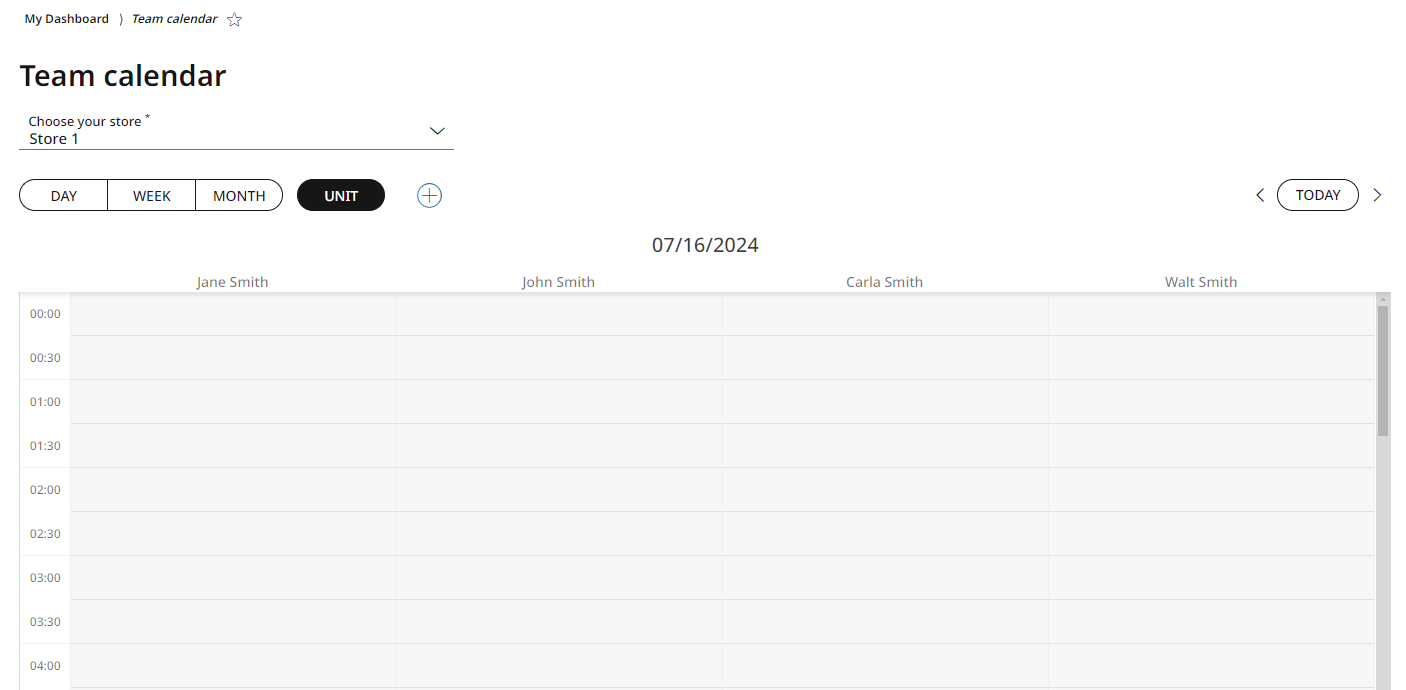
The default view displays the current day’s schedule for all employees of the first store in the units list (if multiple units exist and are created under My Organization → Units). You can switch to another unit using the dropdown menu.
Use the buttons on the left side of the header to switch the Team Calendar view to daily, weekly, or monthly. On the right side, navigate forward or backward through the selected time unit with the help of the < and > icons, or click Today to return to the current date.

Adding a new calendar entry
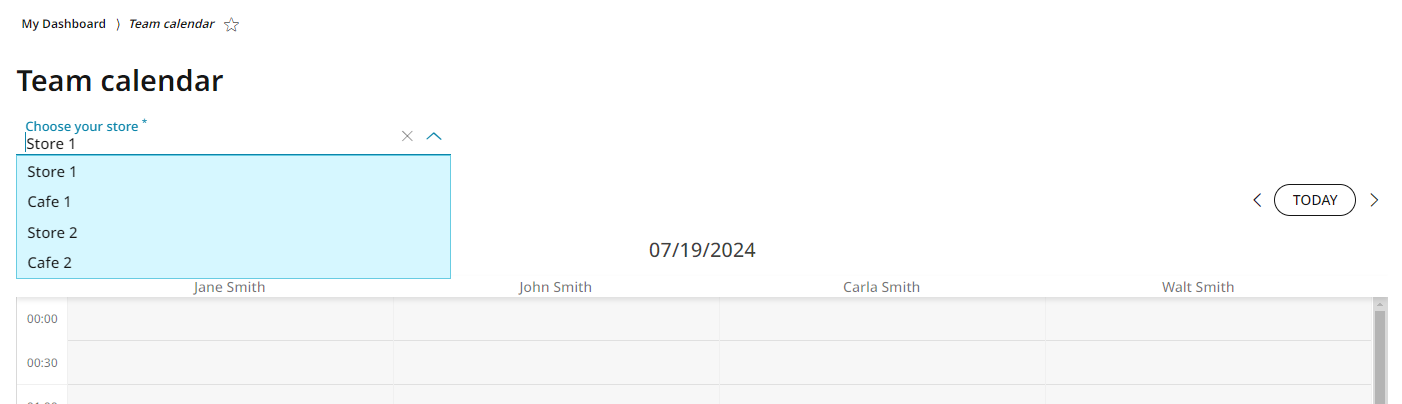
To add a new calendar entry, select the relevant location from the Choose your store dropdown menu.
Click the + button on the right side of the header bar, then fill out the pop-up window with the event's main details, such as its name and description.
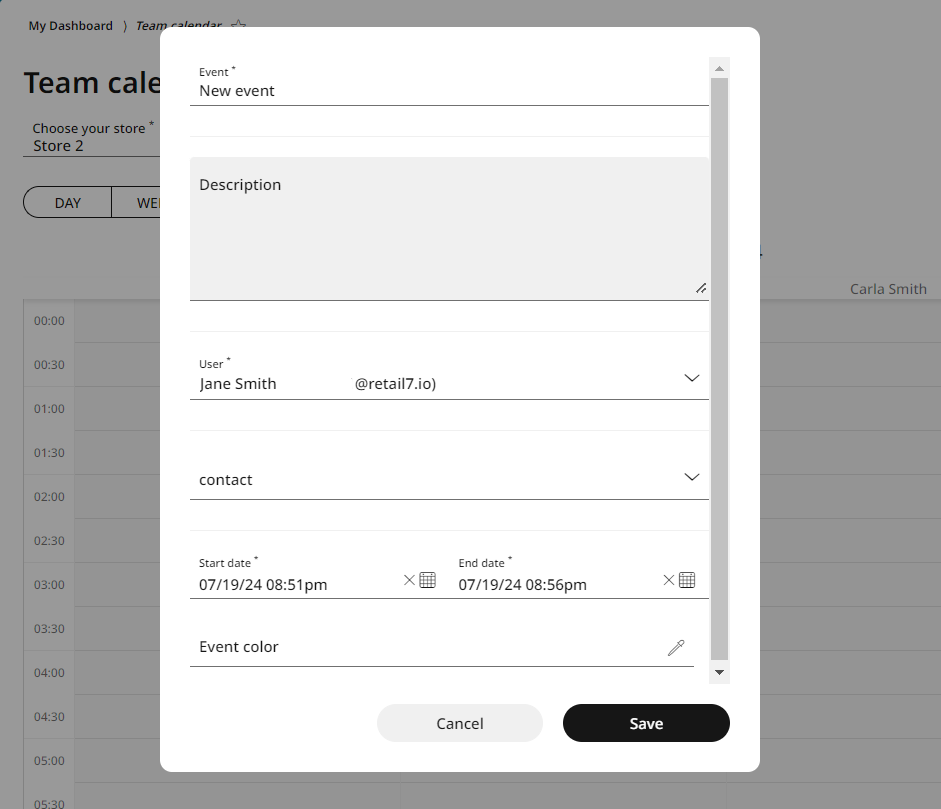
Select the user/employee from the scroll down list to whom it applies.
You can assign other contacts (such as customers, partners, or suppliers) to the event using the dropdown list in the next field. Note that these contacts must first be added to the contact list (refer to chapter 4.3.1 Contact list for details on adding contacts).
Define the start date and time and the end date and time of the event.
Select a color for the event if needed. Assigning different colors to event types helps quickly identify them on the calendar. You can choose a color from the palette using your mouse or enter its HEX code manually.
Please note: if you pick a colour, you have to Save it first within the colour tool window.
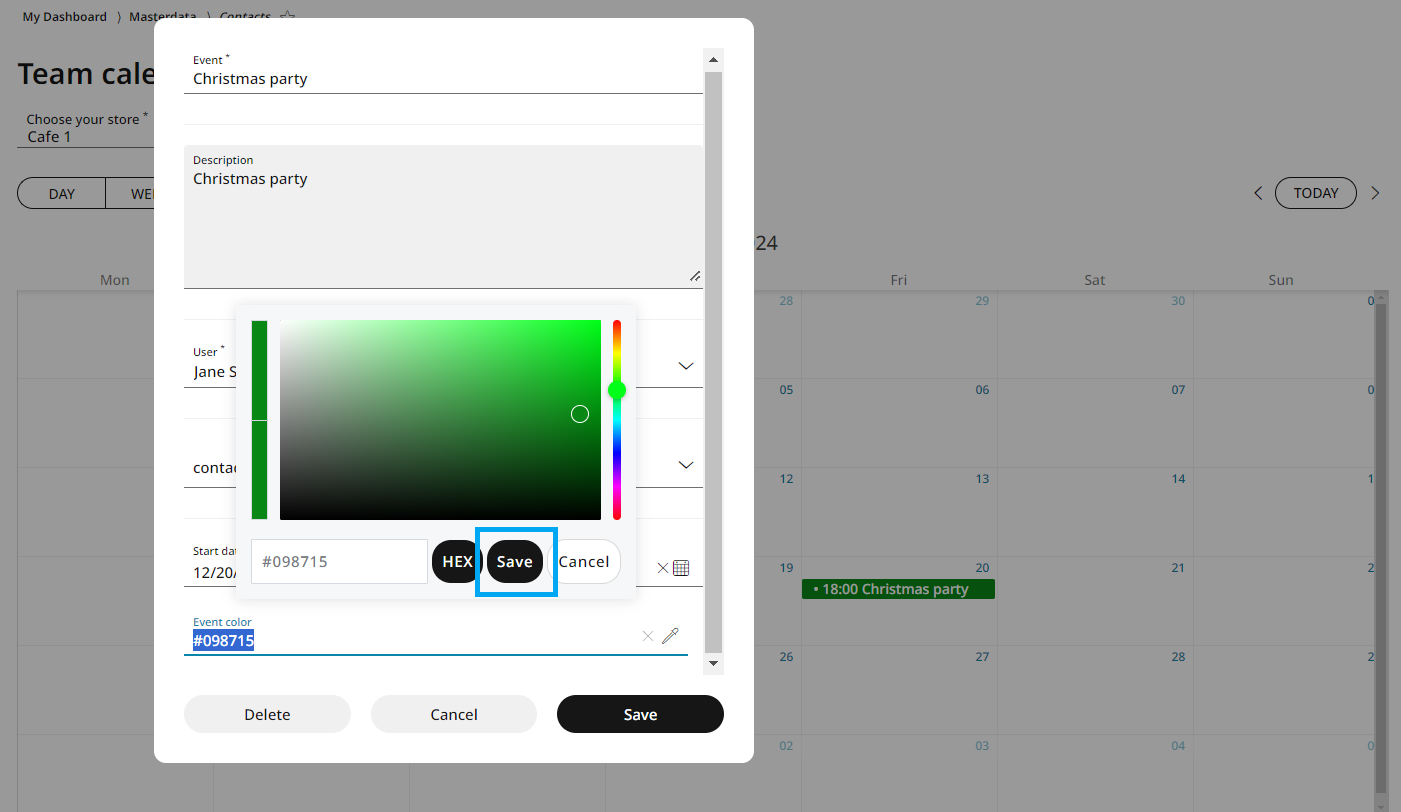
By clicking the Save button of the event editing window you can add the event to the team calendar. By clicking Cancel, the event is not saved.
Editing and deleting a calendar entry
To modify the date or time of an existing calendar entry, simply drag and drop it. Click and hold the entry (or tap and hold on a touch device), move it to the desired date and/or time, and release to place it.
In case you need to modify other than the date/time, double-klick on the entry to open it.
Make all necessary changes, e.g. rename the event, change the description, add or remove users or contacts, modify the date/time or the event color, etc. and click Save.
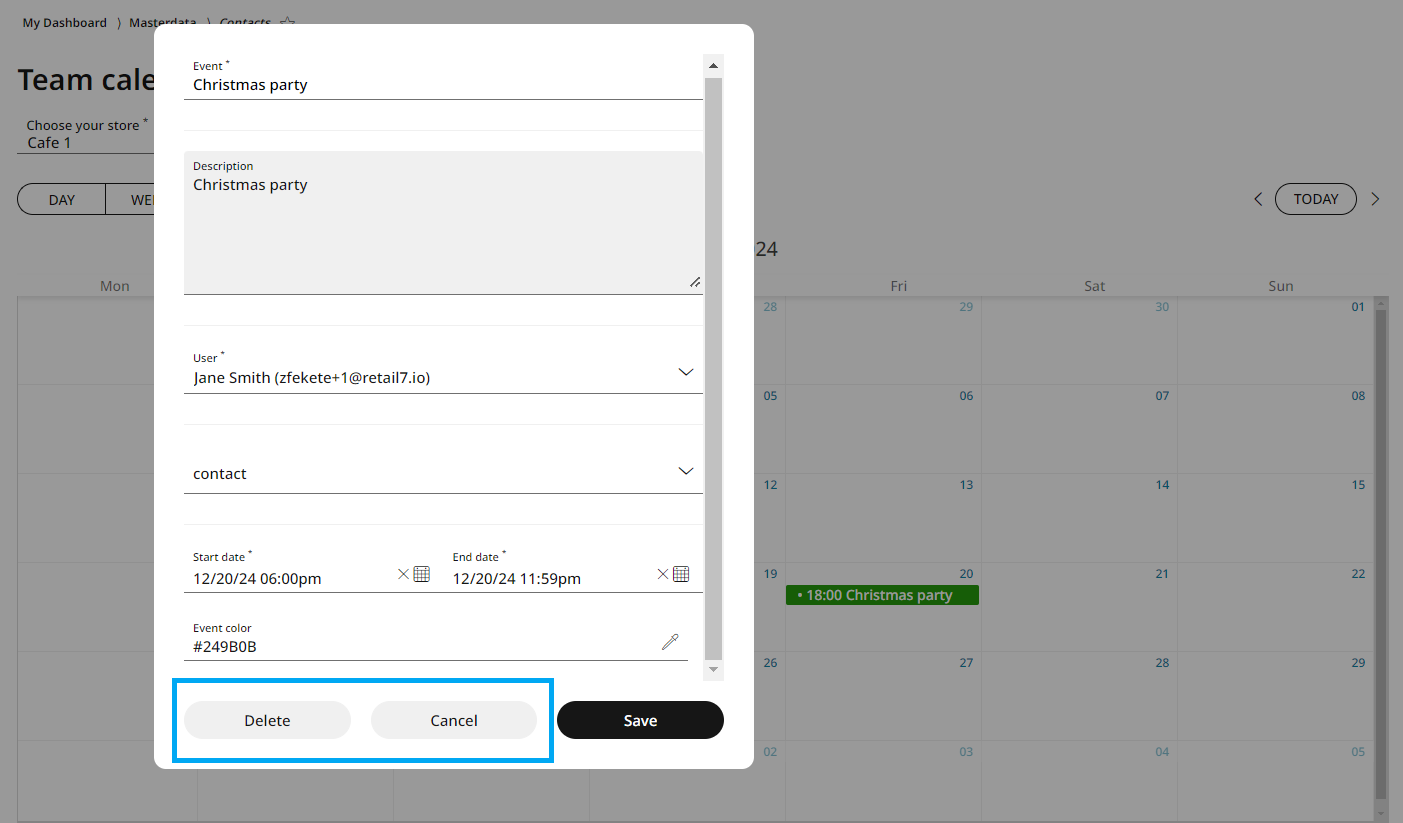
In case of deleting an event
Select the desired entry from the calendar and double-klick on it. Click on the Delete button at the bottom of the editor window.
If you click the Cancel button, the event will remain in the calendar without any changes.