10.6.8 Time controlled events
Under the Time Controlled Events section, you can configure various settings for time-based functions. While some settings have default values that can be adjusted, some are best left unchanged. If you need assistance or have any questions, please contact our support team.
Some setting view is divided into two panels: on the left, you can configure the setting options, while on the right, the structure tree allows you to specify which levels these settings apply to. This enables different settings to be assigned to each branch of the tree, down to individual devices.
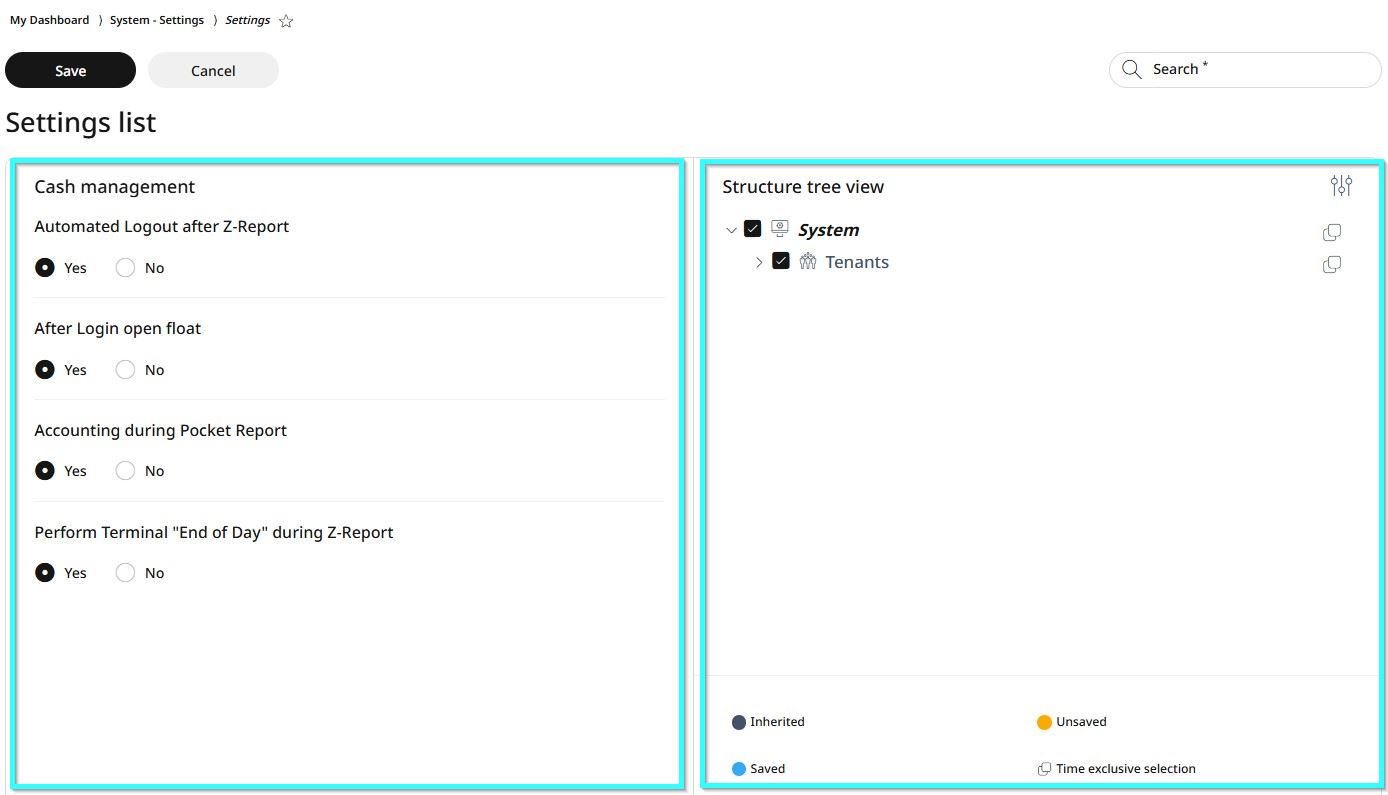
Using the Structure Tree View
Click the settings icon in the upper right corner to open the full tree view.
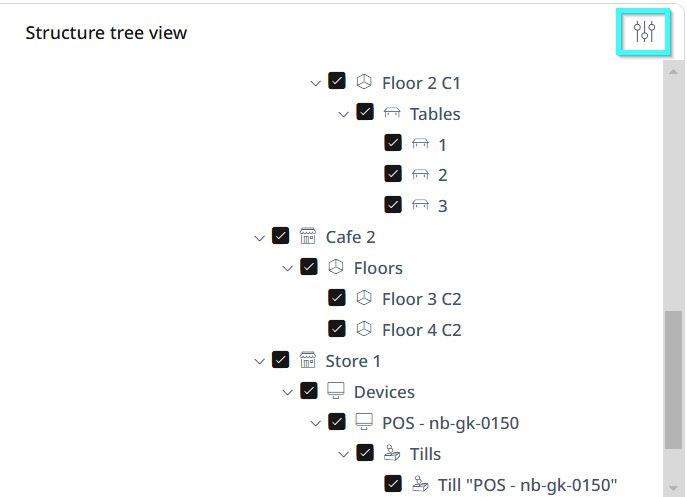
By default, all levels are selected. Scroll down to find the level where you want to apply changes.
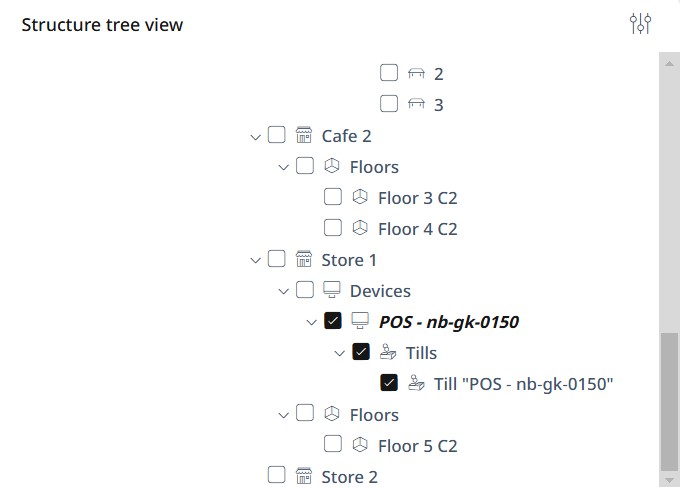
Click the checkbox next to that level to deselect all levels.
Click the checkbox again on the specific level where you want the new settings applied. Now, only this level is selected.
Now go to the right-side panel, configure the new settings and click Save, or select Cancel to discard changes.
Settings list
Timeout triggered events
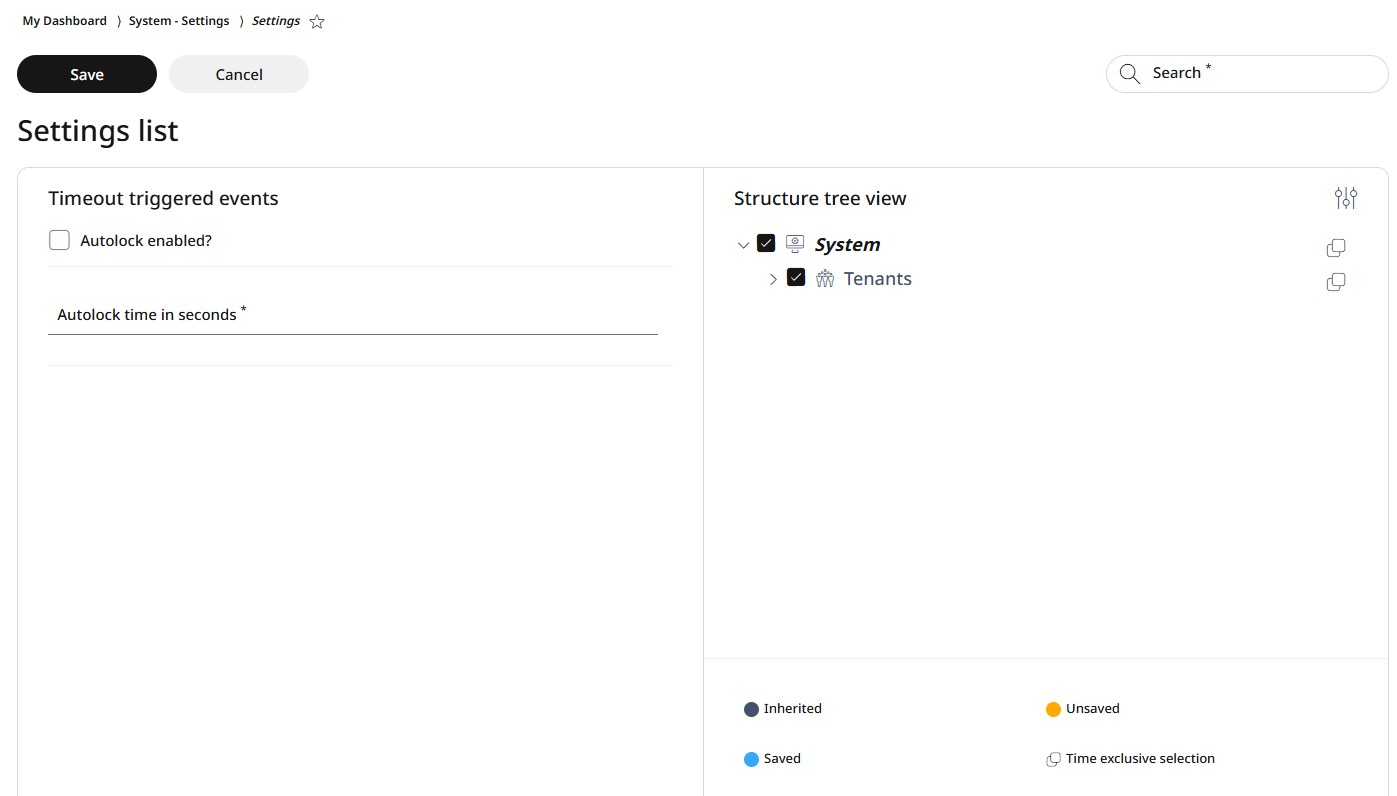
Under the Timeout triggered events section, you can enable or disable the autolock, and enter a value for the autolock time in seconds.
To apply changes, first follow the steps in the right-side panel as explained in the Using the Structure Tree section. Then, make the necessary changes in the left-side panel and click Save.
Automated End of Day
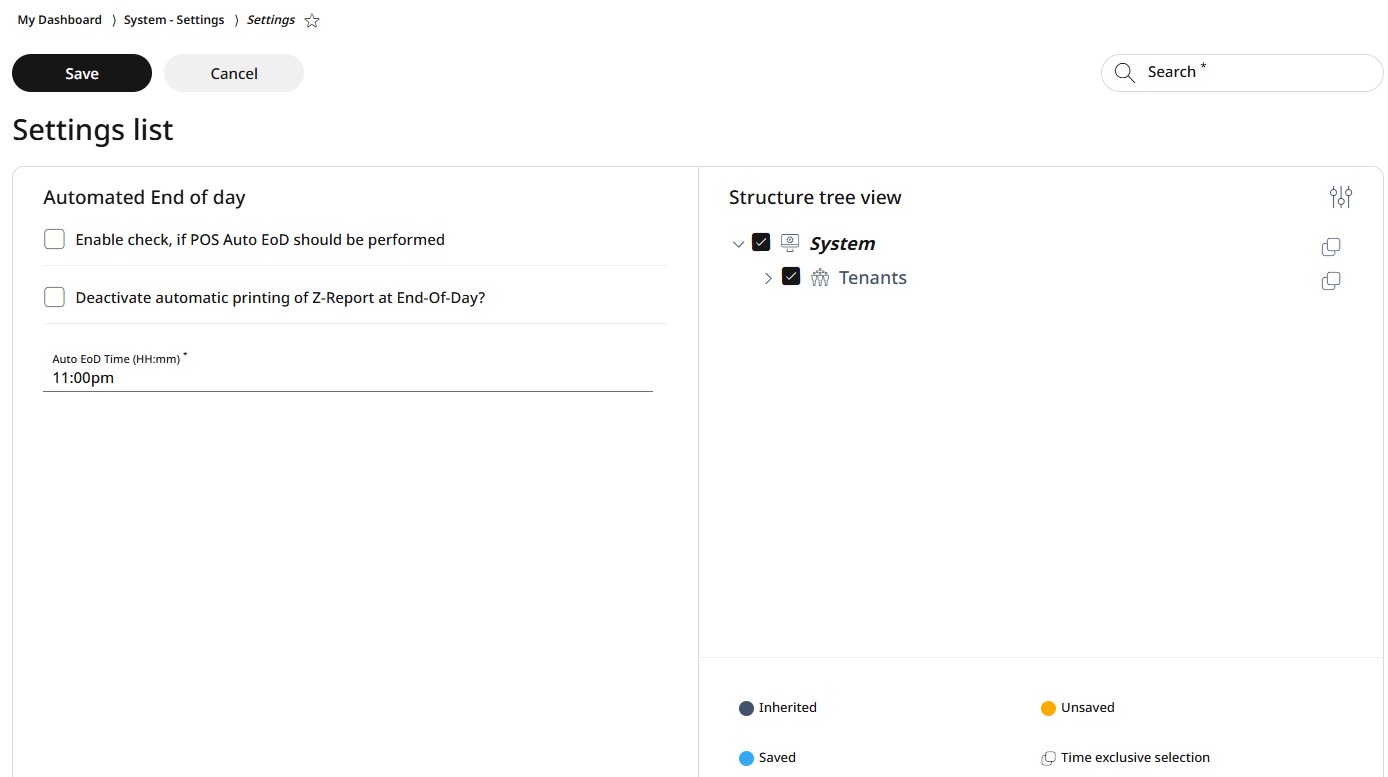
Under the Automated End of Day section, you can:
Enable or disable automatic End of Day closing on the POS
Choose whether the Z-Report should be printed at End of Day
Set the execution time (HH:MM) for the automated End of Day process
To apply changes, first follow the steps in the right-side panel as explained in the Using the Structure Tree section. Then, make the necessary changes in the left-side panel and click Save.
Database maintenance
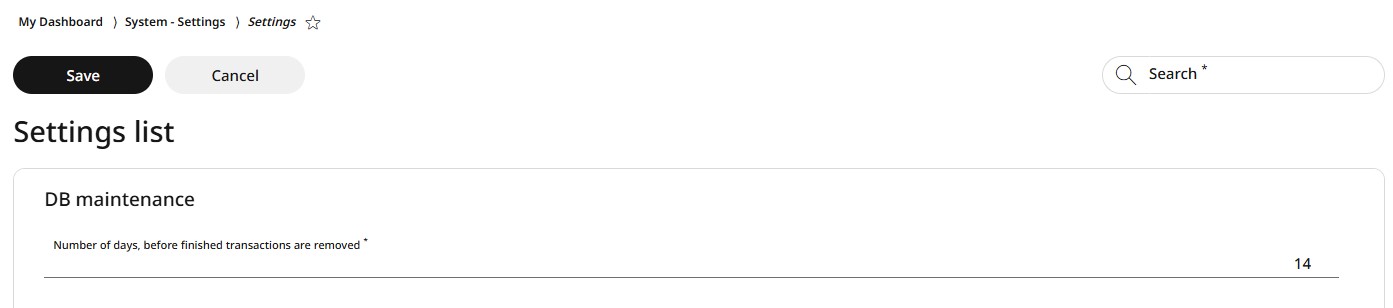
Under the Database Maintenance section, you can set the number of days after which finished transactions are removed from the database.
To apply changes, first follow the steps in the right-side panel as explained in the Using the Structure Tree section. Then, make the necessary changes in the left-side panel and click Save.
Trimeout triggered events configuration
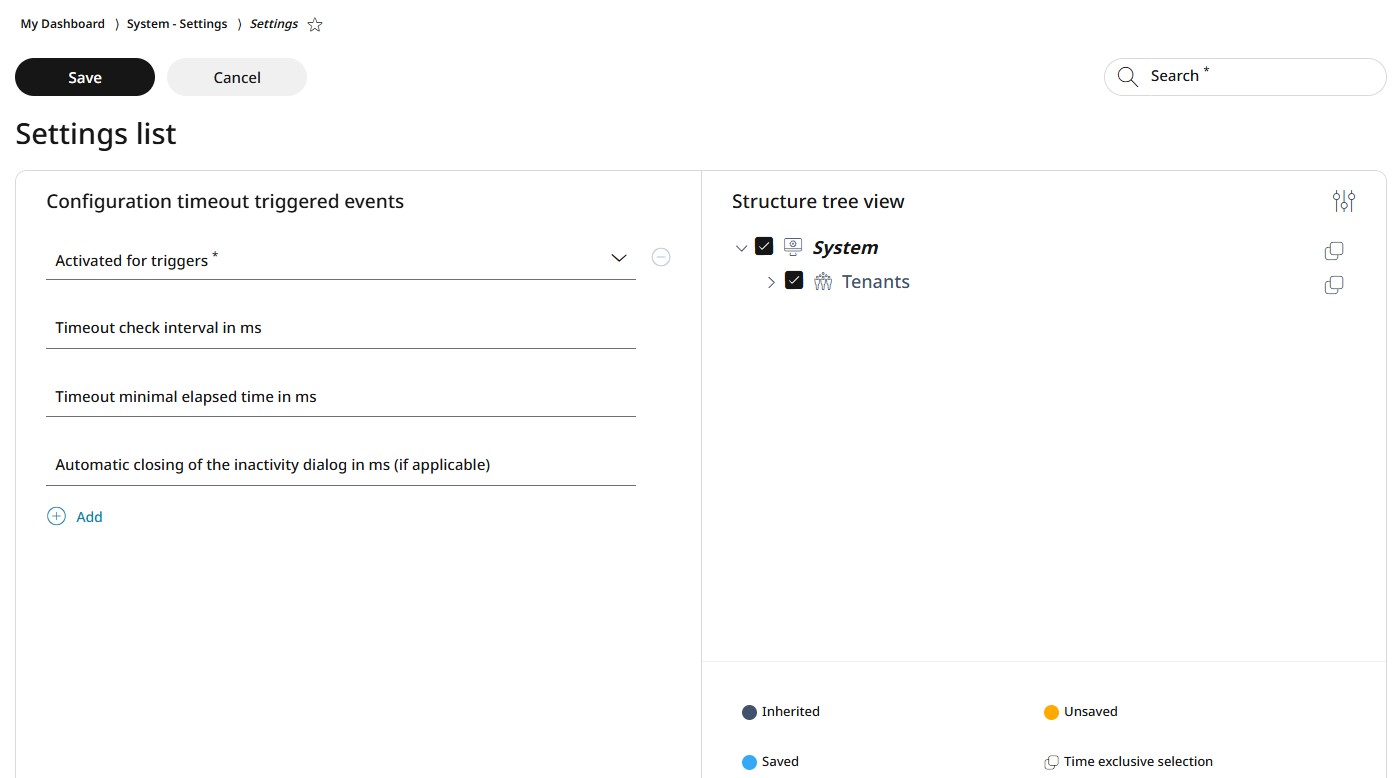
Under the Timeout triggered events configuration section, you can manage the followings:
Select the action to be triggered from the dropdown menu
Set the timeout check interval (in ms)
Define the minimum elapsed time before a timeout (in ms)
Configure the automatic closing time for the inactivity dialog (in ms)
To apply changes, first follow the steps in the right-side panel as explained in the Using the Structure Tree section. Then, make the necessary changes in the left-side panel and click Save.
Schedule
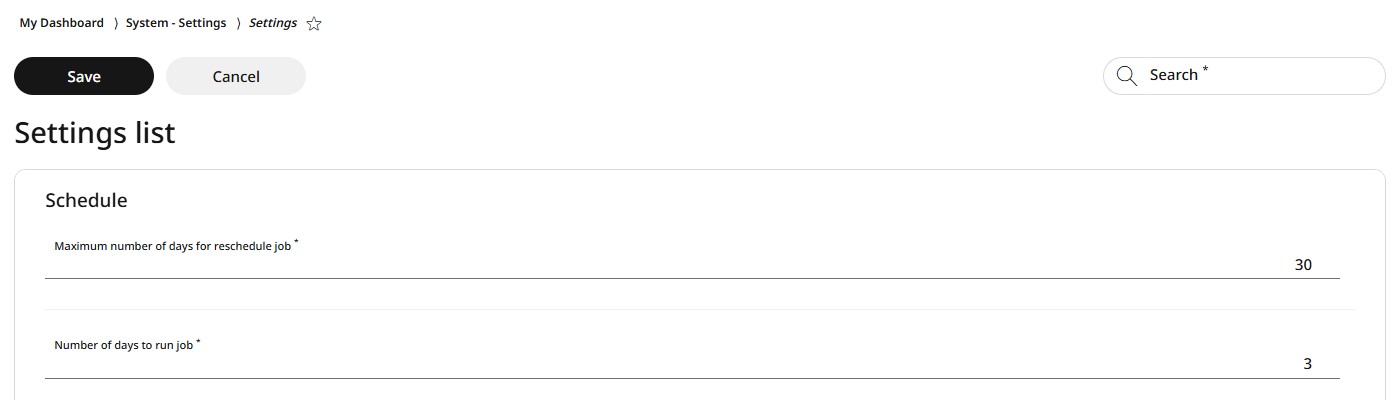
Under the Schedule section, you can:
Set the maximum number of days allowed for rescheduling a job
Define the number of days for a job to run
To apply changes, first follow the steps in the right-side panel as explained in the Using the Structure Tree section. Then, make the necessary changes in the left-side panel and click Save.