Epson TSE Upgrade-Kits
Setting up TSE module
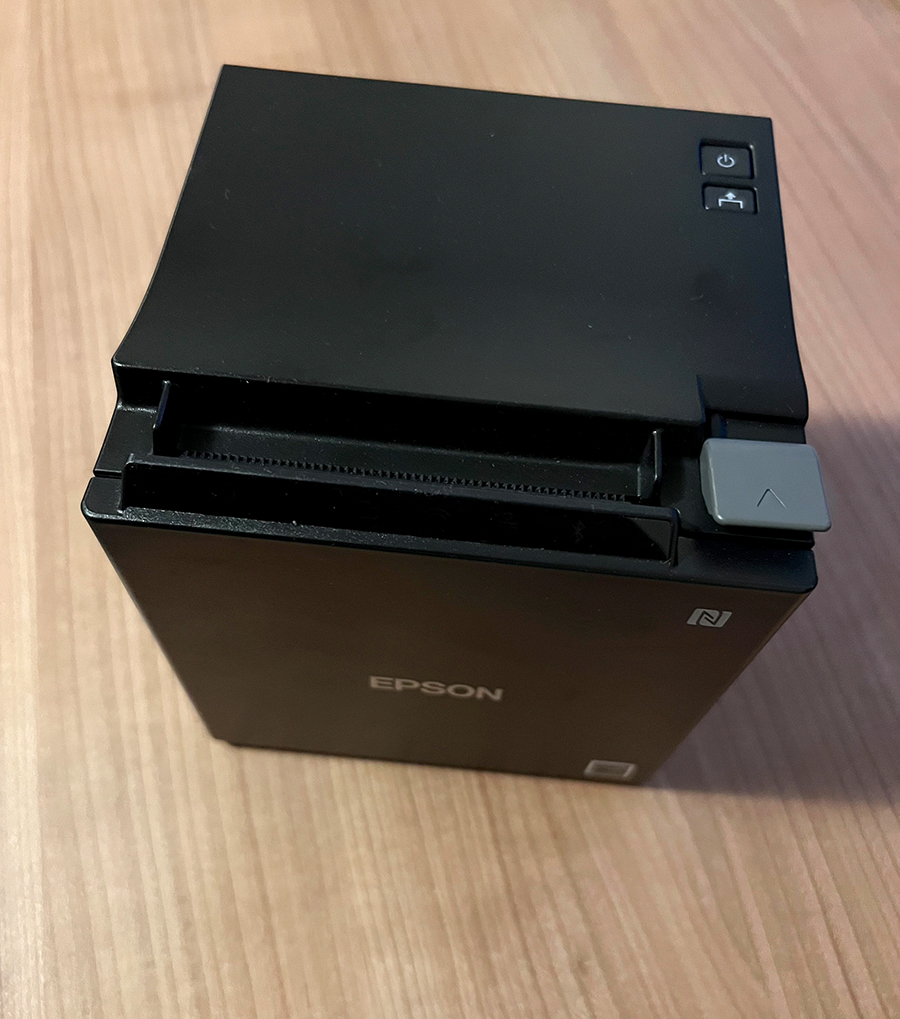
Attach the TSE module to the printer. First disconnect the printer from the power supply.
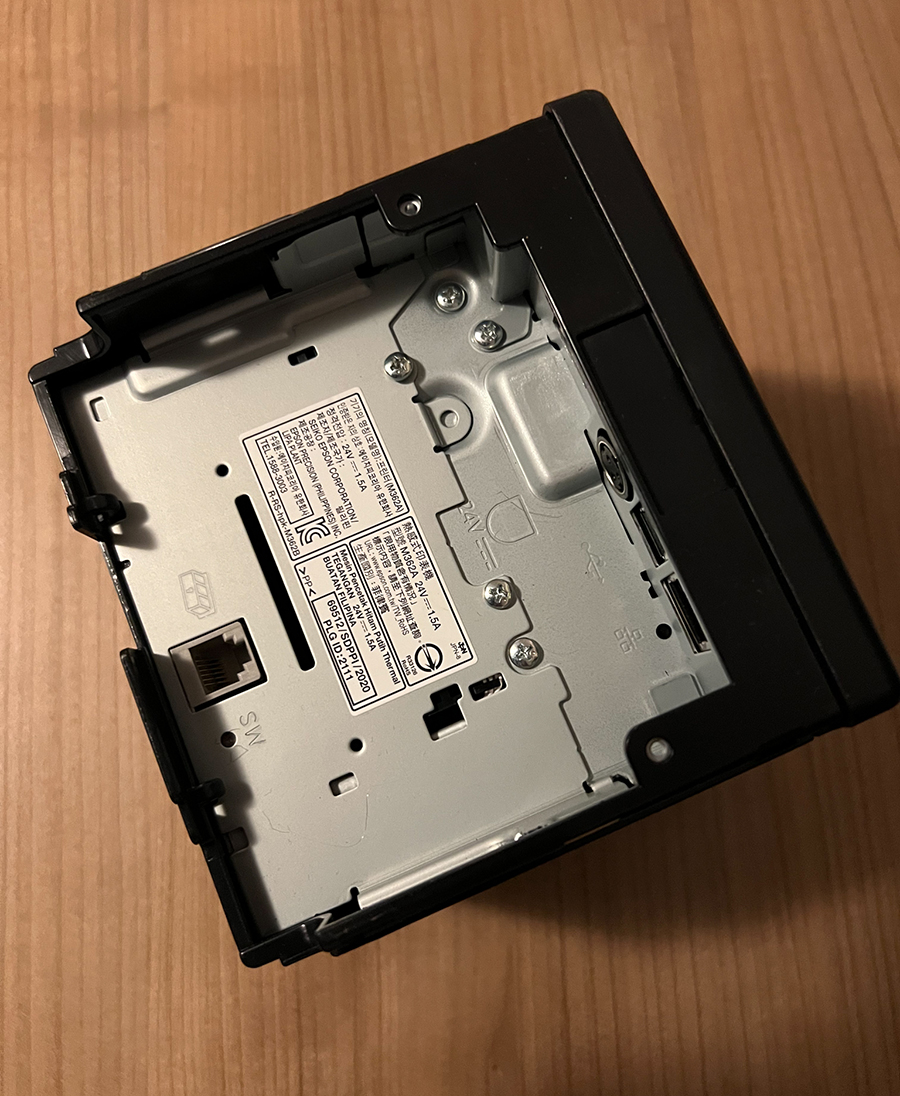
 After that, a screwdriver is needed to loosen the screw above the USB slot.
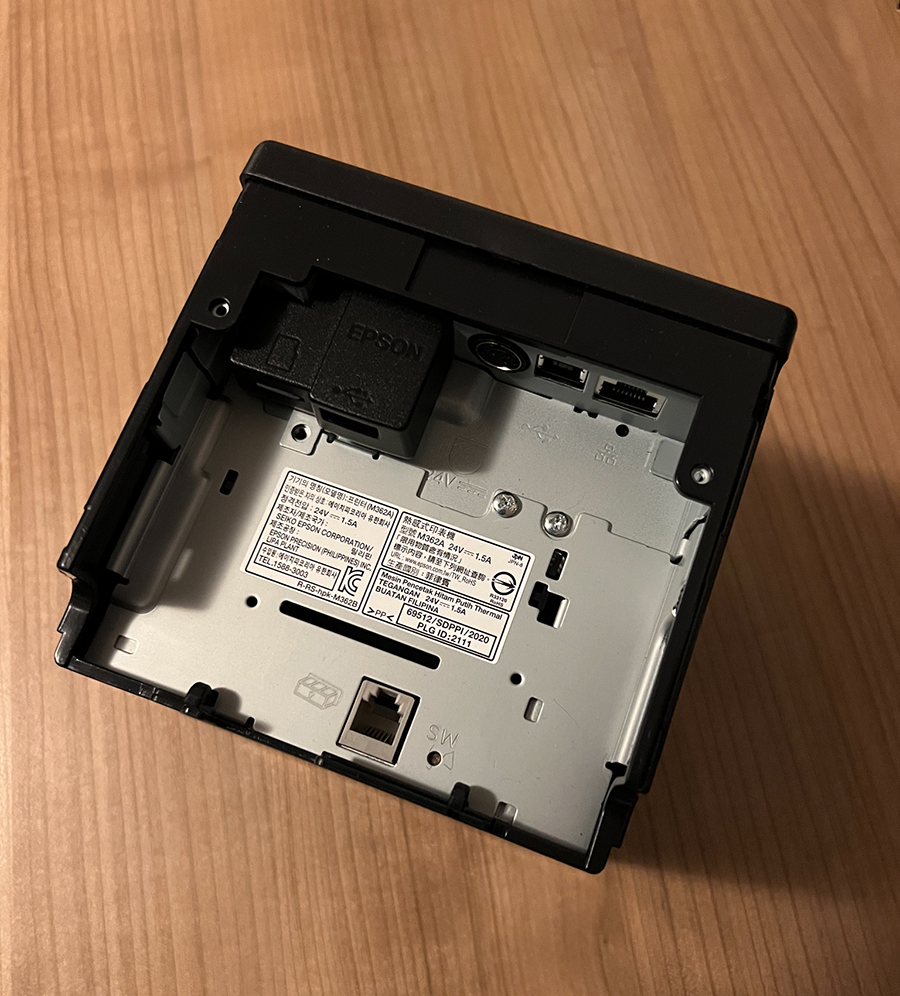
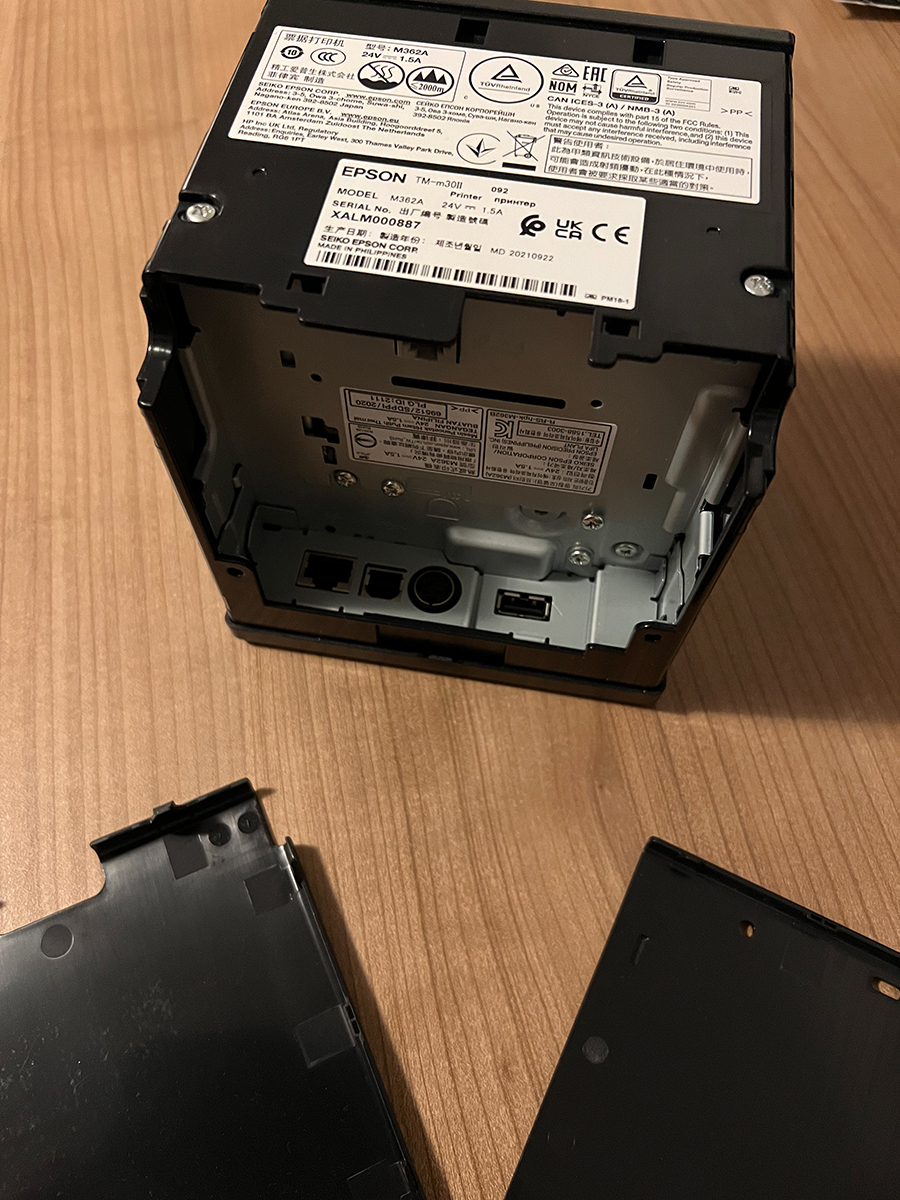 Then insert the update kit into the USB slot and tighten the screw again. Then place the SD card into the slot of the upgrade kit. There is a small icon for the SD card in place. After that, turn on the printer again.
Connection to the retail7 app:
Now it's time to move on from the hardware to the software. So first log into the retail7 system.
Go to the user menu and choose the Management Console, which will open a browser. Select My Organization → Units → Fiscal. Enter here all important data of your new TSE.
1 Go to Add.
2 Select a Store.
3 Select the Service provider. For example, Epson.
4 Then enter a Name for the fiscal unit.
5 Then enter the IP of the printer under Device Settings.
NOTE: The IP can be found in the device settings of the printer. To do this, press the button with the arrow and the button for starting the receipt printer at the same time. If you release both buttons afterwards, the device information will be printed.
Then go to the Management Console → My Organization → Units → Devices.
6 Go to Add.
7 Select the Fiscal device.
NOTE: The TSE should be available for selection here, if it is properly connected.
8 Click on Save.
Once initialization is complete, the new TSE can be used for payment. With the next transaction, the signature of the TSE should be on the lower part of the receipt and the setup of the TSE should be completed. If this is not the case, the retail7 POS app must be restarted.
If there is still no signature on the receipt, please contact our 24/7 support.