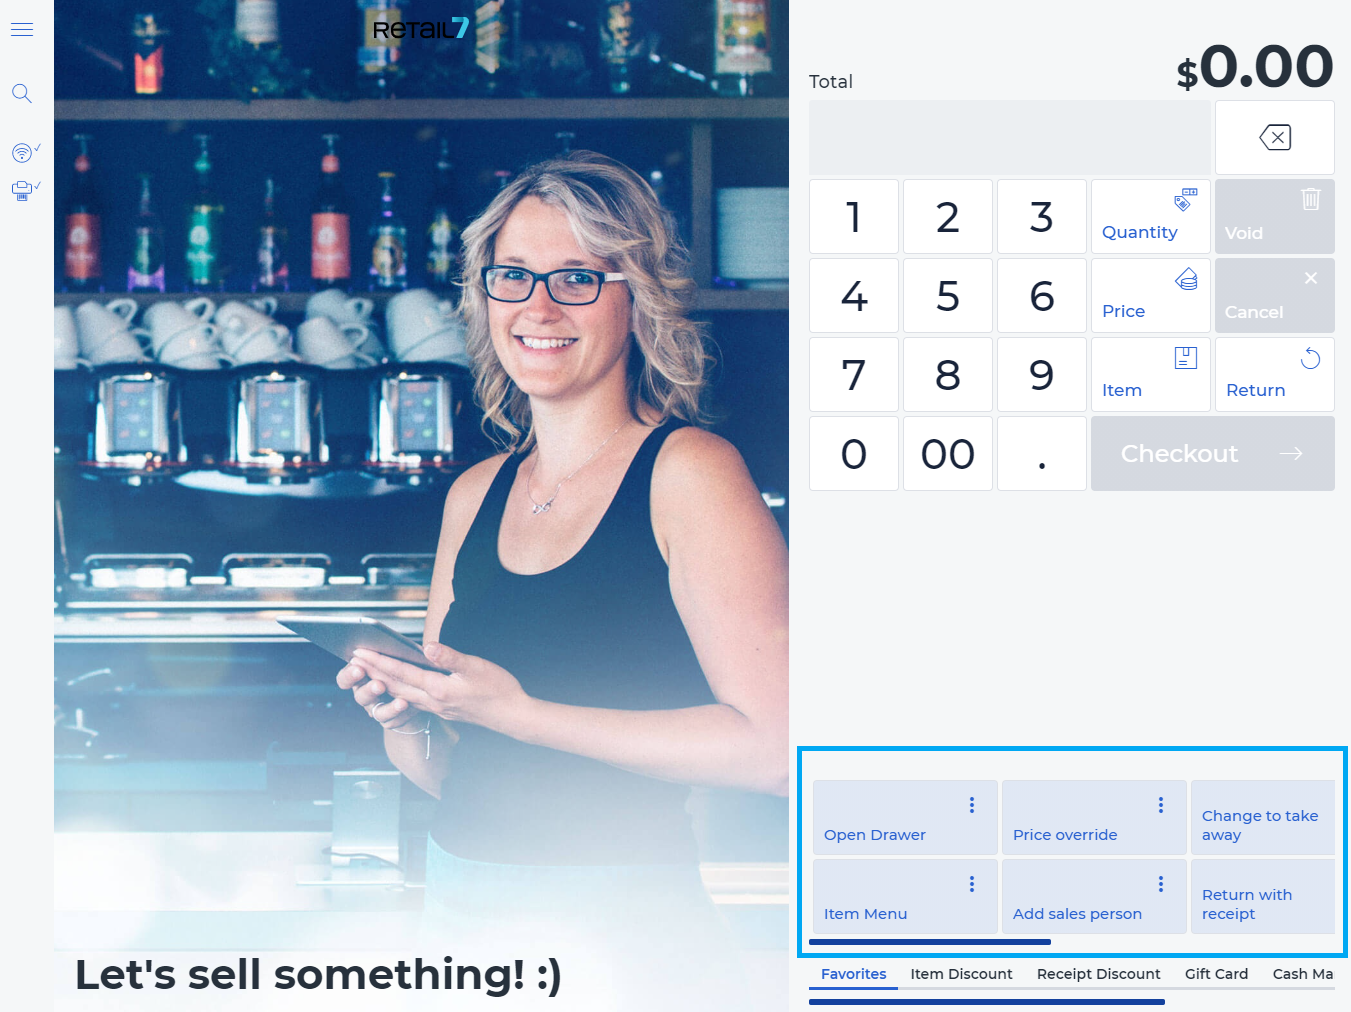
11.1.7 Return without receipt
Using the Return without receipt function, the items must be registered via the item menus in the transaction. However, the Return with receipt function is more secure, as the receipt confirms that the item was really purchased in this particulars store. The option if an item to be allowed to be returned, can be defined separately for each item using the Management Console. More about this in the Item list section.
Open the RETAIL7 app.
Enter the login data and log in.
Open the Favorites menu.

4. Select Return without receipt.
Now a window opens, which is called Return mode. Here you can configure the return of the specified receipt.
7. Select individual items from the associated item menus.
8. Specify the Reason for the return and click OK.
You can define the reasons for the return in your management console. You can find more information about this in the Motives section.
9. Select back.
10. Click Finish return and confirm the following dialog box with Yes.
Return to the return mode by selecting No.
A negative total will be displayed below based on the return. If the transaction is continued, this sum will be offset against all other items.