Terminal connection via ZVT
If a ZVT-capable terminal is available, this can be integrated into the system both directly in the POS cash register app, or in the Management Console.
Before that, however, the terminal has to be activated by the respective payment provider (for example, we recommend ZahlungsWerk, but also ZVT-enabled terminals from Concardis, Intercard, Sparkasse, Raiffeisen Bank, CashOne and many others can be used) can be activated. The hotline of the respective payment provider can usually be found directly on a sticker on the terminals.
The respective documents should also include a description of how to proceed in each case.
For the activation, the provider needs the respective terminal ID, which can be found on the back of the terminal.
NOTE: When connecting the terminal for the first time, a password is also required to turn on the device. Most devices use standard passwords such as 123456 or 000000.
To connect the terminal to the WLAN, please call the support of the payment provider. They will help you step by step.
NOTE: The terminal must be set to the ZVT protocol after activation. Here, too, the support of the payment service provider can help, as they can see exactly which terminal is in use. The IP address of the terminal can also be found out with the support of the payment service provider, which is required in the following steps.
Setup types
The terminal can be set up directly in the app or via the Management Console.
App
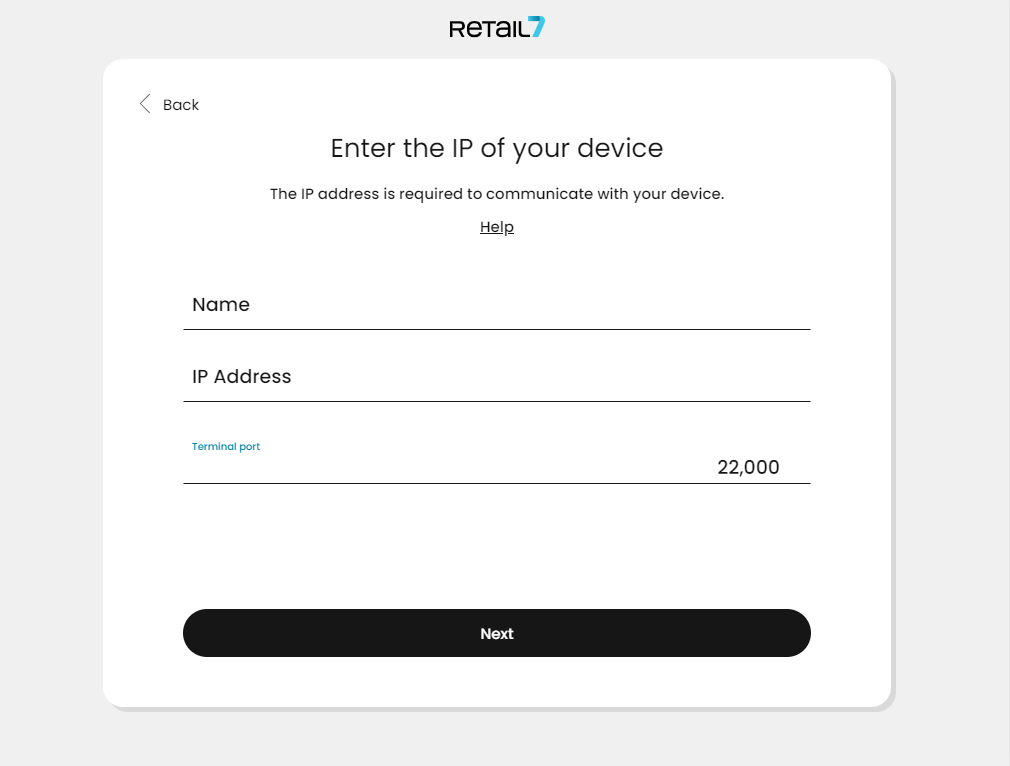
In order to connect the terminal to the cash register in the app, various configurations are required in the app.
These can be made either during the setup of the cash register or afterwards in the settings (Settings -> Payment terminal) of the cash register.
In any case, a name, the type, the IP address and the communication port are requested.
Management Console
In order to set up one or more terminals for different cash registers and / or stores, it is recommended to use the Management Monsole.
To do this, proceed as follows:
Login to the Management Console.
Navigate to My Organization → Units → Payment Services and Terminals → Add
Please select the store where you want to set up the terminal.
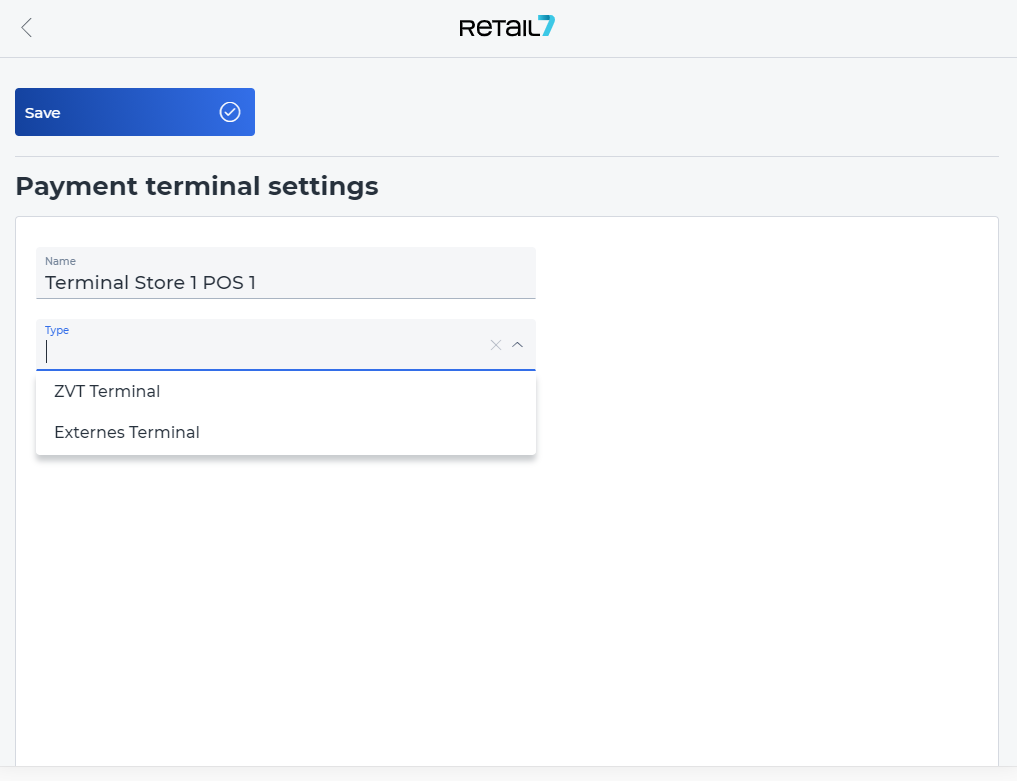
Select the type of the terminal
Enter an individual Name
Then enter the data supplied with the terminal or resulting from the network configuration:
the IP of the terminal
the terminal communication port (as an example, some payment service providers use port 22000 for Verifone terminals, 5577 for Ingenico - please ask the payment service provider for this data)
Please choose if the terminal receipts should be printed via the cash register (merchant & customer receipt).
Navigate to My Organization → Units → Devices.
There select the already installed cash register and then in the section Payment services and terminals.
Select from the list of possible Tenders the EFT
and then under the Payment service select the terminal that has been just set up.
After a new data replication (logout first, if the cash register was still logged in) and a login at the cash register, the terminal is available for cashless payments of the cash register.
To do this, simply select EFT payment during the payment process. Whether customers can pay with ApplePay or GooglePay or contactless in general, depends on the configuration of the terminal by the payment service provider.