10.6.1 POS related settings
Under this section, you can configure various POS related functions. While all settings have default values that can be adjusted, some are best left unchanged. If you need assistance or have any questions, please contact our support team.
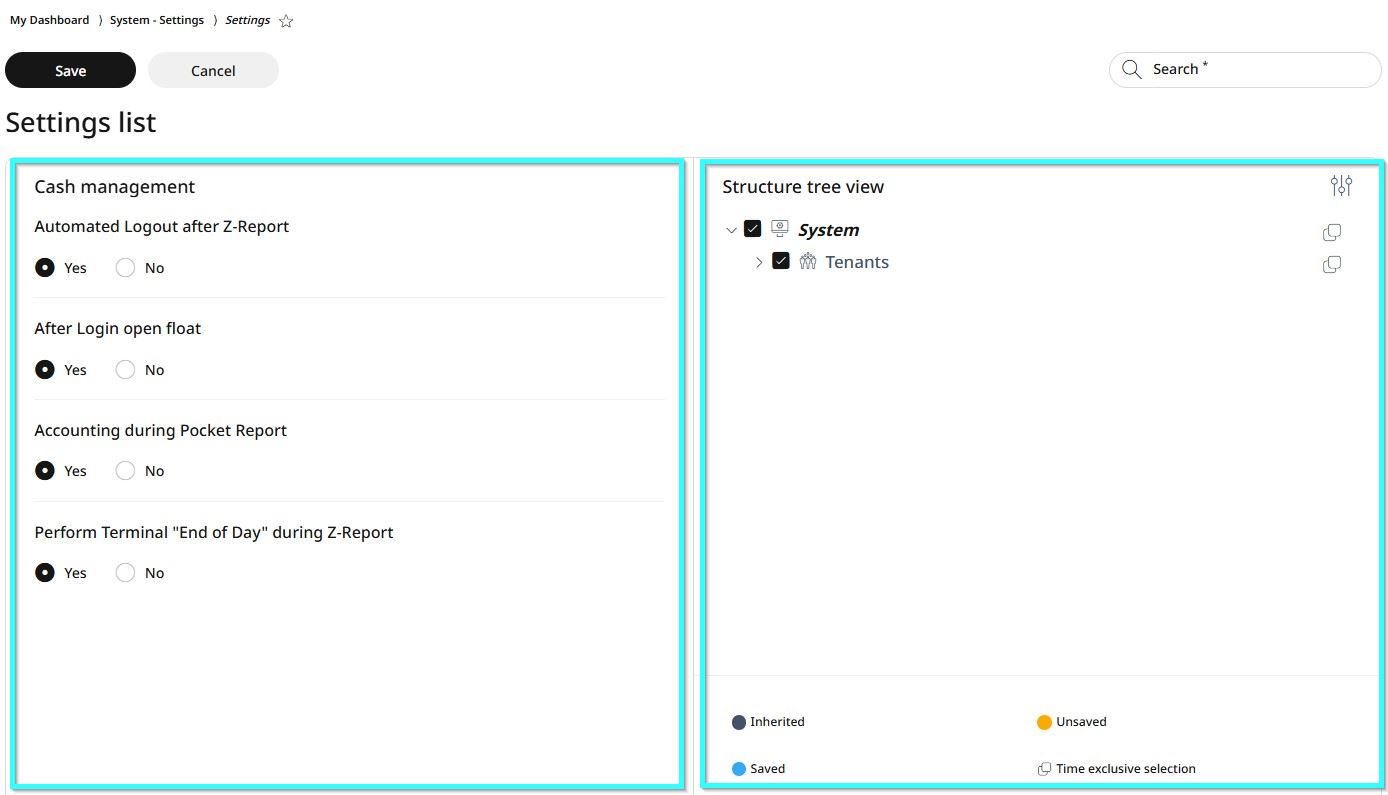
Each setting view is divided into two panels: on the left, you can configure the setting options, while on the right, the structure tree allows you to specify which levels these settings apply to. This enables different settings to be assigned to each branch of the tree, down to individual devices.
Using the Structure Tree View
Click the settings icon in the upper right corner to open the full tree view.
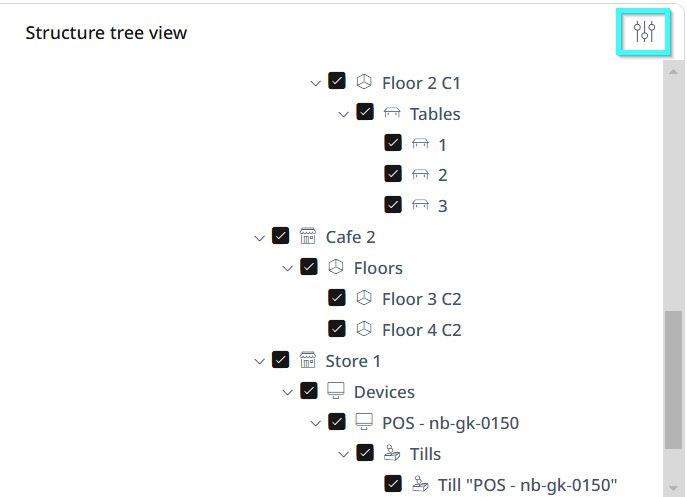
By default, all levels are selected. Scroll down to find the level where you want to apply changes.
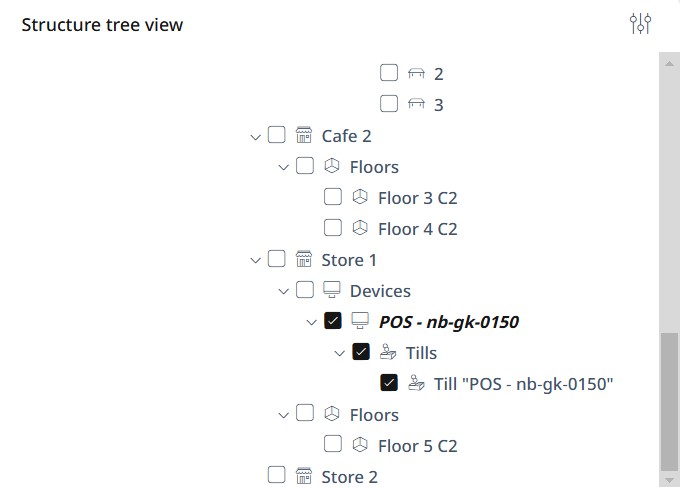
Click the checkbox next to that level to deselect all levels.
Click the checkbox again on the specific level where you want the new settings applied. Now, only this level is selected.
Now go to the right-side panel, configure the new settings and click Save, or select Cancel to discard changes.
Settings list
Cash management
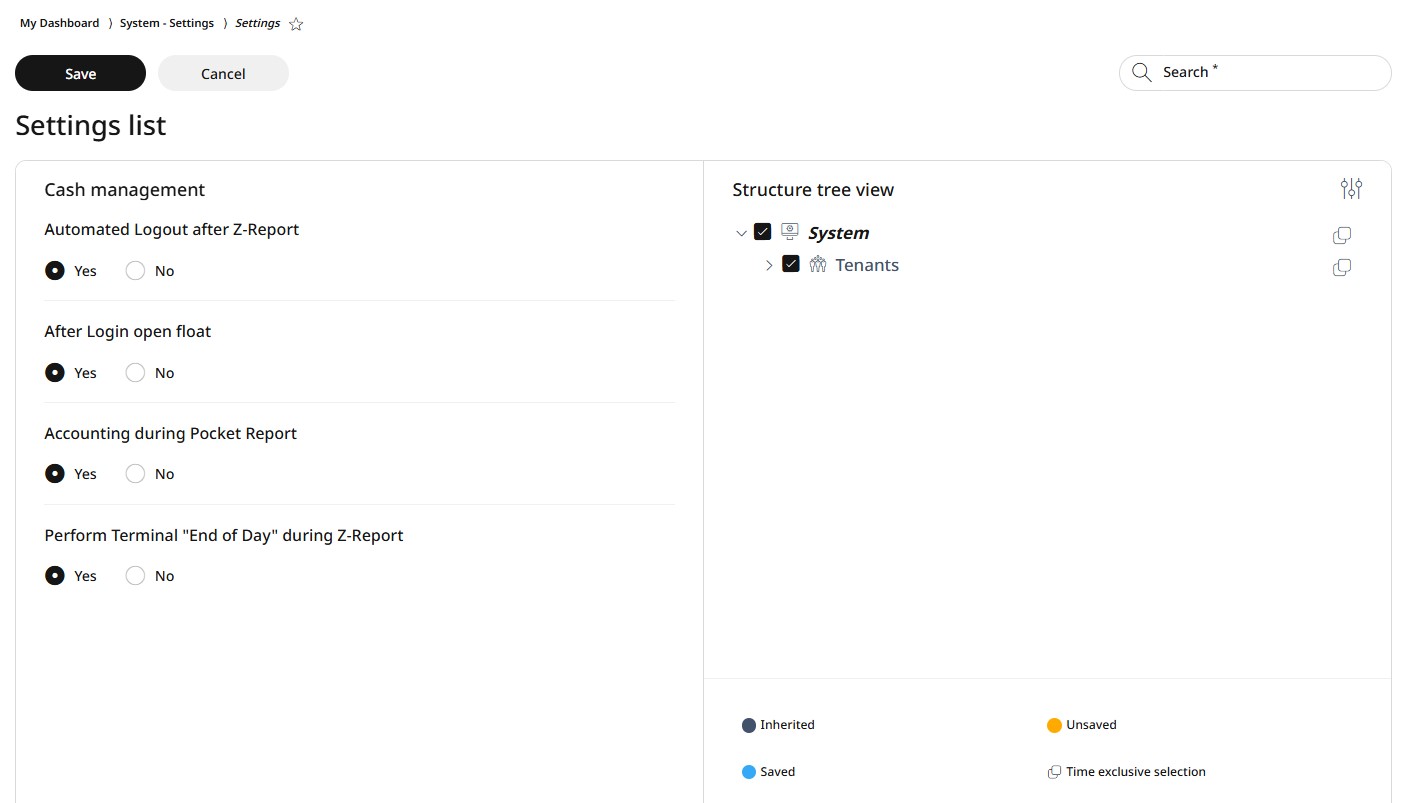
Under the Cash management section, you can enable or disable the following functions:
Automated logout after Z-report
Open float after login
Accounting during Pocket Report
Performing Terminal "End of Day" during Z-Report
To apply changes, first follow the steps in the right-side panel as explained in the Using the Structure Tree section. Then, make the necessary changes in the left-side panel and click Save.
Till balance

Under the Till balance section, you can enable or disable the following functions:
Enter a value of how much difference is allowed
Open drawer at login
Open drawer at logoff
To apply changes, first follow the steps in the right-side panel as explained in the Using the Structure Tree section. Then, make the necessary changes in the left-side panel and click Save.
Device logs
Please note that it is highly recommended not to change these settings.
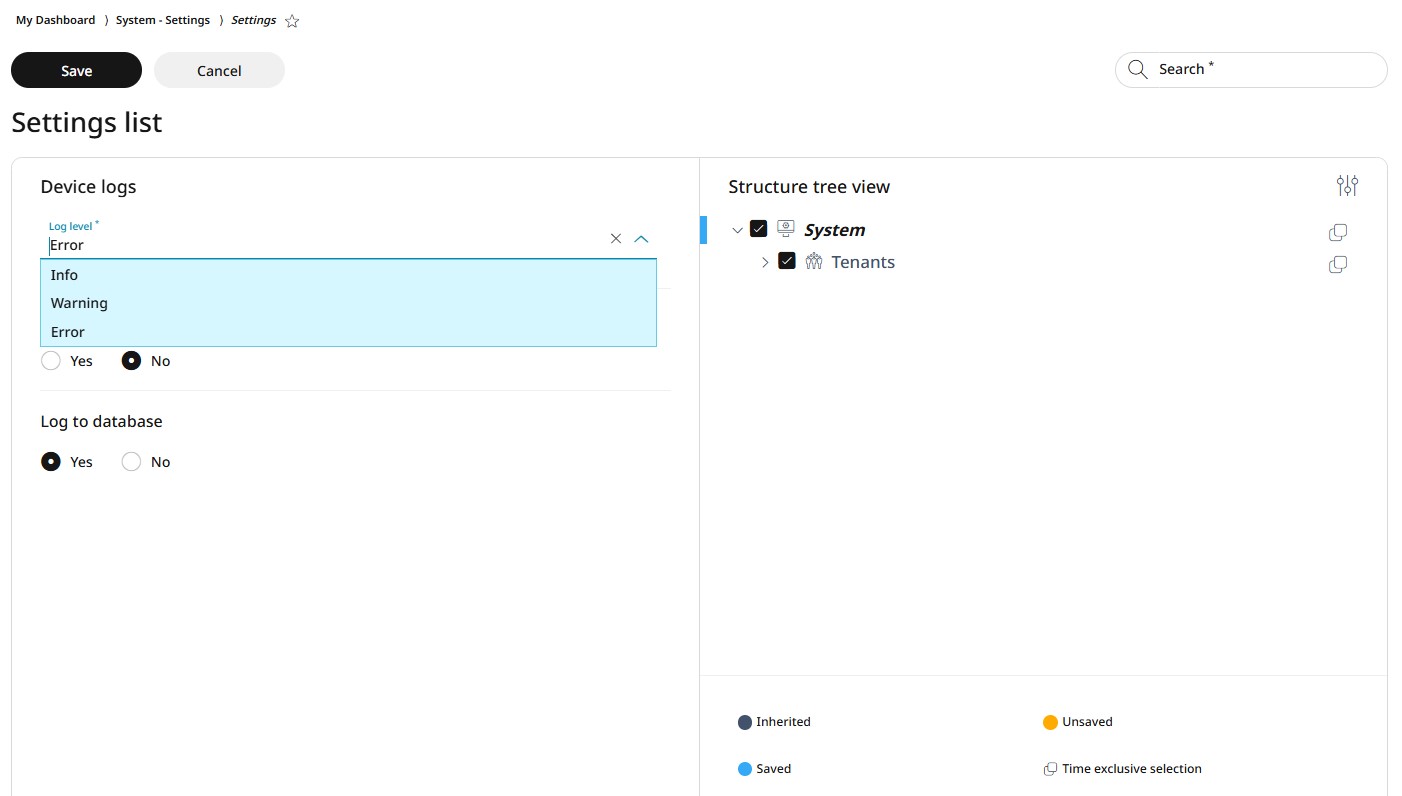
Under the Device logs section you can enable or disable the following functions:
Possible log level settings from the roll-down menu
Device logs
Log to database
To apply changes, first follow the steps in the right-side panel as explained in the Using the Structure Tree section. Then, make the necessary changes in the left-side panel and click Save.
Gift card
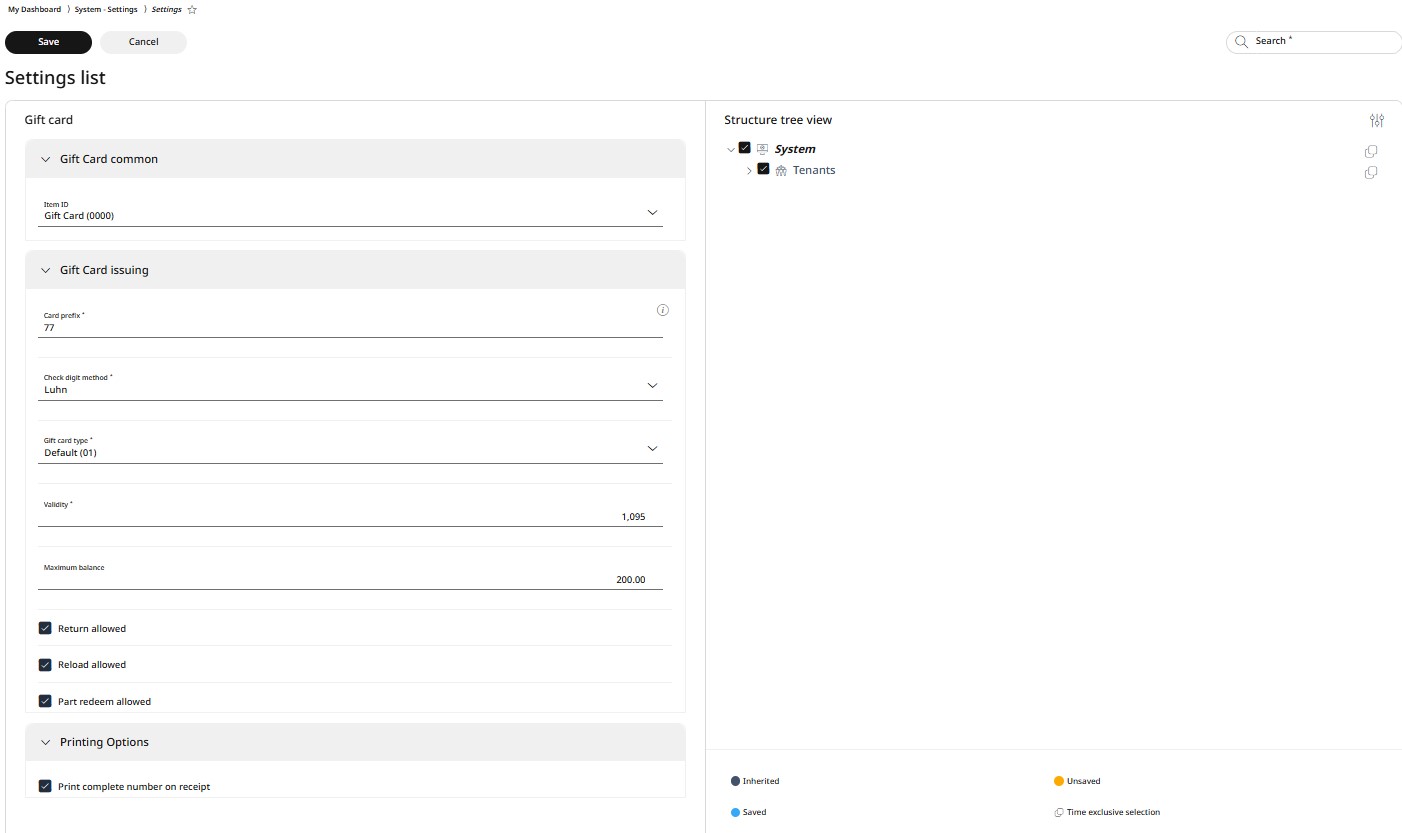
Under the Gift card section, you can manage gift card data and enable or disable the following functions:
Select the gift card scheme
Modify the card prefix, digit method, gift card type, validity, and maximum balance
Allow or restrict returns
Enable or disable card reloads
Permit partial redemption
Allow printing of the complete card number on receipts
To apply changes, first follow the steps in the right-side panel as explained in the Using the Structure Tree section. Then, make the necessary changes in the left-side panel and click Save.
Self Checkout languages
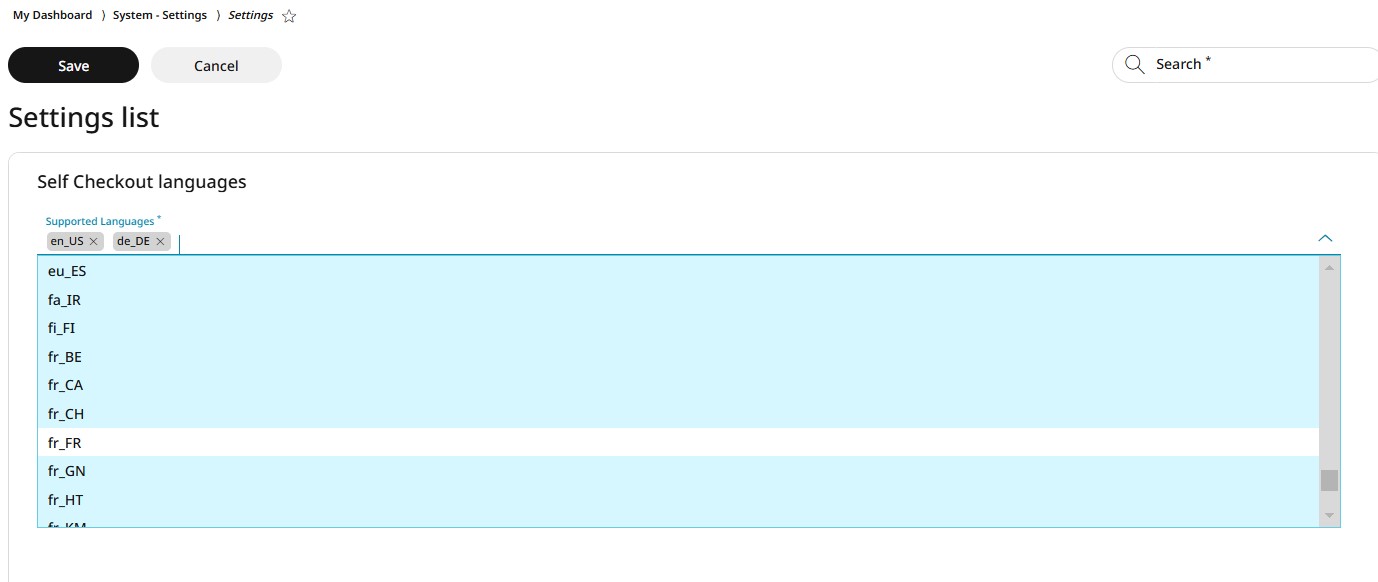
Under the Self-Checkout Languages section, you can assign the required languages for the self-checkout app using the dropdown menu.
Taxes
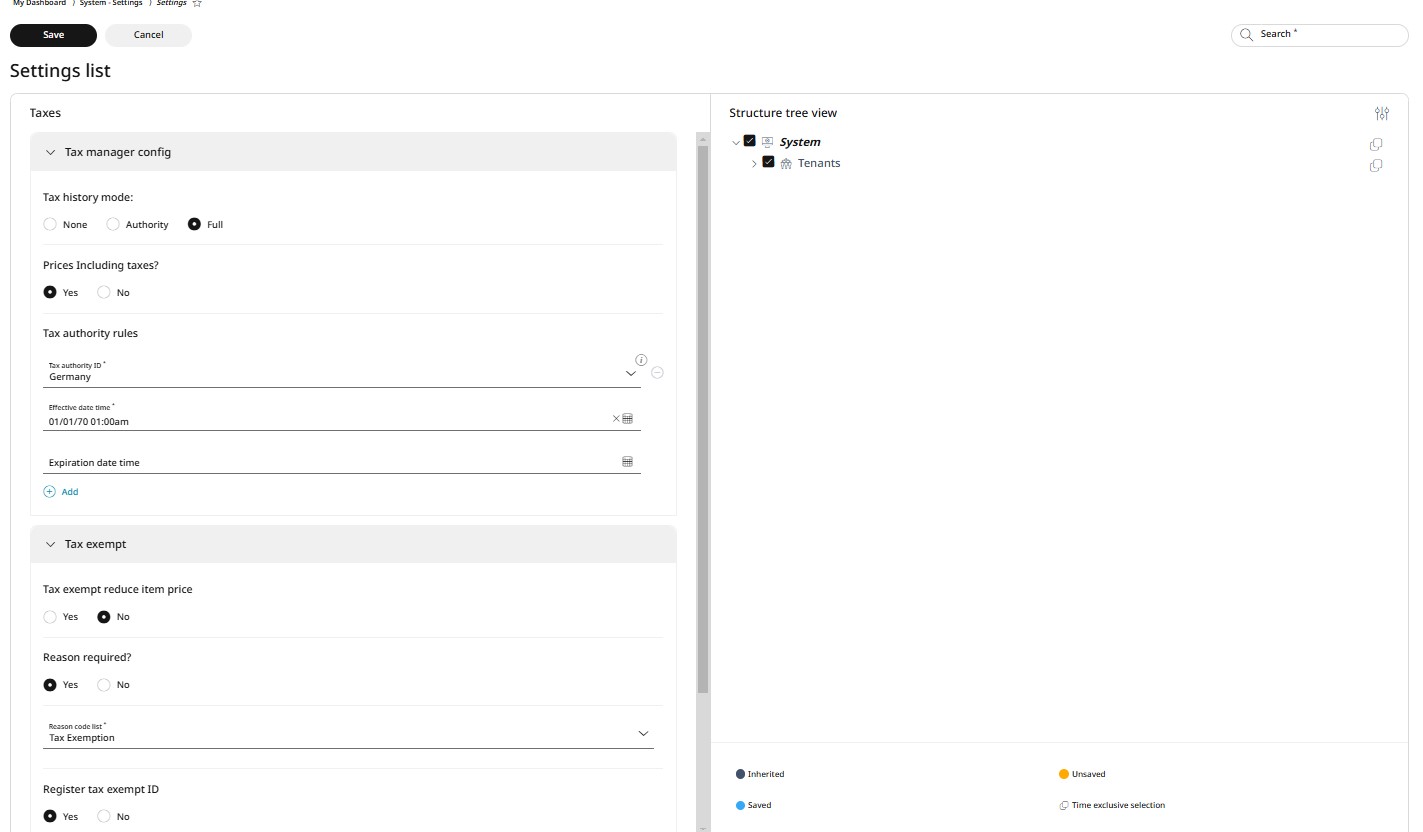
Under the Taxes section, you can manage tax settings and enable or disable the following:
Tax history mode
Prices including taxes
Tax authority rules settings:
Tax authority ID,
Effective date and time,
Expiration date and time,
Tax exemption reduce item price,
Reasons required and the proper reason code,
If the tax exempt ID is registered,
Customer identification mode,
Minimal and maximal tax override rate (and if reasons required),
Minimal and maximal tax override amount,
Alternative tax option, to differentiate between in-house and take-away transactions (for the hospitality sector).
To apply changes, first follow the steps in the right-side panel as explained in the Using the Structure Tree section. Then, make the necessary changes in the left-side panel and click Save.
Items

Under the Items section, you can manage items settings and enable or disable the following:
Combination of sales (positive items) and returns (negative items)
Stock management for sale
Stock management for return
Stock management for reservation (whether item reservations affect the inventory)
To apply changes, first follow the steps in the right-side panel as explained in the Using the Structure Tree section. Then, make the necessary changes in the left-side panel and click Save.
Store period closure
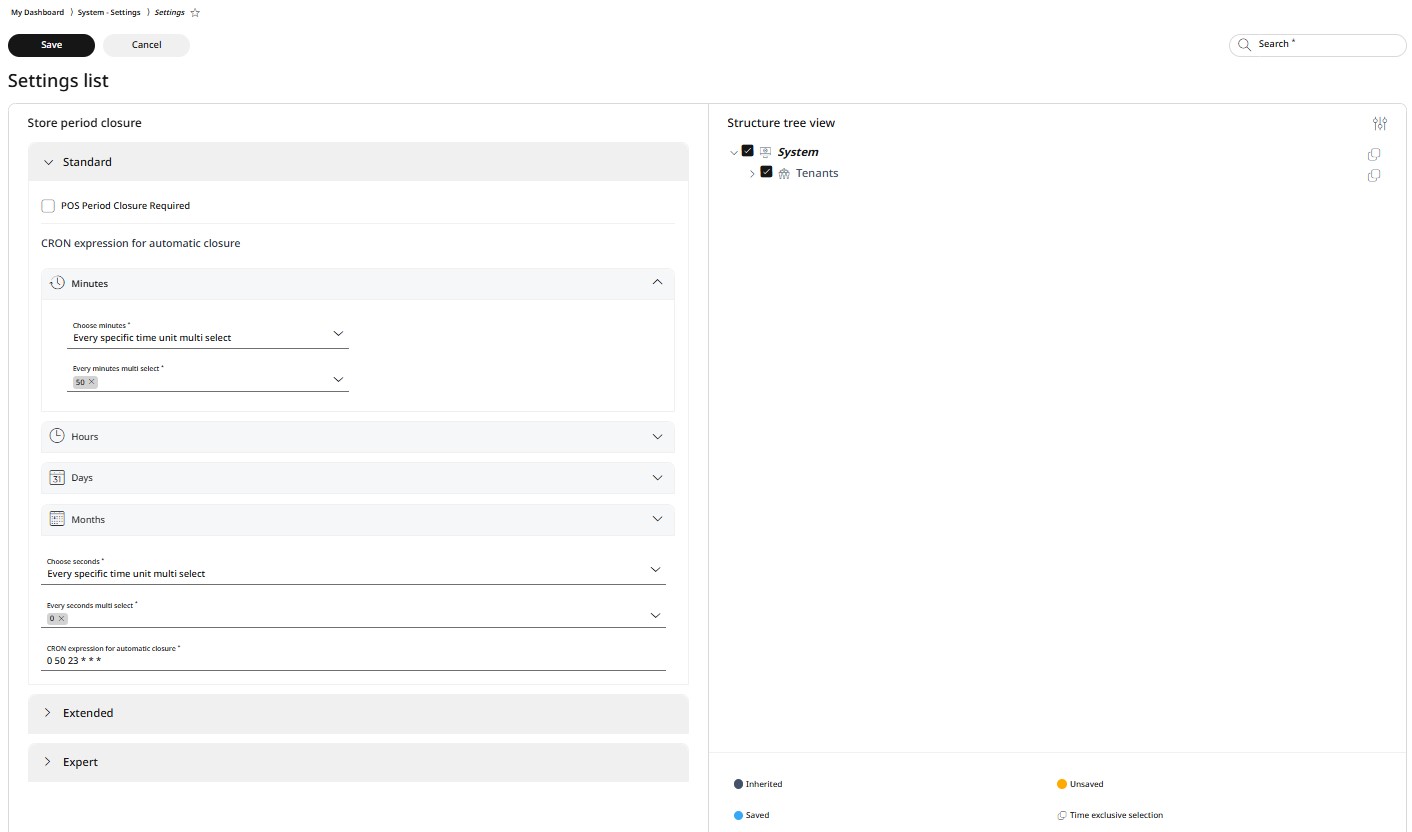
Under the Store period closure section, you can manage settings and enable or disable the following:
Store period closure required
Cron expression for automatic closure (minutes/hours/days/months)
Automatic store period closure & timeouts
To apply changes, first follow the steps in the right-side panel as explained in the Using the Structure Tree section. Then, make the necessary changes in the left-side panel and click Save.
Tender exchange
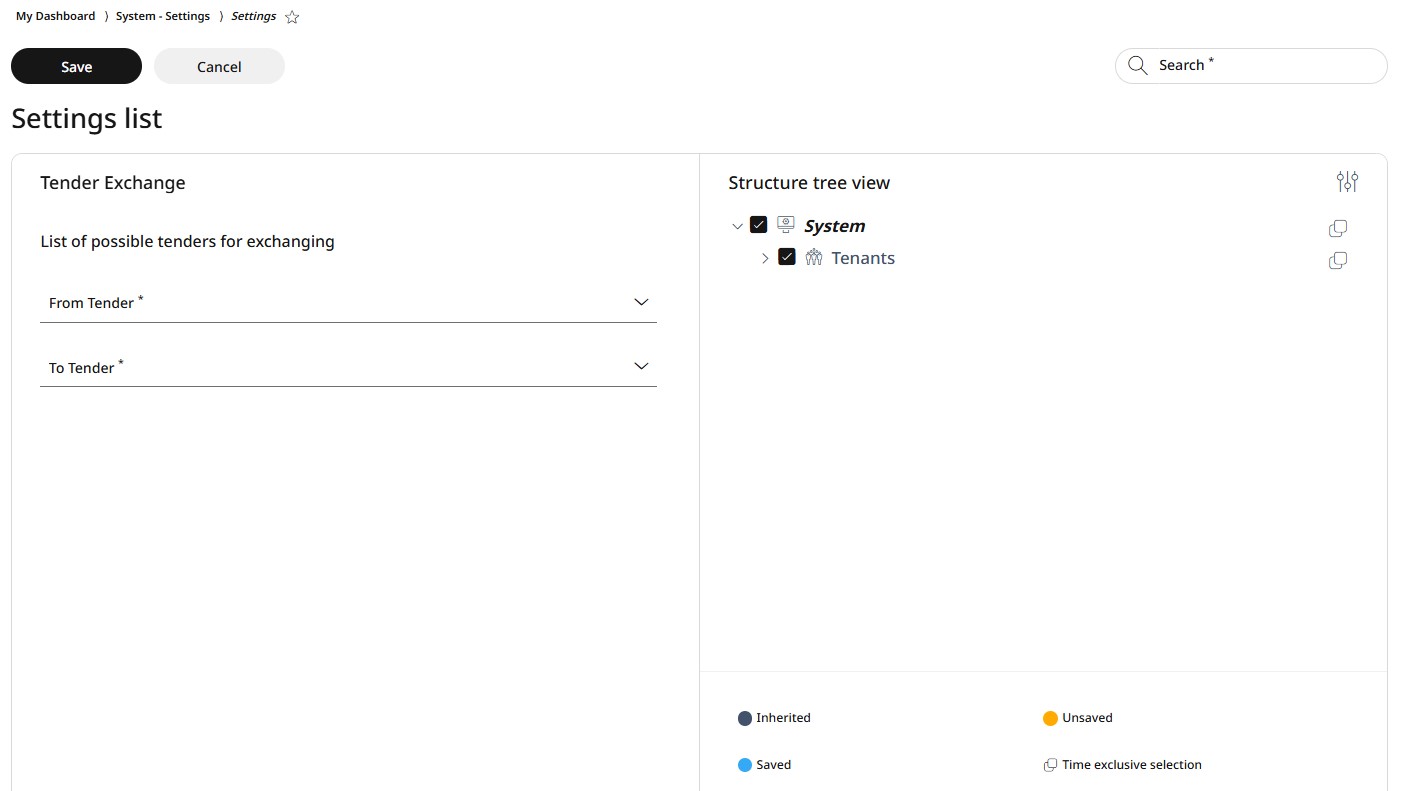
Under the Tender Exchange section, you can manage the list of allowed tender exchanges (from tender/to tender) using the dropdown menu. To add a new tender exchange pair, click the + Add button.
To apply changes, first follow the steps in the right-side panel as explained in the Using the Structure Tree section. Then, make the necessary changes in the left-side panel and click Save.
Suspend transaction
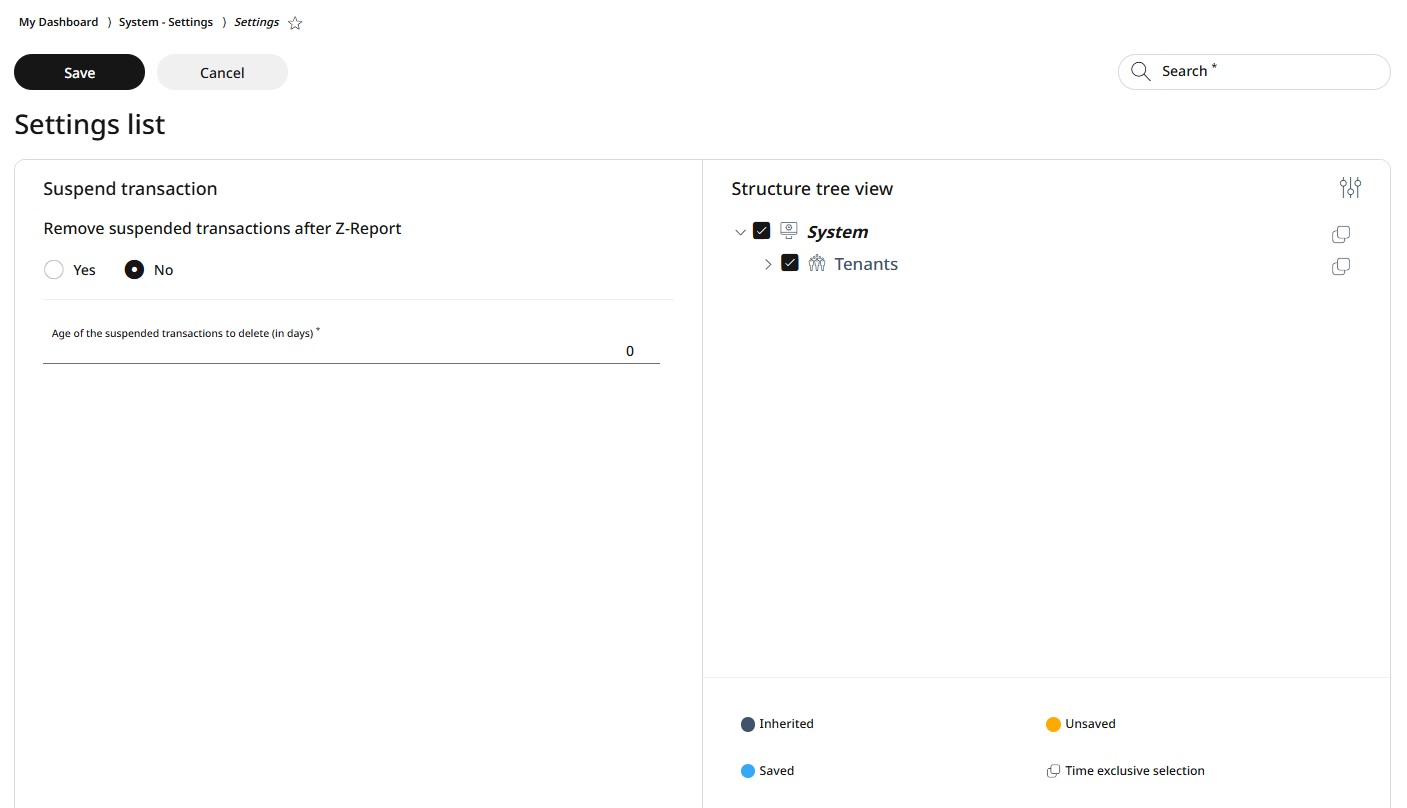
Under the Suspend transaction section, you can manage settings and enable or disable the following:
Remove suspended transactions after Z-Report
Number of days after the suspended transactions can be deleted
To apply changes, first follow the steps in the right-side panel as explained in the Using the Structure Tree section. Then, make the necessary changes in the left-side panel and click Save.
Data entry rule set
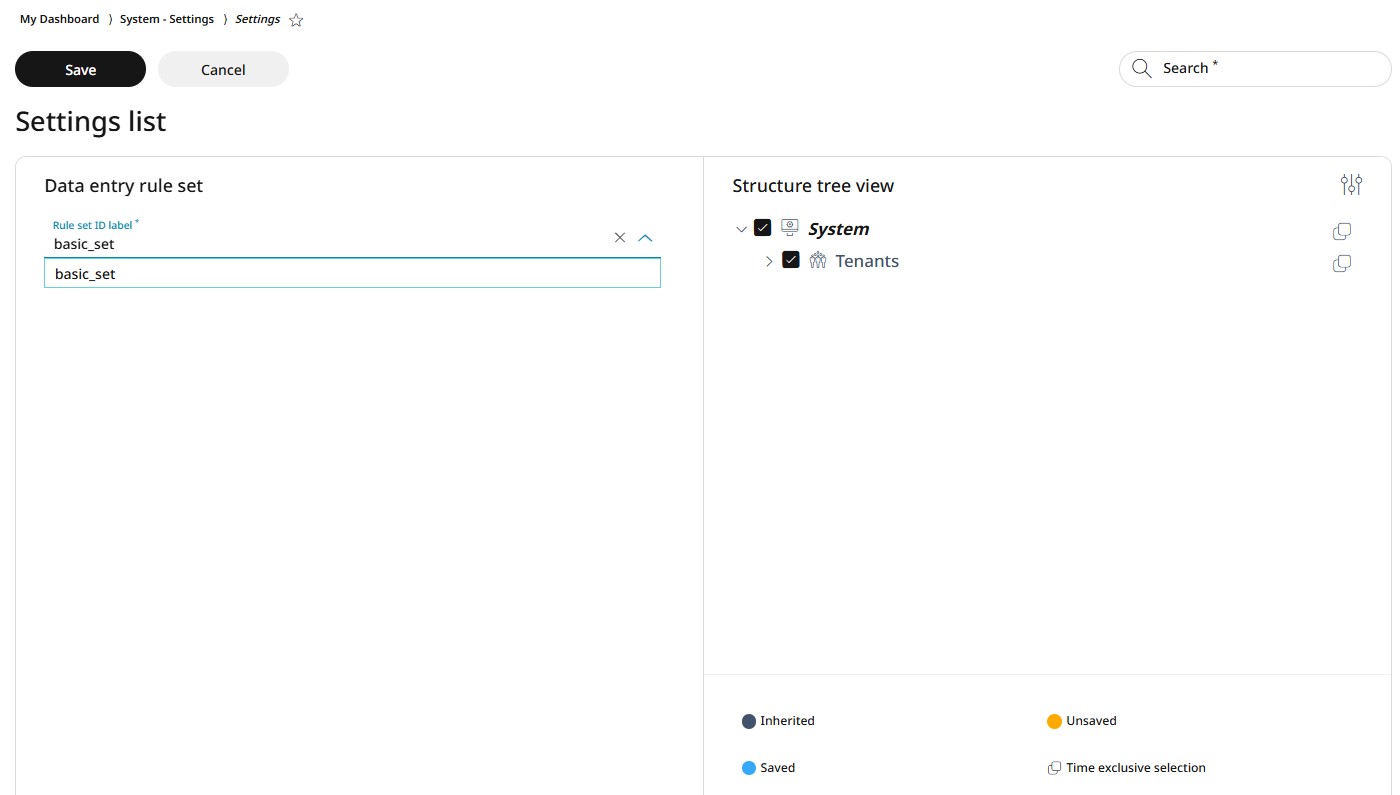
If you want to use a custom scanner rule set, you can configure it under the Data entry rule set section by selecting it from the dropdown menu. To add a new rule set, please contact our support team.
To apply changes, first follow the steps in the right-side panel as explained in the Using the Structure Tree section. Then, make the necessary changes in the left-side panel and click Save.
Returns
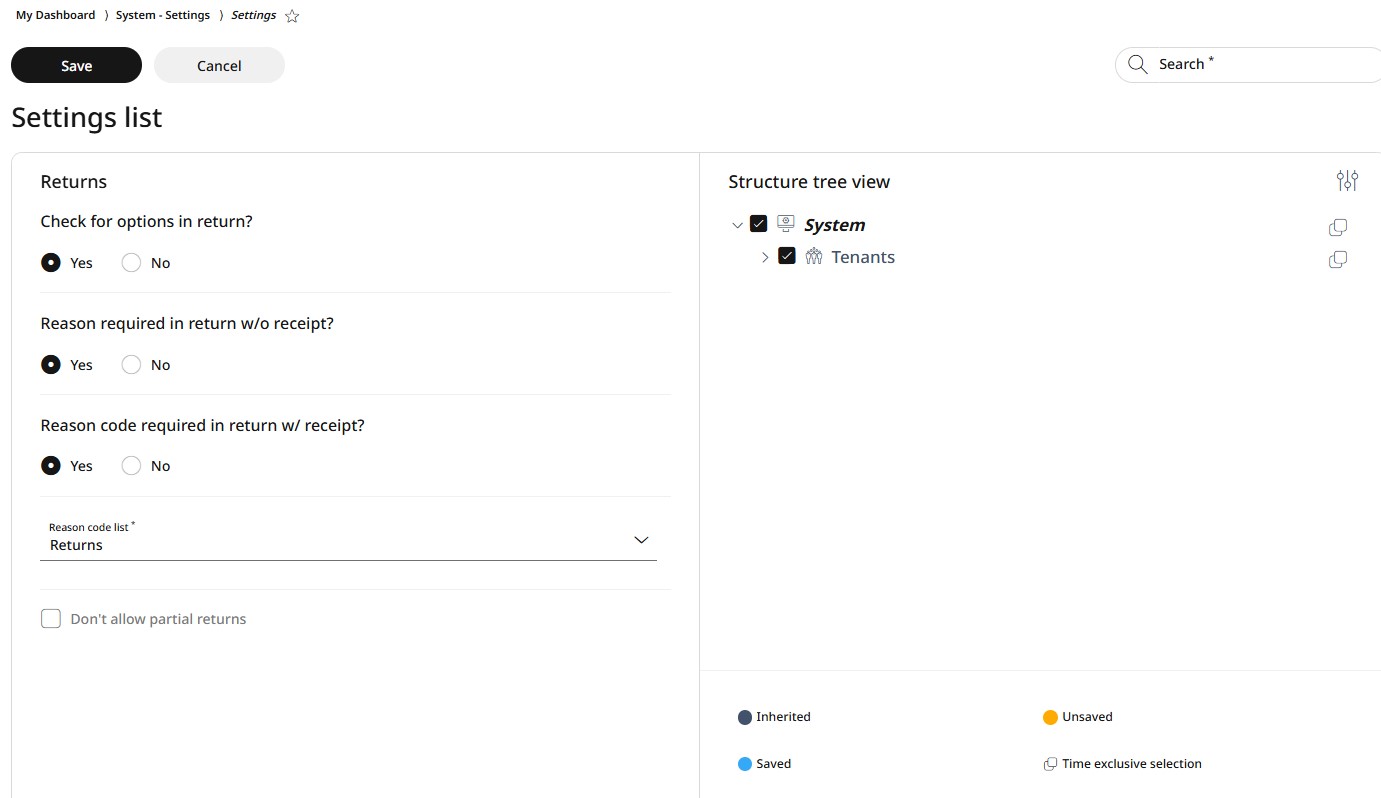
Under the Returns section, you can manage settings and enable or disable the following:
Check for options in return
Reason required in return without receipt
Reason code required in return without receipt
Choose the required return code from the dropdown menu
Allow partial returns
To apply changes, first follow the steps in the right-side panel as explained in the Using the Structure Tree section. Then, make the necessary changes in the left-side panel and click Save.
Transaction
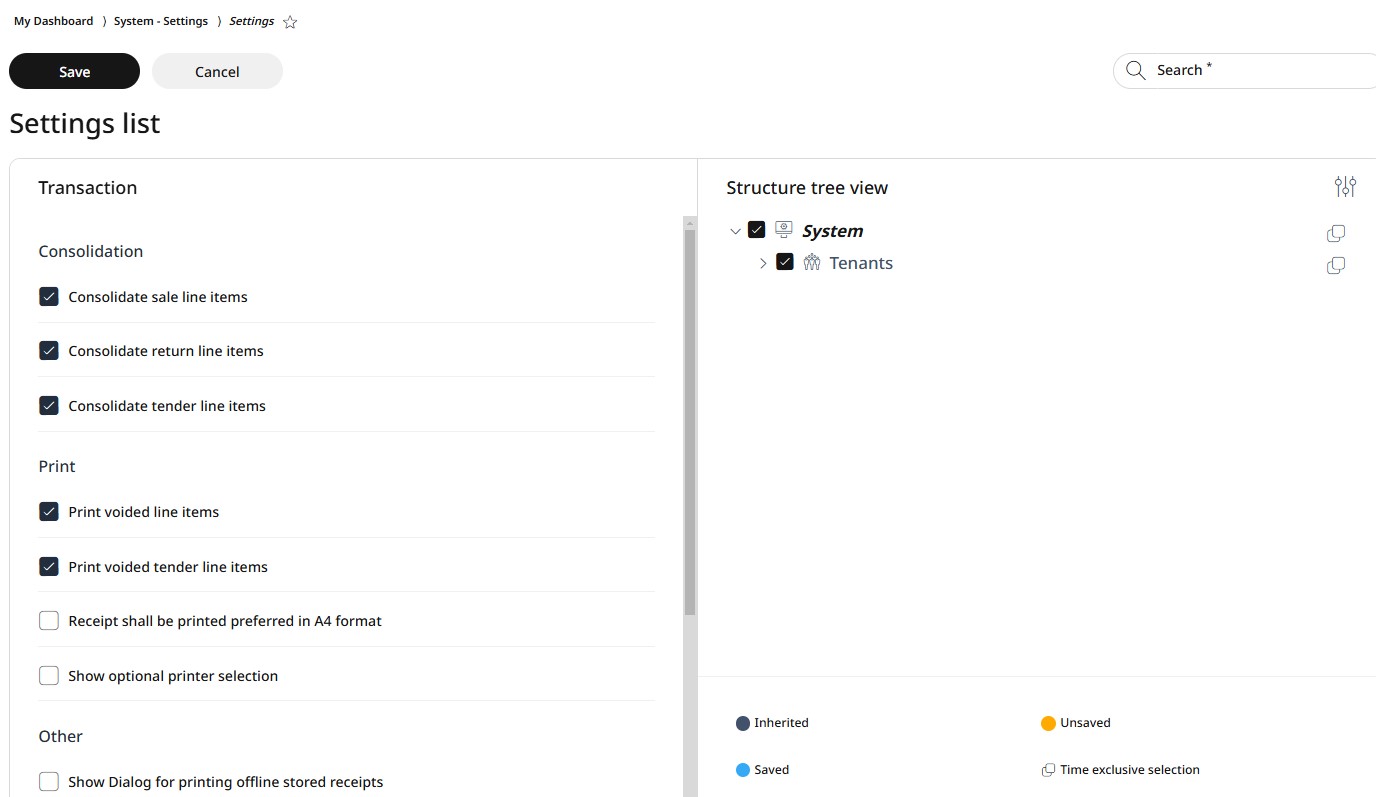
Under the Transaction section, you can manage settings and enable or disable the following:
Consolidate sale line items
Consolidate return line items
Consolidate tender line items
Print voided items
Print voided tender line items
Receipt printed preferred in A4 format
Show optional printer selection
Show dialog for printing offline stored receipts
Print item number
Comments should not be printed on receipt
Price strategy for calculation, chosen from dropdown list
Void receipt is allowed
To apply changes, first follow the steps in the right-side panel as explained in the Using the Structure Tree section. Then, make the necessary changes in the left-side panel and click Save.
Cashier rights

Under the Cashier rights section, you can manage settings and enable or disable the following:
Generating reports (X report, Z report)
Allowing discounts (item discount, receipt discount)
Cash and tender operations (adding loan, paid in and out, open float, till balance, tender exchange and pickup, alternative tax and tax exempt, pocket balance, price override, print as a bon)
Stock management operations (adding, counting, transfering and writing off stock)
Gift card operations (gift card status check, issue, sell and return gift card)
Item operations (item menu, return deposit, return with receipt and without receipt)
Sales person number capture
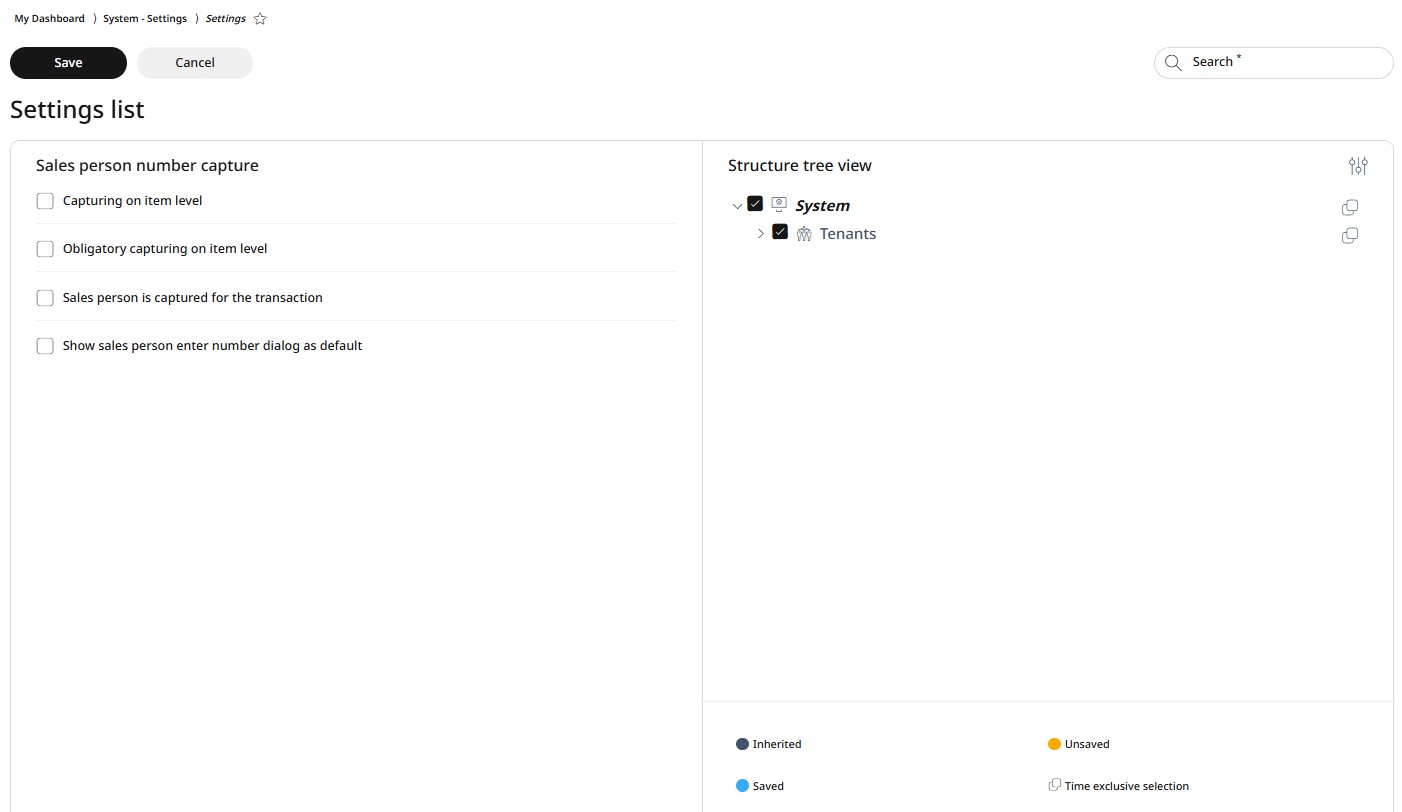
Under the Sales person number capture section, you can manage settings and enable or disable the following:
Capturing on item level
Obligatory capturing on item level
Capturing on transaction
Show "sales person enter number" dialog as default
To apply changes, first follow the steps in the right-side panel as explained in the Using the Structure Tree section. Then, make the necessary changes in the left-side panel and click Save.