10.6.3 Communication
Under the Communication section, you can configure your own email server and system user email. While some settings have default values that can be adjusted, some are best left unchanged. If you need assistance or have any questions, please contact our support team.
Some setting view is divided into two panels: on the left, you can configure the setting options, while on the right, the structure tree allows you to specify which levels these settings apply to. This enables different settings to be assigned to each branch of the tree, down to individual devices.
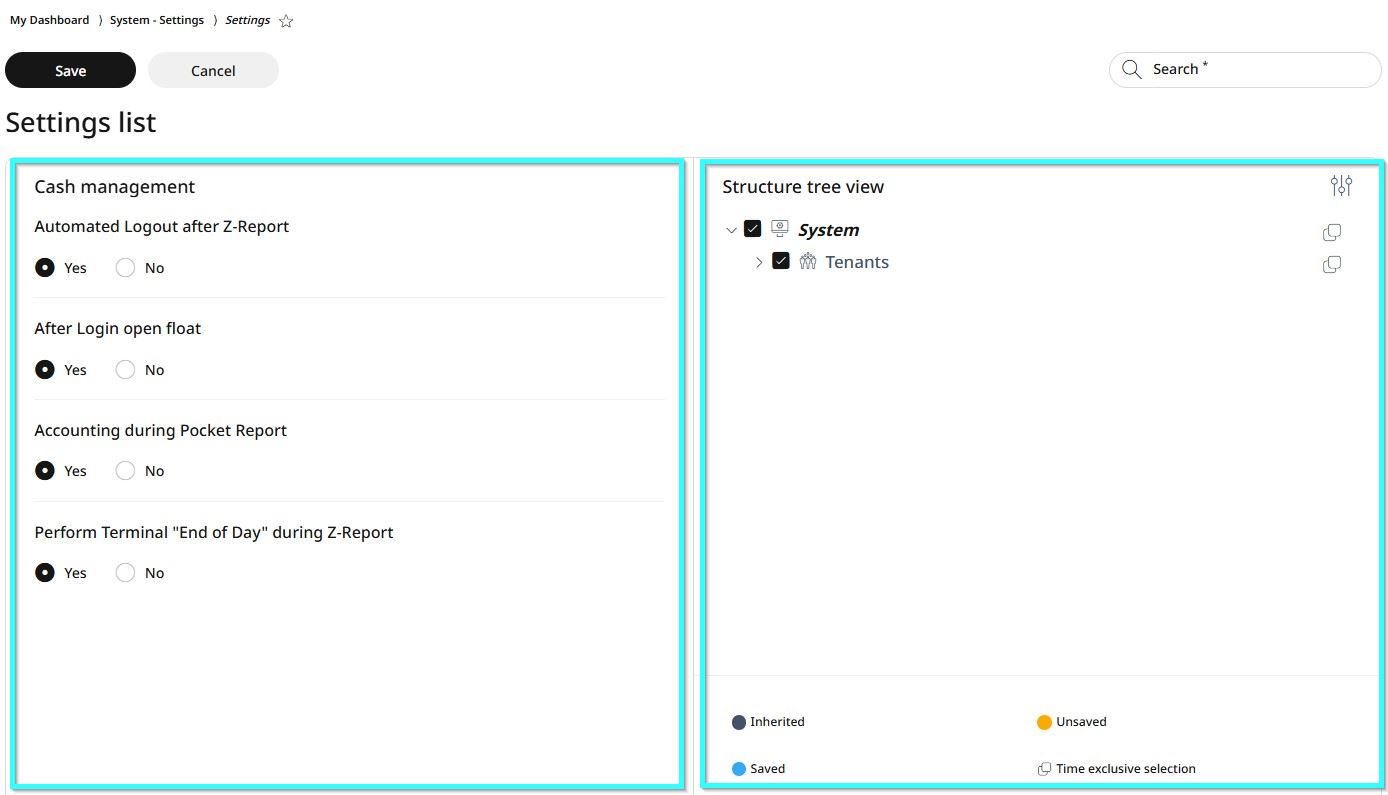
Using the Structure Tree View
Click the settings icon in the upper right corner to open the full tree view.
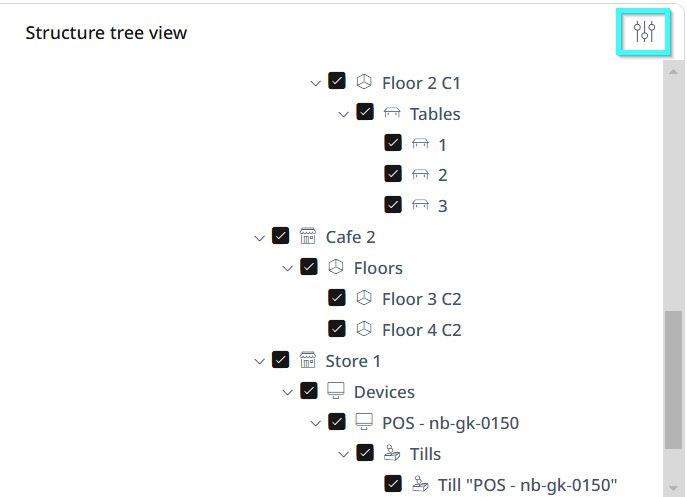
By default, all levels are selected. Scroll down to find the level where you want to apply changes.
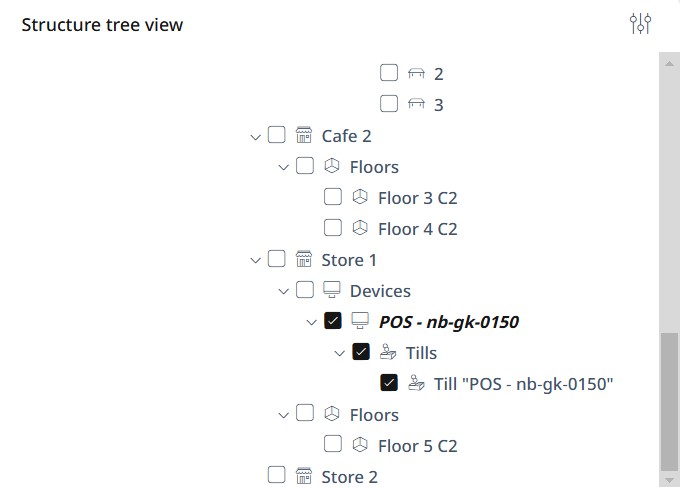
Click the checkbox next to that level to deselect all levels.
Click the checkbox again on the specific level where you want the new settings applied. Now, only this level is selected.
Now go to the right-side panel, configure the new settings and click Save, or select Cancel to discard changes.
Settings list
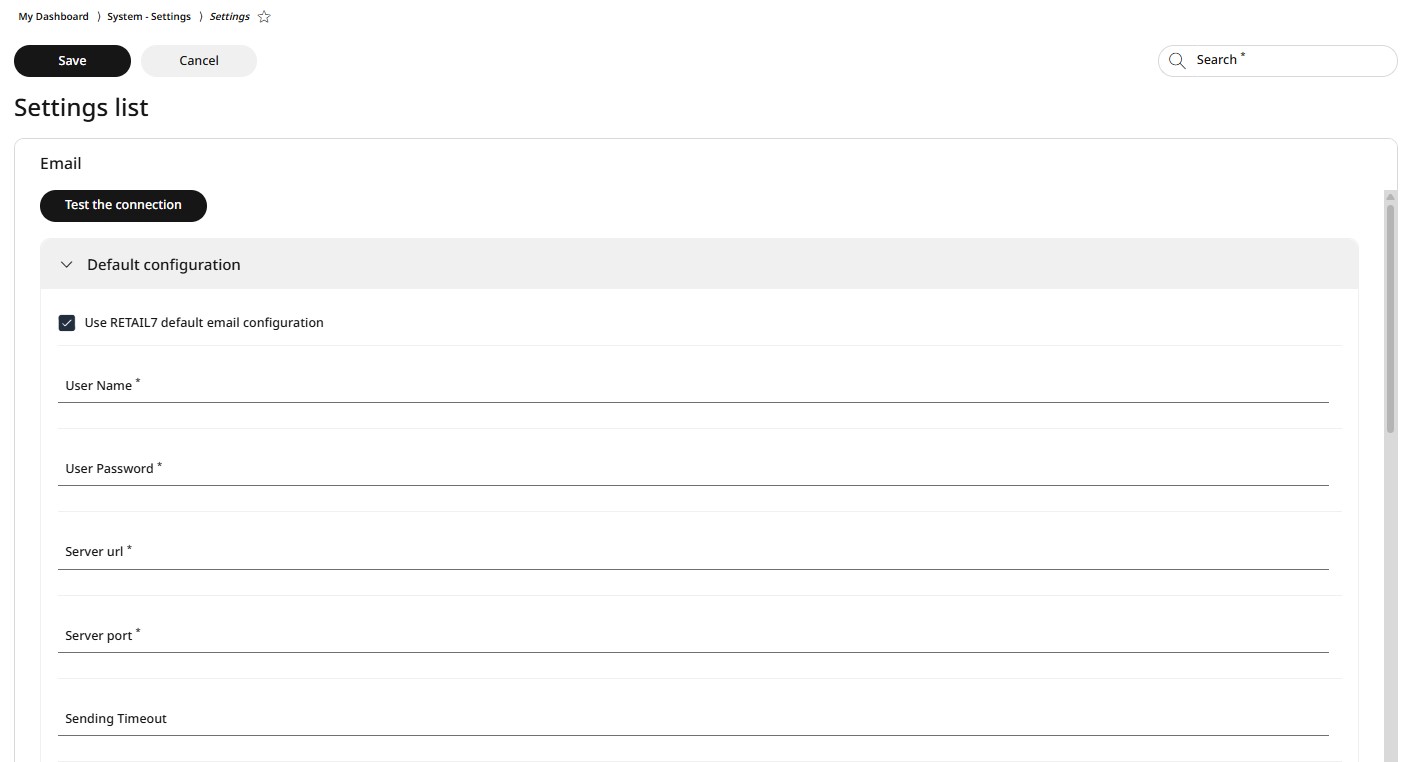
Under Email settings, you can manage, enable or disable the following:
Enter the user name
Set up the user password
Configure the server port, sending timeout, sender address, sender name and reply-to address
Enable the server to support encrypted connection (SSL/TLS)
Choose from the rolldown menu which user protocol the server uses (POP3, SMTP, IMAP)
The default connection is set up by RETAIL7 and can be tested using the Test the connection button.

If you prefer to use your own configuration, uncheck the Use RETAIL7 default configuration box, right under the Test button. After setting up your custom configuration, test it with the Test the connection button and make any necessary adjustments.
If issues arise, you can revert to the RETAIL7 default configuration by checking the box again. For further assistance, contact our support team.
System user
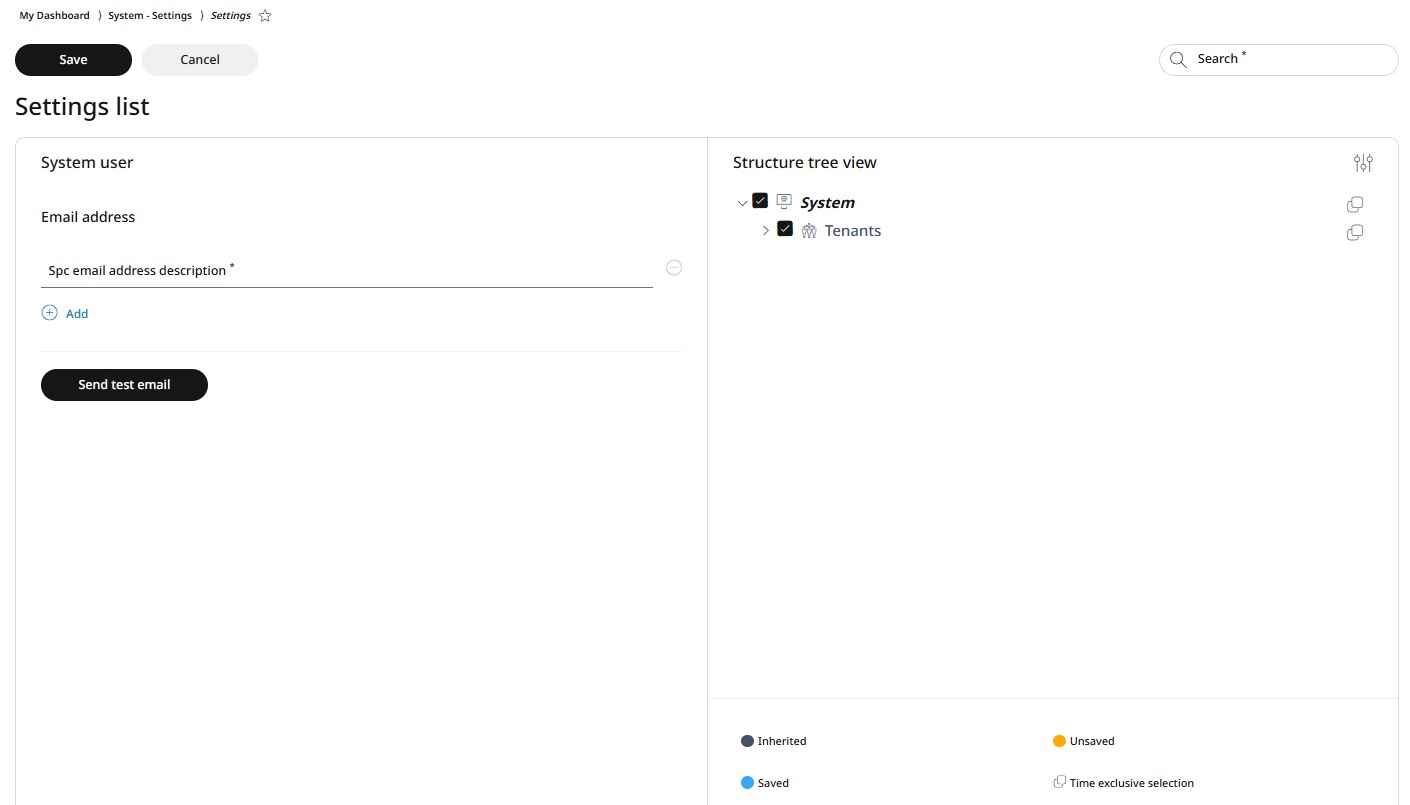
Under System user settings, you can update the email address where notifications about low-stock items should be sent. You can set up more than one email addresses with the + Add icon, and test the new settings with the Send test email button.
To apply changes, first follow the steps in the right-side panel as explained in the Using the Structure Tree section. Then, make the necessary changes in the left-side panel and click Save.