10.3 Reasons
In the RETAIL7 system, you can define various reasons required for specific operations. These reasons must be provided in the POS system to authorize certain cash in or out transactions, such as processing a refund for a faulty item or verifying a cash management transaction.
NOTE: Only users with the highest access role can create or delete reasons, while those with lower access roles can still view and edit existing ones. As a result, the Add button is only displayed based on the access level of the logged-in user.
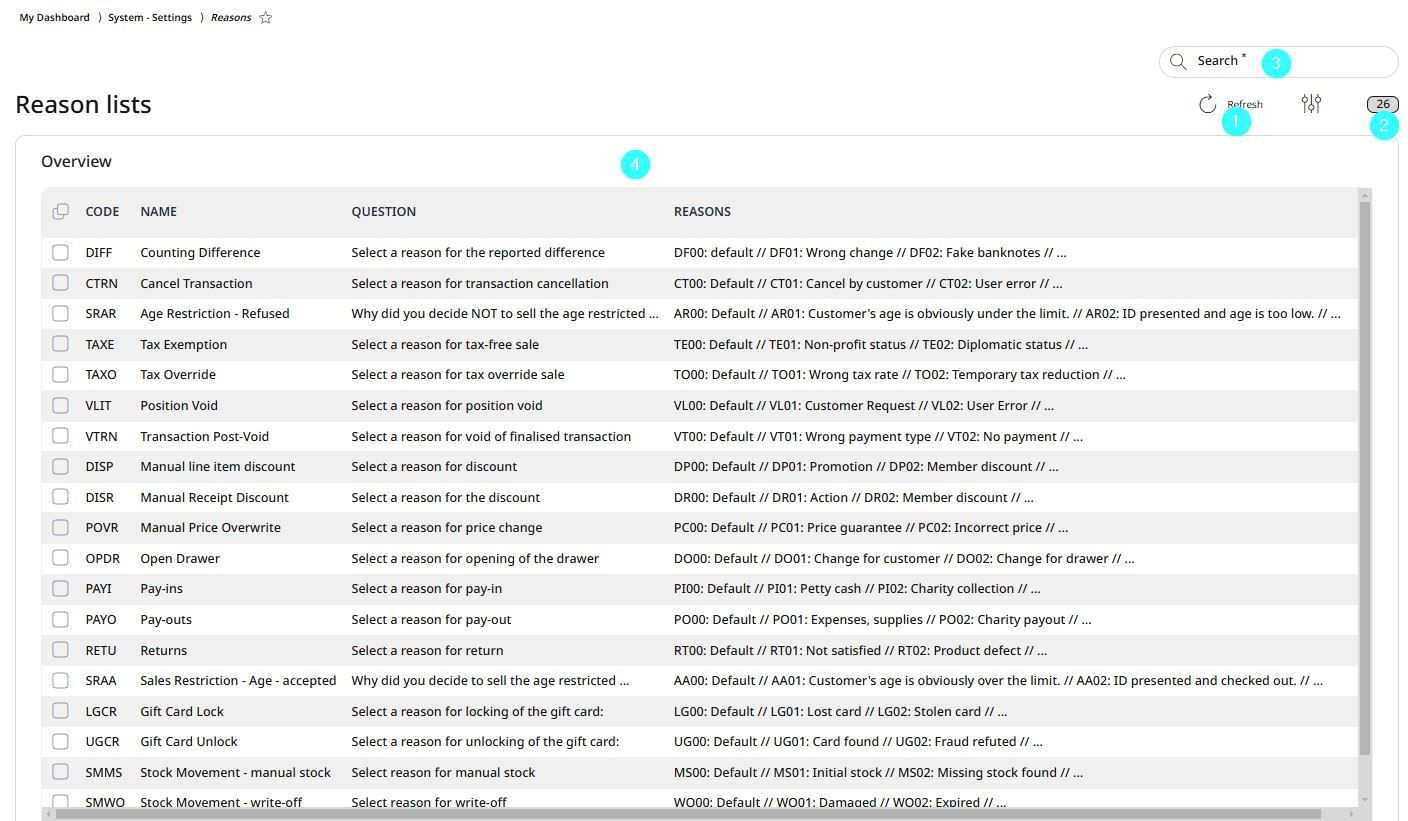
Update list
Number of list elements
Search for list elements
Information about the reasons
Editing reasons
To edit a reason, navigate to Management Console → Menu → System Settings → Reasons. Select the relevant reason by clicking on it, then choose Edit to modify the details.
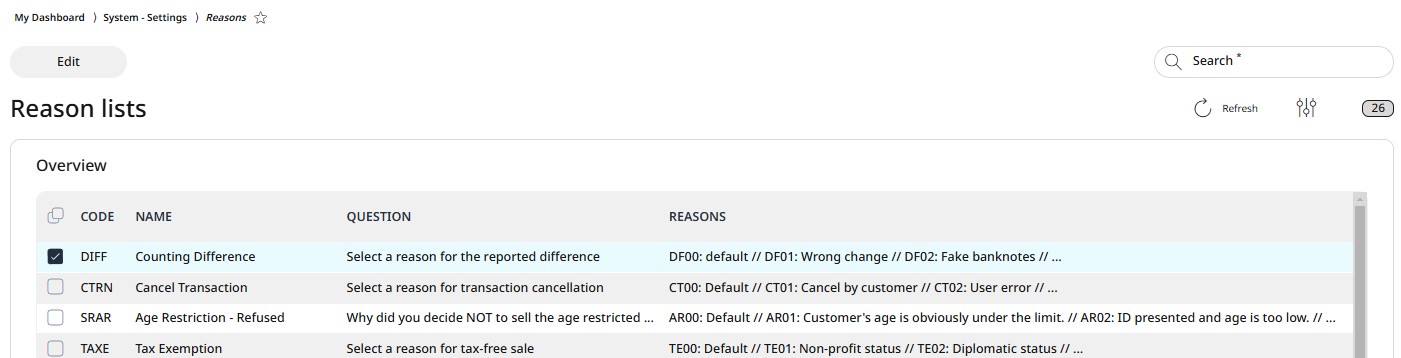
To edit a reason, select it from the list and click Edit.
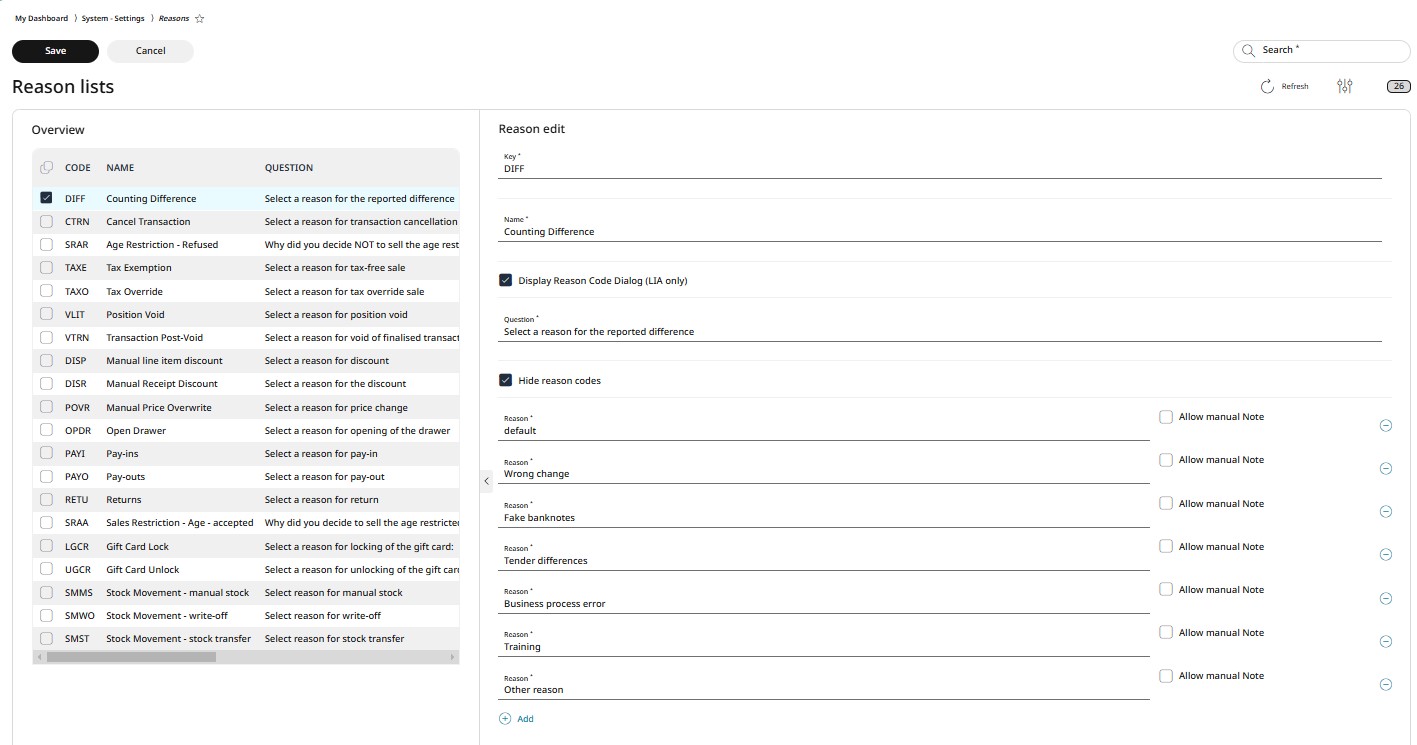
On the Reason Edit screen, you can modify the key and name, as well as use a checkbox to determine whether the Reason Code Dialog should be displayed.
You can edit the prompt question that appears for the cashier, helping them select the appropriate explanation for using the reason in the transaction.
Another checkbox allows you to decide whether the reason code should be visible or hidden.
Additionally, you can assign different explanation choices for the reason's usage. By selecting a checkbox for each option, you can specify whether manual notes are allowed.
If needed, you can add new reasons using the Add link below the list.
Click Save to confirm or Cancel to discard the changes and exit the editing process.