11.7.1 Add stock
With this function, stock can be added directly via the retail7 app, so it can be stored digitally in the system. It can also be viewed at any time via the Management Console under Menu → Master data → Stock management.
Open the retail7 app.
Enter the login data and log in.
Open the Stock Management menu.
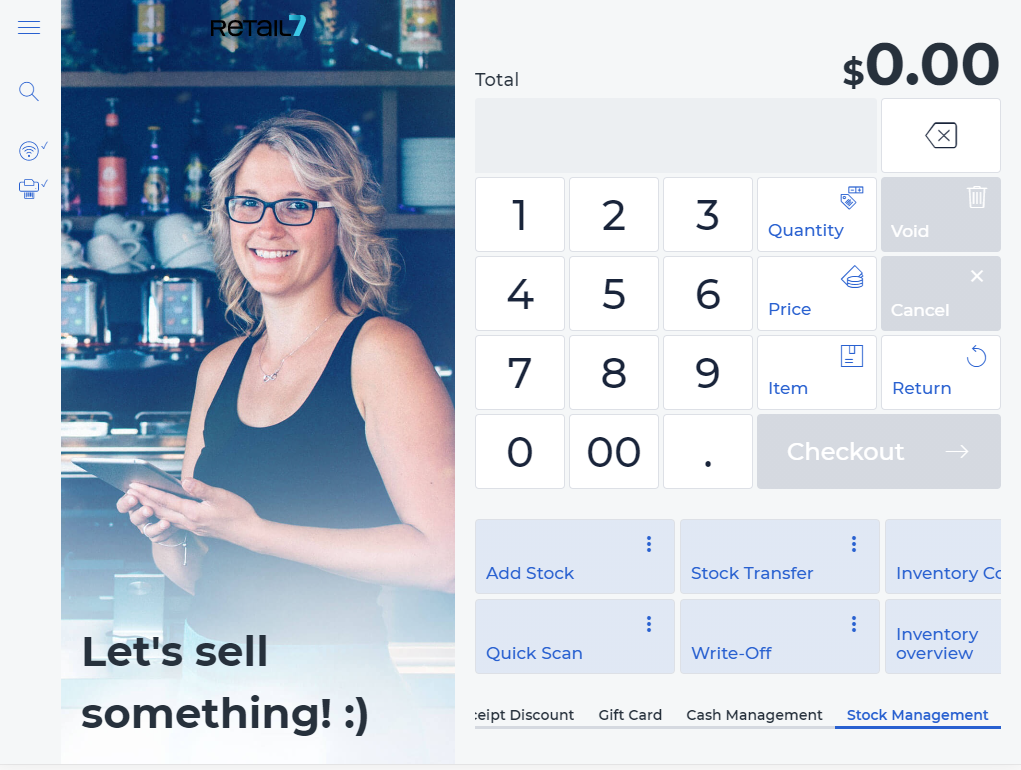 This menu provides an overview of all the functionalities of the retail7 app, regarding stock management. With these functions, the inventory of the registered items can be configured in the retail7 POS system. In addition, the inventory must be set up in the Management Console under Menu → Master data → Stock management. Further information in the Stock Management section.
4. Select Add stock.
5. Enter the item number or name and select the item from the list.
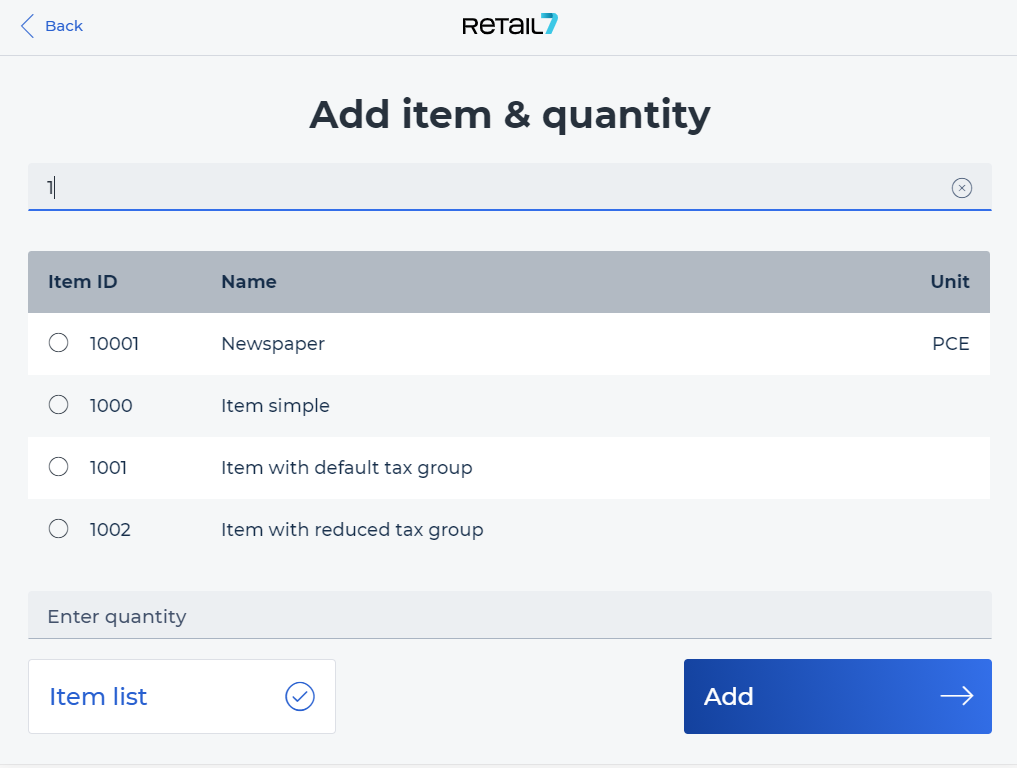 The item number is only assigned once in the system. Therefore, all items are uniquely assigned. In addition, all item names are assigned uniquely so that they can be recognized directly. If no item appears in the list, it is not enabled for inventory management. To change this, the respective article must be configured accordingly in the Management Console. For more information, see the Stock Management section.
6. Define the Quantity.
7. Click Add.