11.1.5 Item menu
With the help of item menus, the items can be sorted systematically. Thus, a superordinate name can be assigned to a menu and then all articles can be assigned to it. This configuration is done in the Management Console. For more information, see the Item Menu chapter in the Management Console section.
Open the RETAIL7 app.
Enter the login data and log in.
Open the Item menu from Favorites.
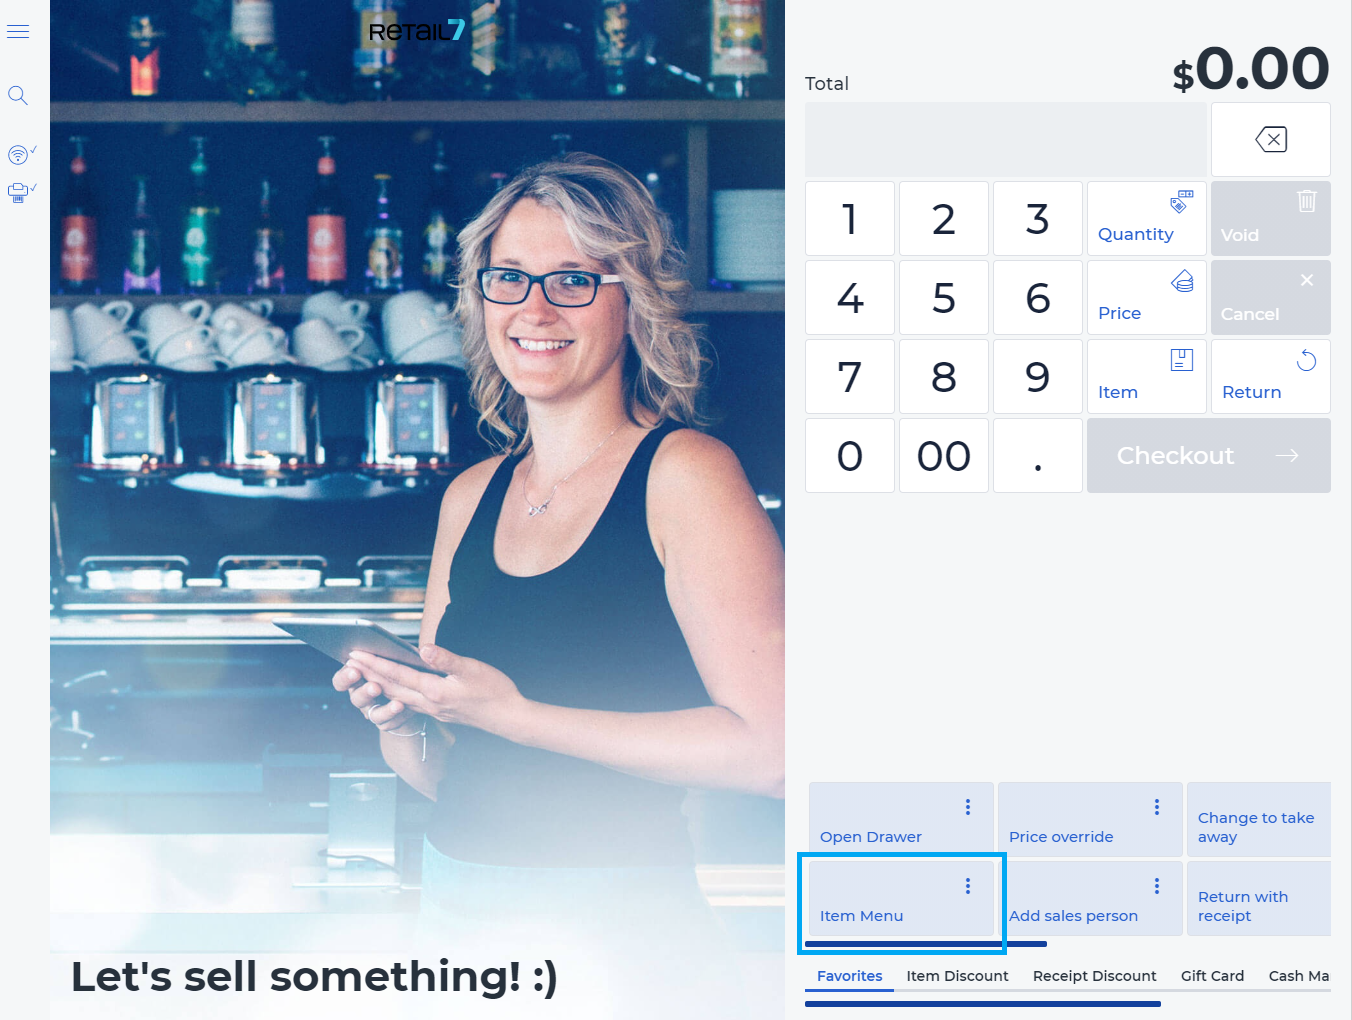 The menu is located in the lower right area of the display, together with all other menus that can be used to control the RETAIL7 app. The menus are always displayed after logging in, you can navigate them with the help of the sliding bars.
 All item main menus with the corresponding items are displayed here, you can navigate between them by simply scrolling them right and back. The main menus can be created in the Management Console and the items can also be assigned to each there. With the help of the menus, you can have a quick overview of all available items in the POS system.
5. Select the desired item and by clicking on it, the item will be added to the transaction.