7.1 Emails
7.1.1 Email content
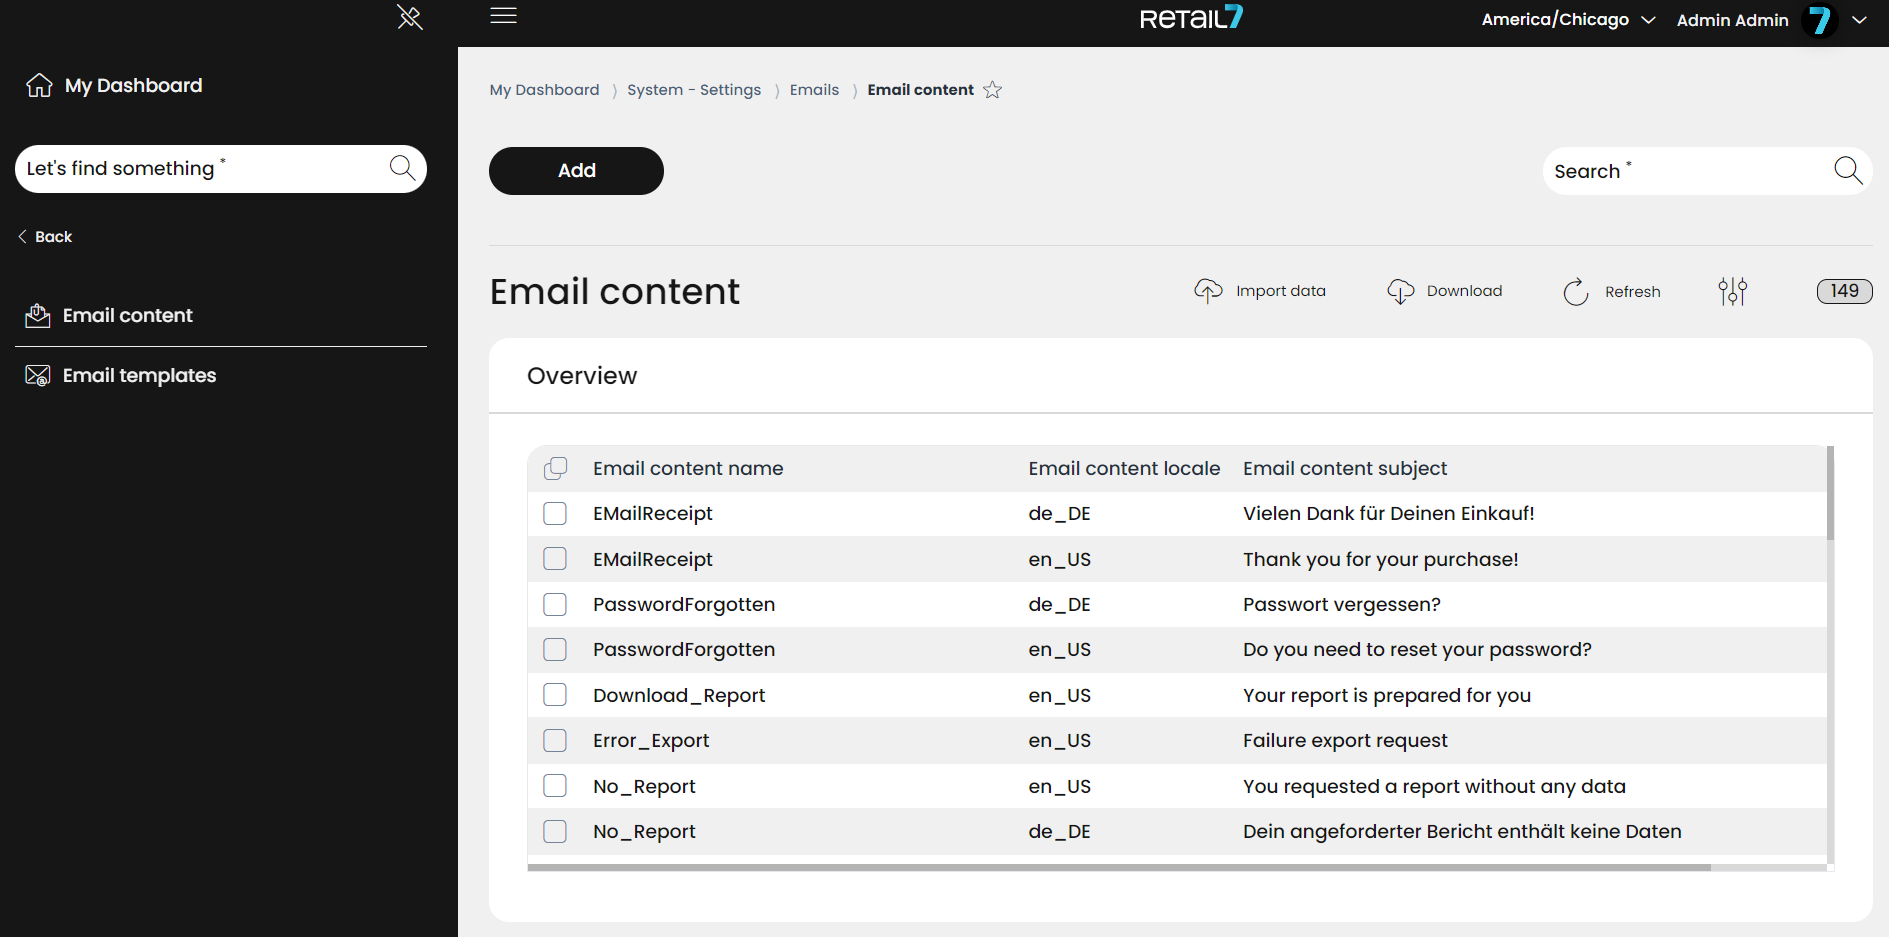
Here you can find the email contents and templates you can use for every aspect of communication, as well as language variations. Besides the default ones, you can upload your own database, edit and delete the items of the list.
1 Import email content
Click on Import.
Drag and drop the file into the import window.
Select the desired import option.
Set your own scheme.
Auf Import klicken.
2 Email Content Download
Click on Download.
Select a desired file format.
Open an email box and download the file.
3 Update list
Click on Update.
Wait until the list has finished loading.
4 Number of list items
5 Search for list elements
Enter the desired search term in the search.
Click on the magnifying glass.
Wait for the result and select a desired item.
Under 4 you can see how many items were found out of the total number.
6 Information about email content
7.1.1.1 Add email content
Here the content of the email can be added. For example, if an email address has been specified for receiving a digital receipt, one will automatically receive the email content that has been configured for this case. Thus, an email can be created for each use case, which will be displayed automatically.
Open the menu System settings → Emails → Email content.
2. Click on Add.
3. Select the locale from the list.
For Germany, the corresponding locale is de_DE. Since RETAIL7 is a multilingual POS software, there is a large selection of possible locales here.
4. Select an existing template.
Templates can be created under Menu → System Settings → Emails → Email Templates. More information is available in the Email Templates section.
5. play an ID of the content.
6. Set the subject of the email.
In the subject, you can briefly describe the subject of the email in keywords, so the recipient can already assign it thematically.
7. Select a source for the logo.
In this case, the logo overwrites the email template. Now the email content is displayed in HTML format.
8. Insert the desired email content in the Content area.
Switch to the Preview submenu. Here you can see in which form the email will be sent.
9. Click on Save.
7.1.1.2 Edit and delete email content
With RETAIL7, it is possible to edit and delete emails that have already been saved at any time. Delete the content when it is no longer needed so that the system is always up to date. If a change has been made, it must be saved again so that no information is lost.
To edit email content:
Select the desired email from the list.
Click on Edit.
Make all the necessary changes.
Click on Save.
To delete email content:
Select the desired email from the list.
Click on Delete.
Confirm the dialog box with Yes.
Click No to cancel the deletion process.
7.1.1.3 Send a test email
This function can be used to create an email and send it as a test. Thus it is checked whether all settings are correct. In addition, it can be determined whether the recipient really receives the email as well as visually looks like it was configured.
Select the desired email from the list.
Click on Send test email.
7.1.2 Email Templates
1 Import email template
Click on Import.
Drag and drop a file into the import window.
Select a desired import option.
Specify your own scheme.
Click on Import.
2 Email Template Download
Click on Download.
Select a desired file format.
Open an email box and download the file.
3 Update list
Click on Update.
Wait until the list has finished loading.
4 Number of list items
5 Search list items
Enter the desired search term in the search.
Click on the magnifying glass.
Waiting for the result and select a desired item.
Under 4 you can see how many elements were found out of the total number.
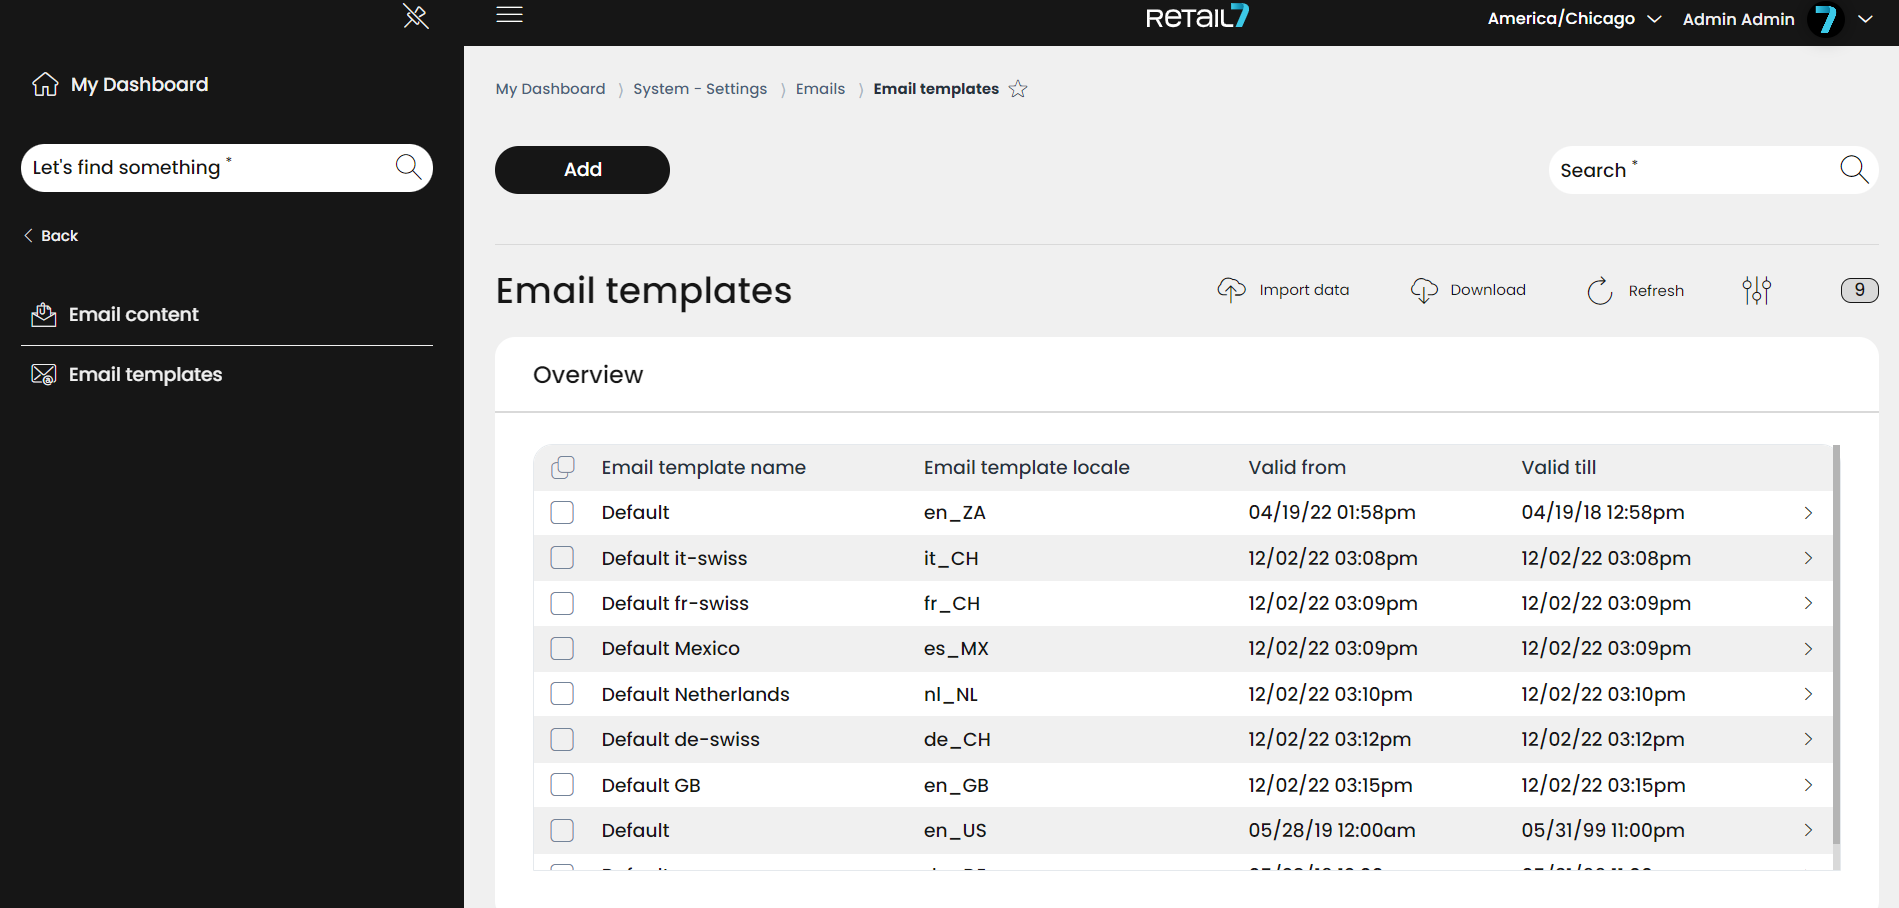
6 Information about email template
7.1.2.1 Add email templates
Templates are templates that can be created for emails. New emails can then be based on this template. The advantage in this case is that the emails have a uniform structure and do not have to be designed from scratch again and again.
Open the menu → System Settings → Emails → Email Templates.
Click on Add.
Open the Master Data submenu.
Enter a name for the email template.
Select the appropriate locale.
For Germany, the corresponding locale is de_DE. Since RETAIL7 is a multilingual POS software, there is a large selection of possible locales here.
6. Create the time period for the template.
The selected template is active for the selected period. After that, it will no longer be used.
7. Select the logo source.
In the subject line, you can briefly describe the subject of the email in keywords, so that the recipient can already assign it thematically. 8.
8. Select the Template submenu.
For Germany, the corresponding locale is de_DE. Since RETAIL7 is a multilingual POS software, there is a large selection of possible locales here.
9. Click on Save.
7.1.2.2 Edit and delete email templates
With RETAIL7, emails that have already been saved can be edited and deleted at any time. Delete the template when it is no longer needed so that the system is always up to date. If changes have been made, they must be saved again so that no information is lost.
Editint email templates:
Select the desired email template from the list.
Click on Edit.
Make all necessary changes.
Click Save.
Deleting email templates:
Select the desired email template from the list.
Click on Delete.
Confirm the dialog box with Yes.
Click No to cancel the deletion process.