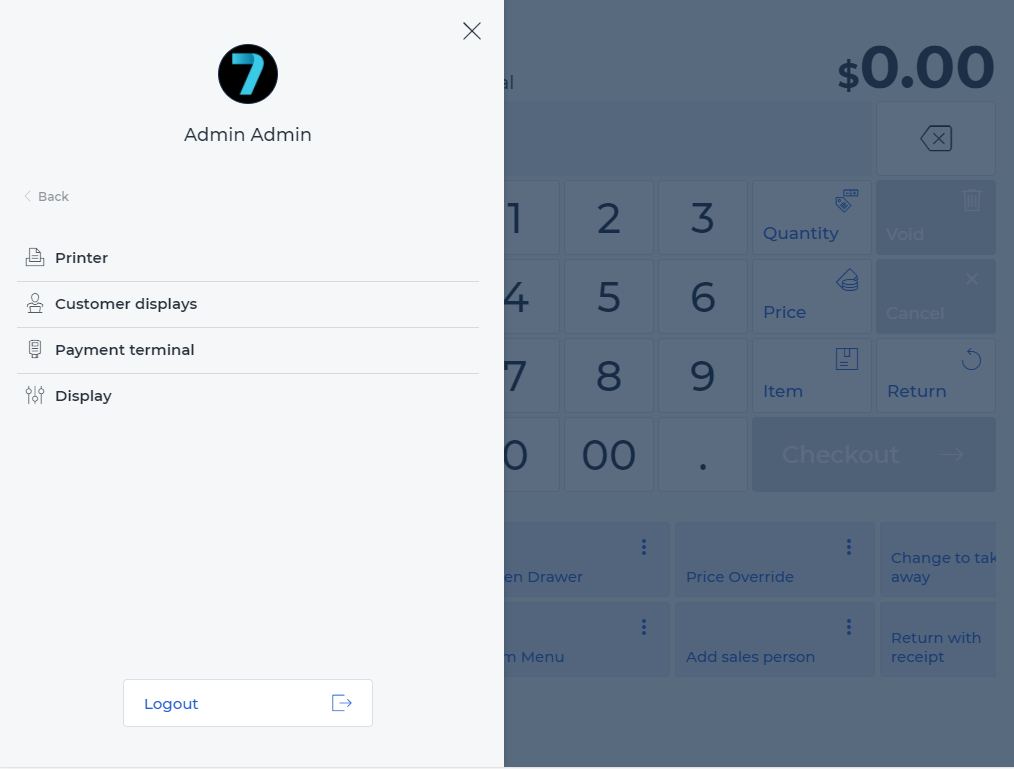
9.2.2 Customer display
After opening the user menu of the retail7 app and opening the Settings, simply select the Customer Display option.
Create your customer display
Once the POS app has been installed on an end device, at the configuration you can choose if you would like to use it as a cash register or a customer display.
NOTE: It is important that the customer display is not just another monitor connected the cash register, but an independent device on which the app should also be installed. This means, that you already have to have an end device with the POS cashregister app installed, to which the customer display can be connected. Also important that to be able to configure a new end device as a customer display, you have to purchase a customer display license in the Management Console.
Setting up a customer display:
1. To create the customer display, first you have to select the customer display as the type of your end device at the configuration.
2. Connect the customer display device to the cash register device. To do this, go to the menu of the cash register POS device, enter Settings -> Customer display and click on connect customer display. An access code will appear on the screen.
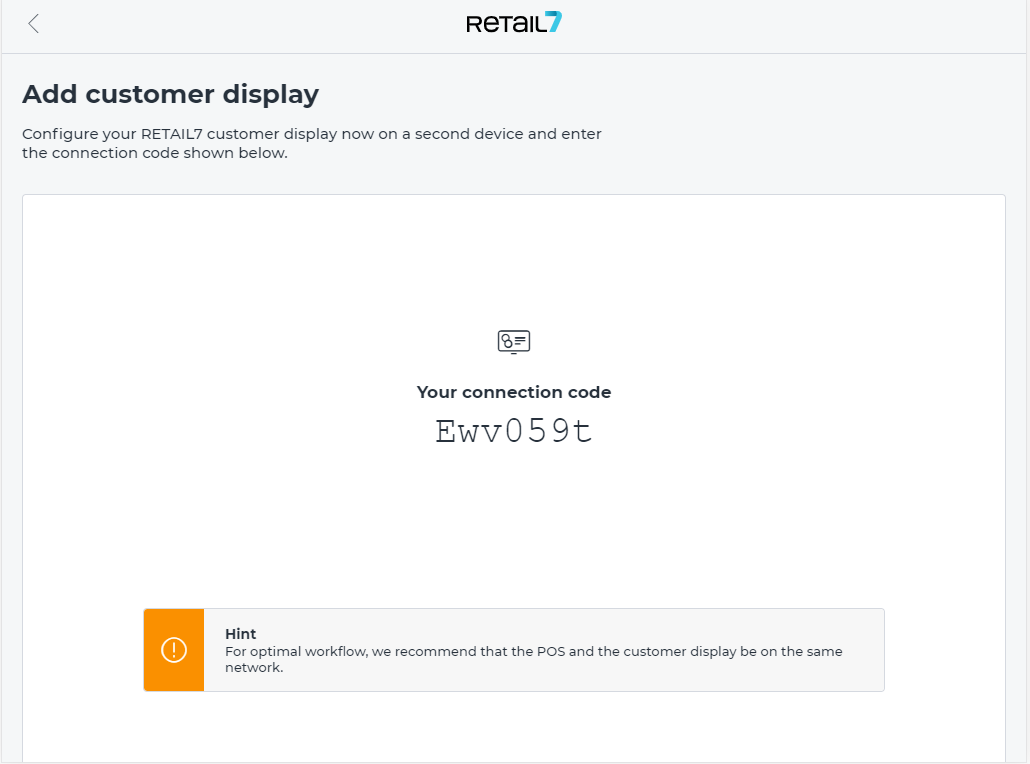
3. This code must then be entered on the customer display device at connect to cash register.
4. After that, the two devices synchronize. Then select the cash register variant and theme for the customer display and give the customer display a name. The device is then ready to use.
5. Then restart the cash register and the customer display will work.
For each payment, the items and the sales information can be shown via the display. It is also possible to display a QR code that the customer can then scan. This allows the customers to download the receipt directly to their cell phone.