6.1 Item import / export
The RETAIL7 checkout system offers the Import and the Download function in the item list. The correct use is explained here.
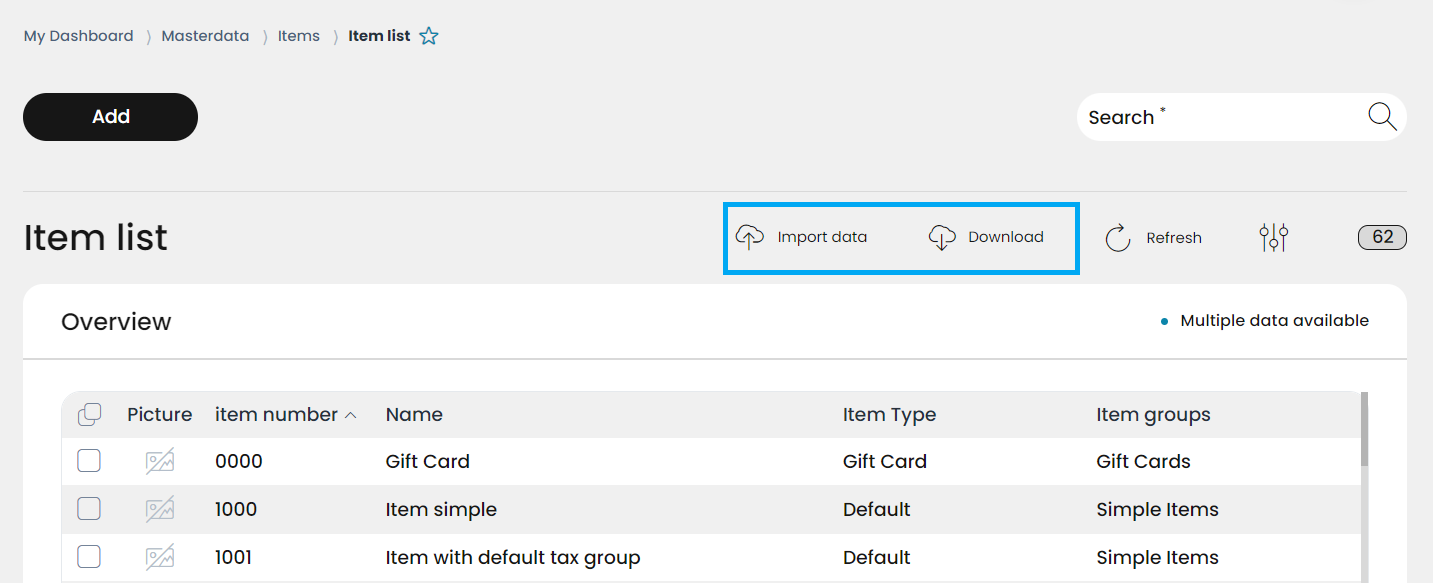
Import
After purchasing the RETAIL7 POS system, it is of course possible to create articles manually.
However, it is also possible to use a service for the data import. We recommend using this service for an assortment with more than 100 articles. RETAIL7 creates the mapping, which usually takes about 4 hours.
However, articles can also be imported into the item list themselves:
1. Go to Menu -> Masterdata -> Items -> Item list and click on Import.
2. Place the file in the import window via Drag & Drop.
3. Select the desired import option.
4. Set your scheme.
5. Click on Import.
Export
If the articles from the first cash register are also to be used in other cash registers, it is recommended to export the article list and import it in the next cash register. Of course, a backup of the article list can also be created in between.
It is advisable to perform an export after a certain period of time, if this is not officially ordered anyway. The export data can then be saved locally and imported back into the RETAIL7 POS system at a later date. In this way, there is a safeguard in case of data loss in the worst case.
How do you export the data?
1.Open the menu → Exports → Masterdata.
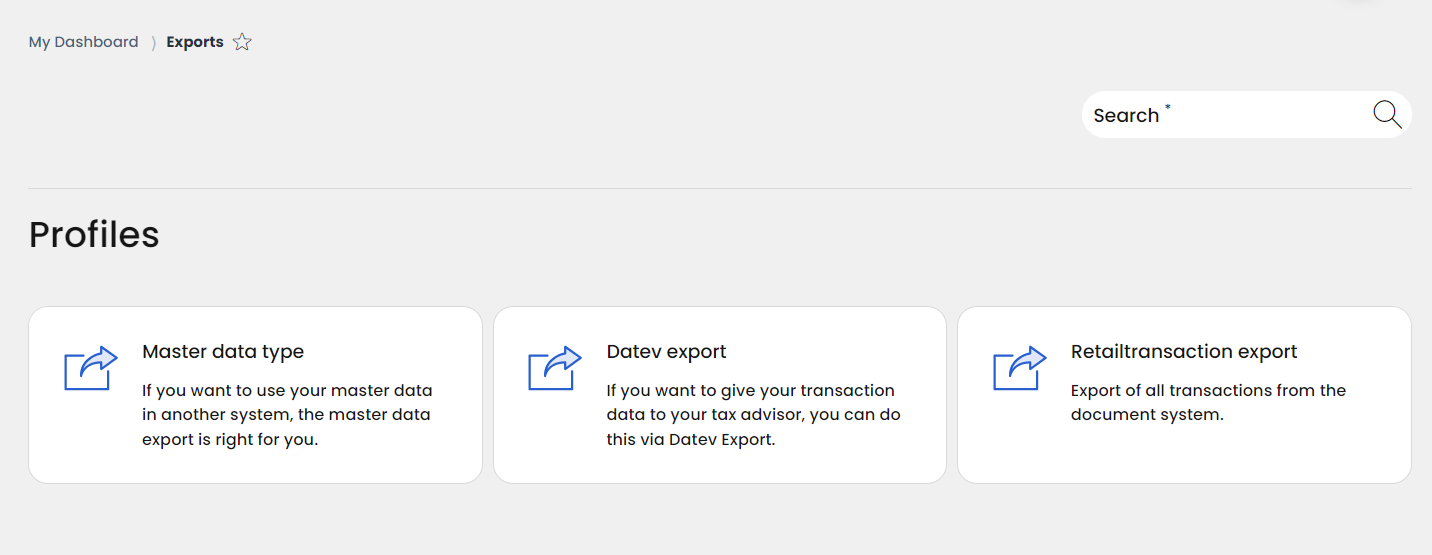
2. Select all tables to be sent.
NOTE: All tables contained in the master data can be sent here.
3. Select the file format.
In this format you get the e-mail of the master data. There are CSV (text file) JSON (data format), XSLX (Microsoft Excel format), XML (text file in structured XML format) and TXT (text file) formats.
In addition, articles can be downloaded directly from the item list:
1. Click on download.
2. Select a desired file format.
3. Open your own mailbox and download the file.