1.1.1 Cash register setup
In the next steps, we’ll show you how to configure the app as a POS cash register device. Once everything is set up, you’re ready to start selling!
ATTENTION: After successful registration, you will receive a license for one retail7 POS system, allowing you to configure one end device as a cash register. If you need additional cash registers on other devices, no problem! Simply purchase another license through the Management Console. To do so, log in, click “Add another license” in the center tile on the start screen, choose the desired model, and confirm the purchase.
Start the RETAIL7 app on the end device and click on Log In.
Enter the login data: the login credentials are the email and password you have already set up when registered at the Management Console.
Select your business type and click Next.
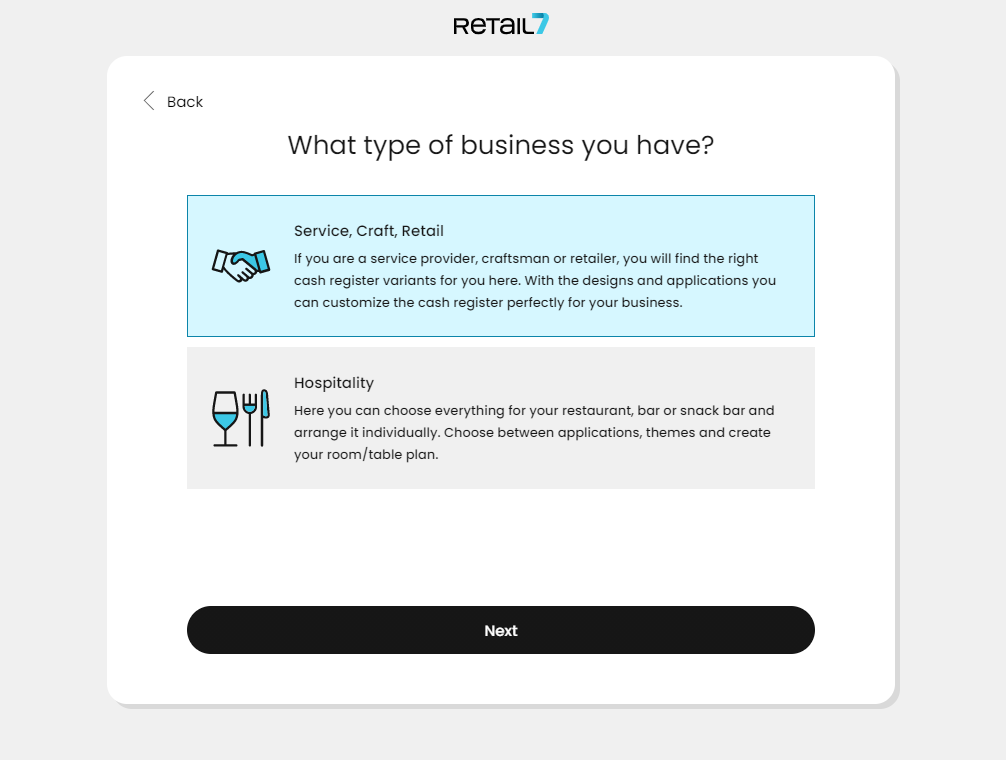
Based on the business types, the user interface of the cash register is different.
For Service, Craft, and Retail types, you get the functional scope of a classic cash register, like those commonly used in supermarkets.
With the Hospitality type, the cash register displays service areas (e.g., floors) and tables. This allows you to take and settle individual orders per floor, table, or customer separately.
Next step is to choose the type of the end device and select Next.
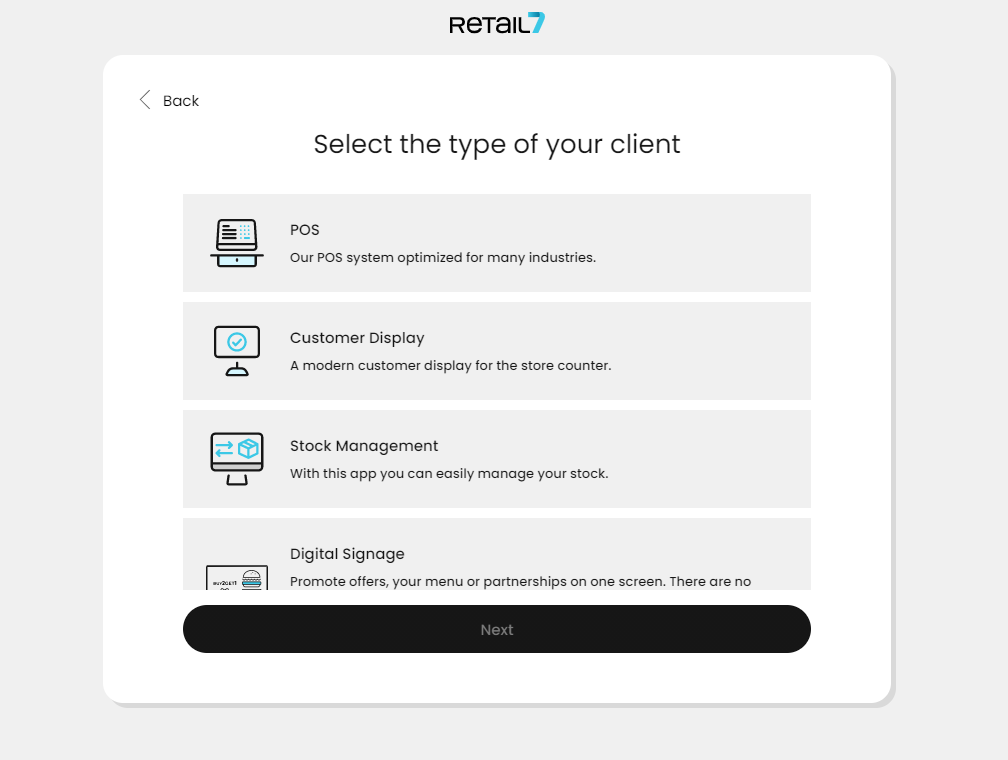
With the RETAIL7 POS app, you can configure various types of end devices, each with specific functions. The most important one is the POS device (cash register), which must always be configured first and is included in your initial license. Additionally, you can set up your device as a customer display, a stock management terminal, or other optional and useful accessories tailored to your business needs. In the following steps, we’ll guide you through setting up the cash register.
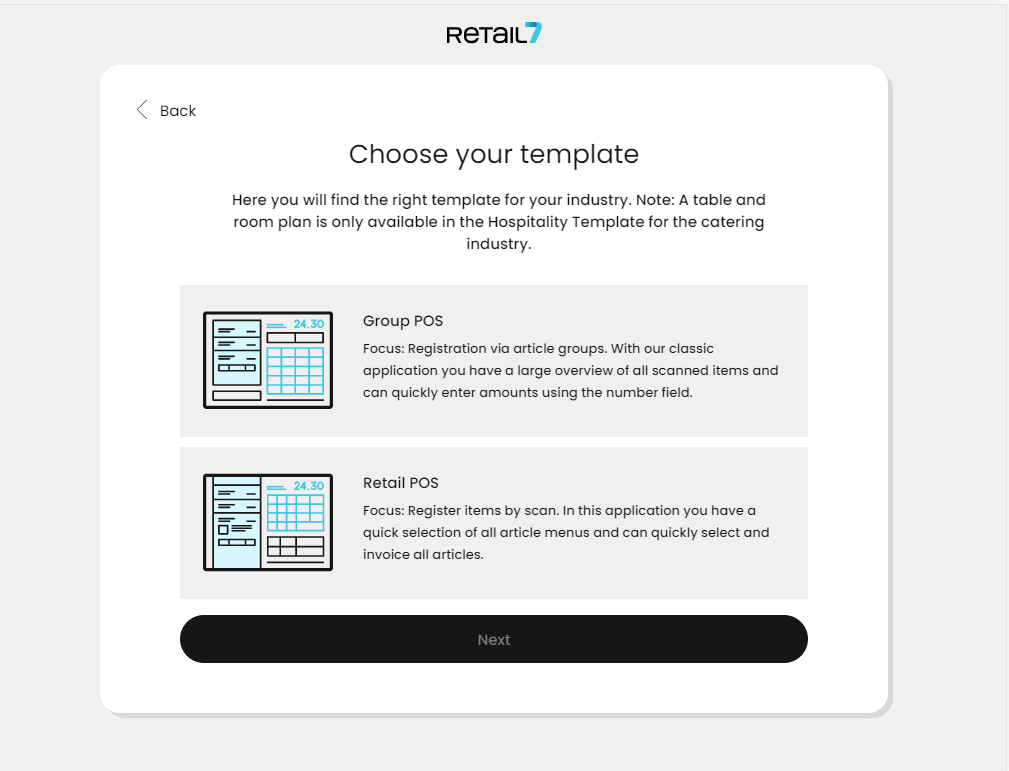
Select a Template and click Next. A template is not the visual elements, but the layout of the display: based on the different needs, you can choose different arrangement of buttons and functions here.
Next step is to choose the visual appearance of the user interface: decide on a Theme and choose Next. The Theme will add the visual design of the POS app, but won´t influence the functional layout of the user interface, you have just set up in the previous step with the Template.
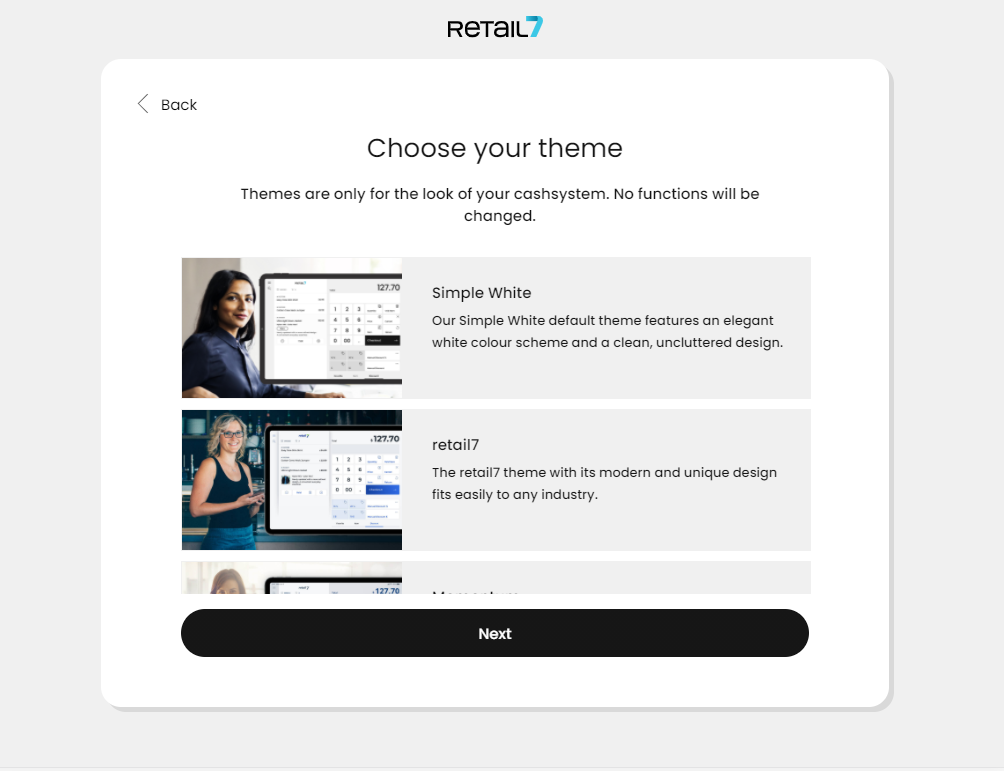
RETAIL7 offers a variety of themes that allow you to customize the visual appearance of your cash register to match your business profile. For example, the Coffee Theme is ideal for cafés, while the Flowers Theme suits florists. Even within the retail sector, you can choose from several color palettes to best represent your brand.
Now, if you have already done so in Management Console, you can choose in which of your stores you will use this end device.
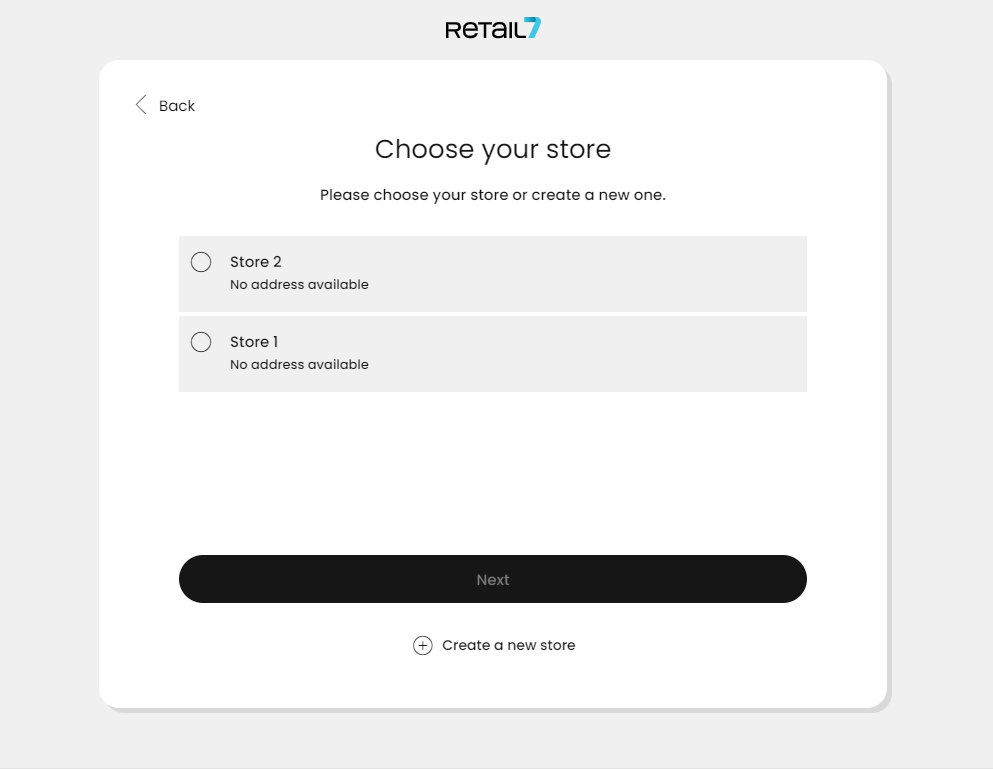
Or, if you haven´t created your store in the Management Console yet, now it´s time do it via the setup. Click on the Create a new store option!
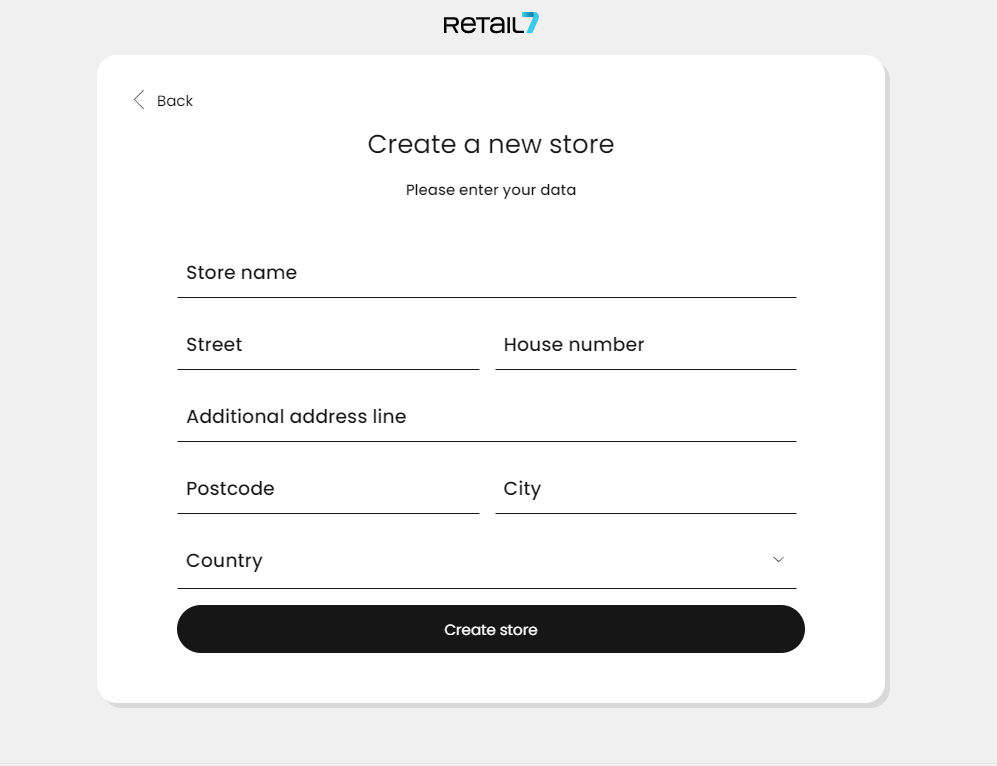
Fill all the respective data and click Create store - your first store is created!
From now on, this store appears also in the structure diagram of the Management Console after the saving process. With the help of the structure diagram in the Management Console, individual settings can be set up for each store. For instance, if you operate one store in New York and another in San Francisco, and each location offers a slightly different product assortment, you can create individual items and assign them specifically to the store where they are sold. This ensures that each store only displays and manages the relevant products in its POS system.
According to this principle, almost every setting can be configured via the retail7 Management Console. More information about the structure diagram is available under the My organization chapter.
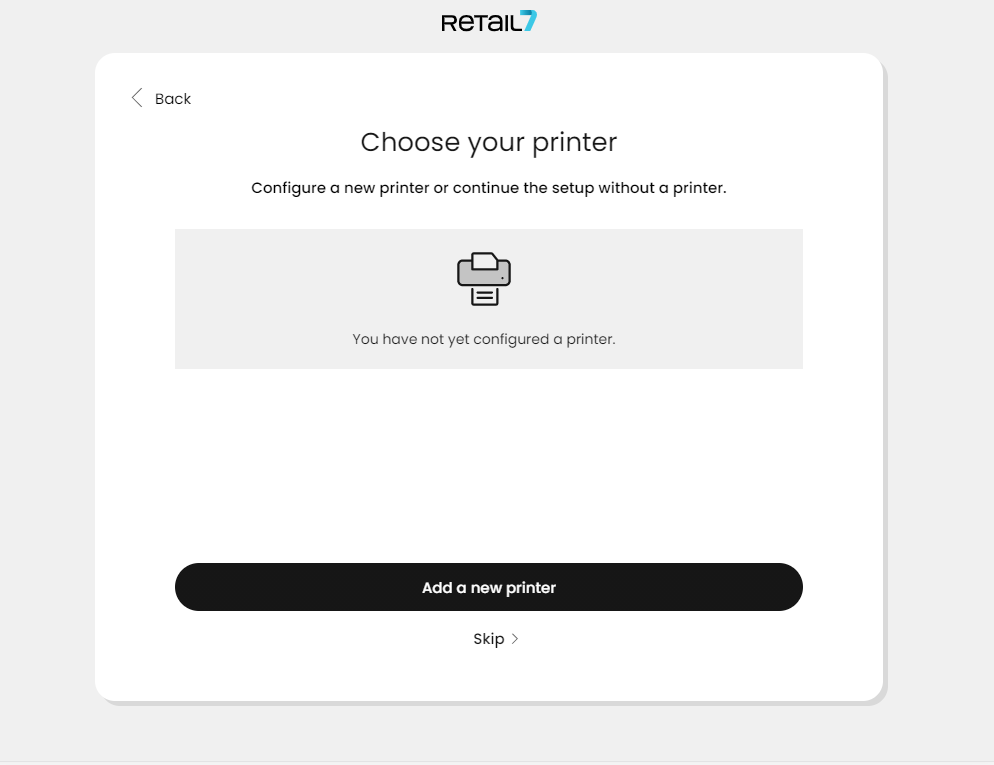
Since it´s useful to be able to print receipts and invoices (or in Hospitality, orders for the kitchen), now you have to set up the printer your POS app is connected to. On the Choose your printer page select Add a new printer.
The retail7 POS app offers a list of compatible printers at this point. For more details, refer to the Printers chapter.
In some cases, it is possible to skip the printer setup, but only if it has been defined in the Management Console that a printer is not required. If this condition is met, you will see the option to "Skip this step." Important to know, that a printer is generally required unless the receipt is delivered digitally (e.g., by email). By law, the customer must be offered a receipt generated by the POS system.
All other information regarding printer setup can be found on the printer manufacturer's website or at https://retail7.io.
Select your Printer from the list.
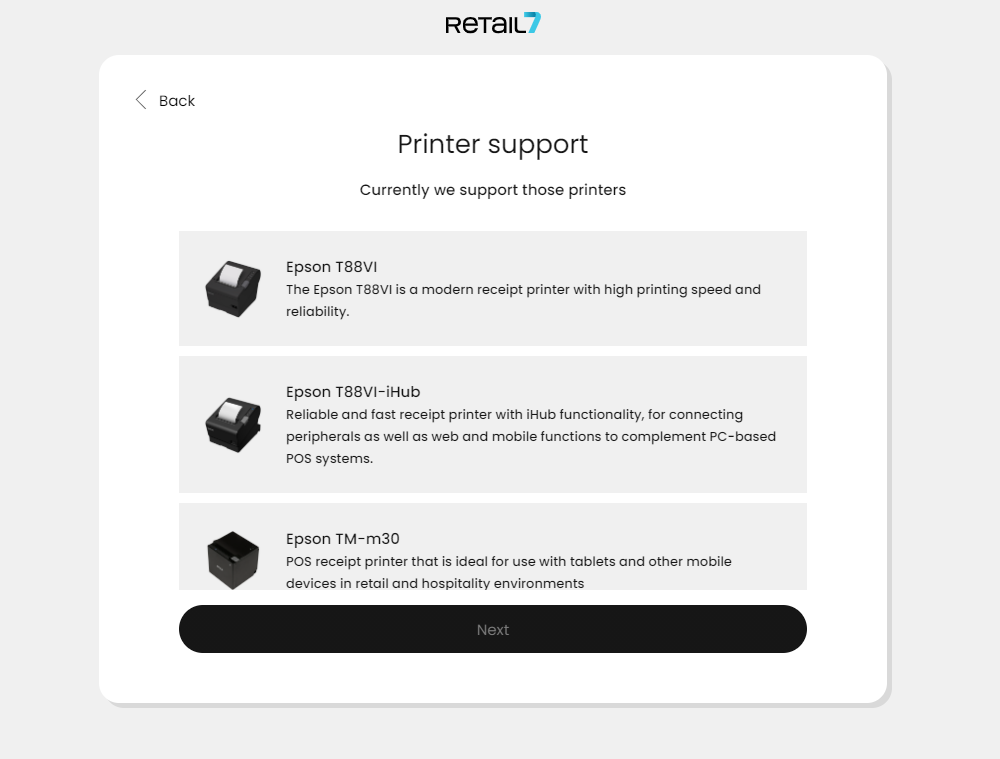
All printers compatible with retail7 software are listed here. For more information, see the Printers section or visit our website at https://retail7.io.
Confirm the Automatic printer search.
Here, the printer must be connected to the network, otherwise the search would fail. See the Hardware chapter for more information on the hardware available for the retail7 POS system. However, if the network search fails, you can define the name and the IP address of the printer manually, as well as whether a cashdrawer device is connected to the system, and click Next.
Select the fiscalization service provider and click Next, or set up one, if you already haven´t done so.
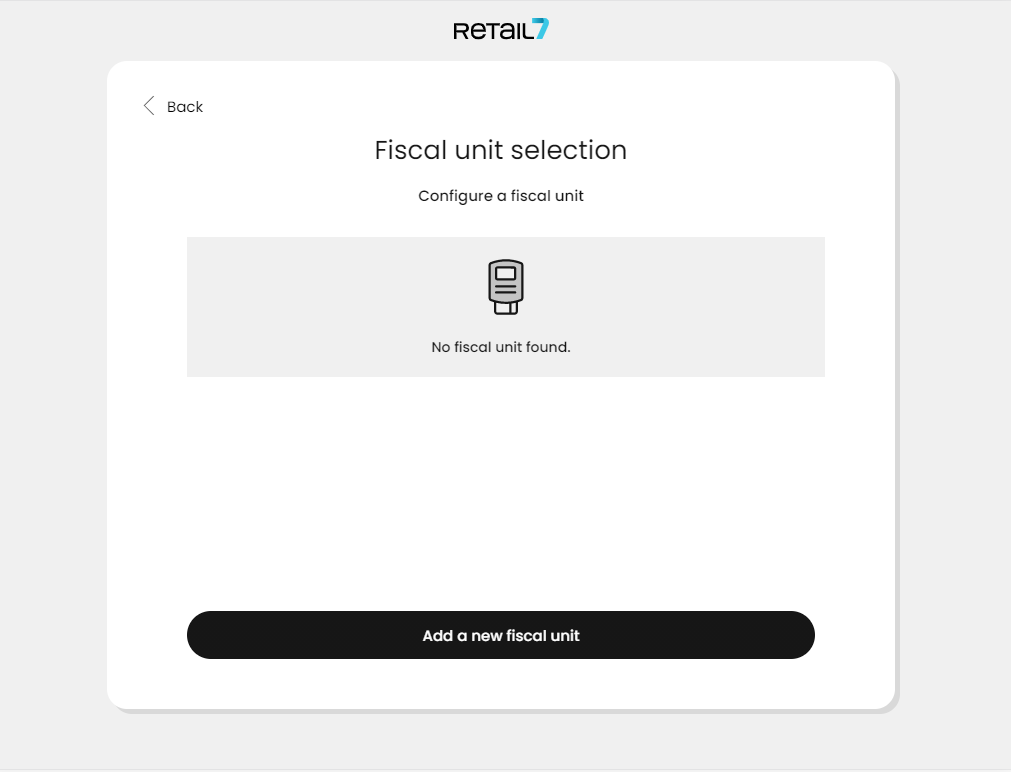
If a fiscal security technical device has already been configured, you can simply select it from the displayed list. If not yet configured, you can add it manually by entering the required data.
The fiscal security technical unit records all transaction processes carried out on the cash register. This data is then transmitted to the relevant tax authorities. For detailed information and the required data for setup, it is strongly recommended to consult a tax advisor.
Enter the fiscalization data.
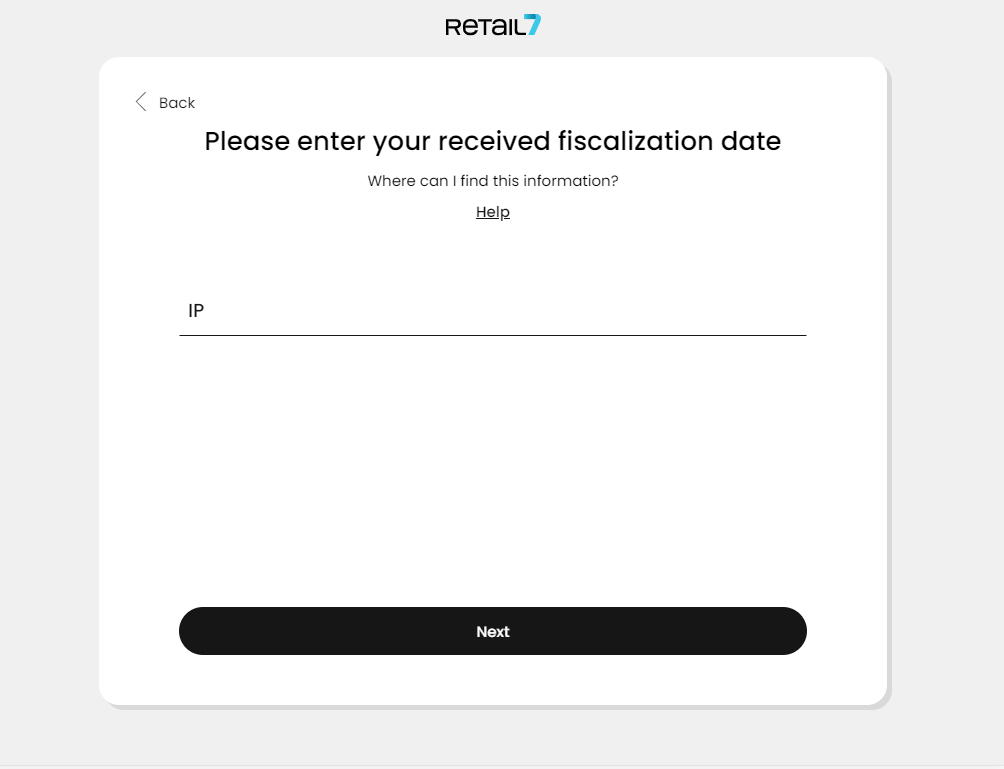
NOTE: At this step, the PUK code will be printed. It is essential to keep this printout in a secure place. Without the PUK, access to the fiscal security technical device will no longer be possible.
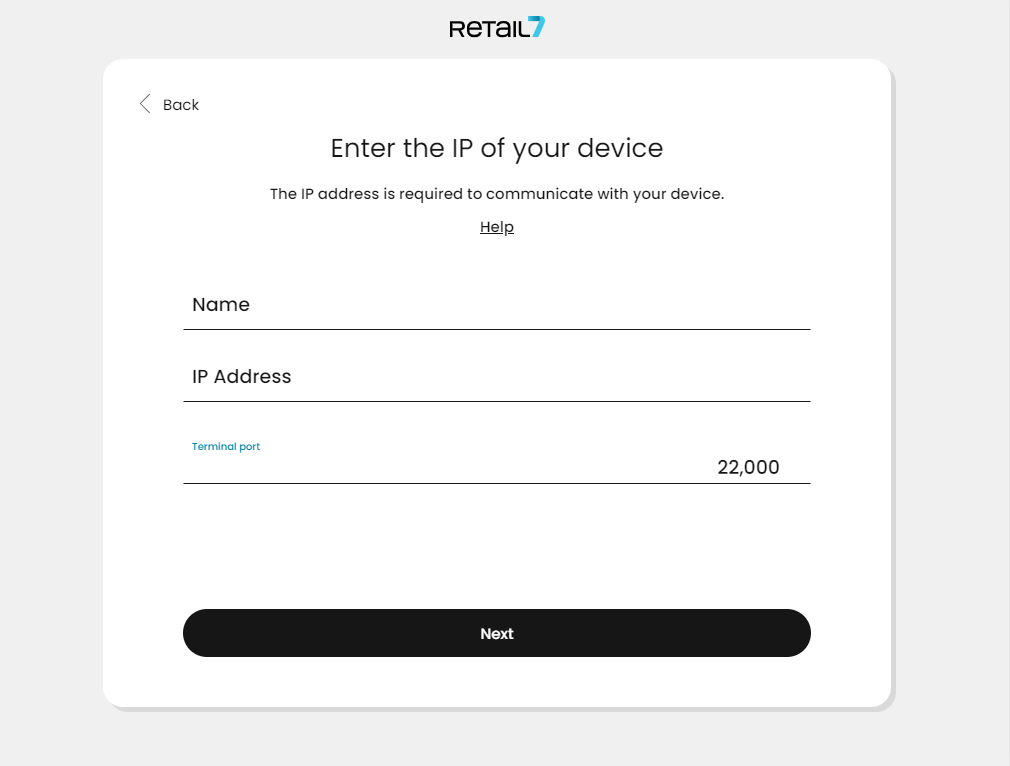
The Epson fiscal unit printer data is automatically filled in when the printer is detected on the network. If the system does not recognize the printer, the information such as IP address can be entered manually. Additionally, this data can also be found in the Management Console under the menu → My Organization → Organizational Units → Fiscal.
If you would like to enable card payment, you have to Configure a new terminal at the next step.
If no payment terminal is required, simply click Skip. However, please note that this means customers will only be able to pay with cash. You can always add a terminal later via the Management Console or through the app's System Settings.
Enter a device name to complete the setup.
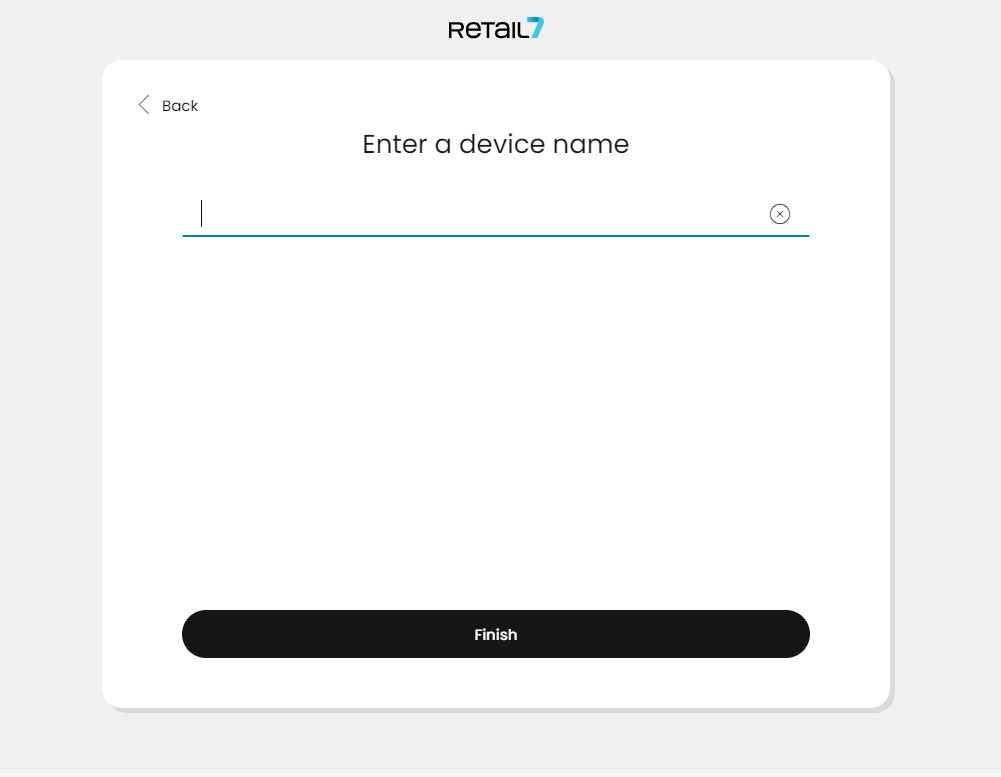
It’s recommended to assign a unique name to the end device so it can be easily identified later using the search function in the Management Console.
Now wait a few minutes while the cash register downloads the necessary data for its initial startup. Once the process is complete, the login screen will appear — and you're ready to start selling!