User Docs
4.5 Stock management
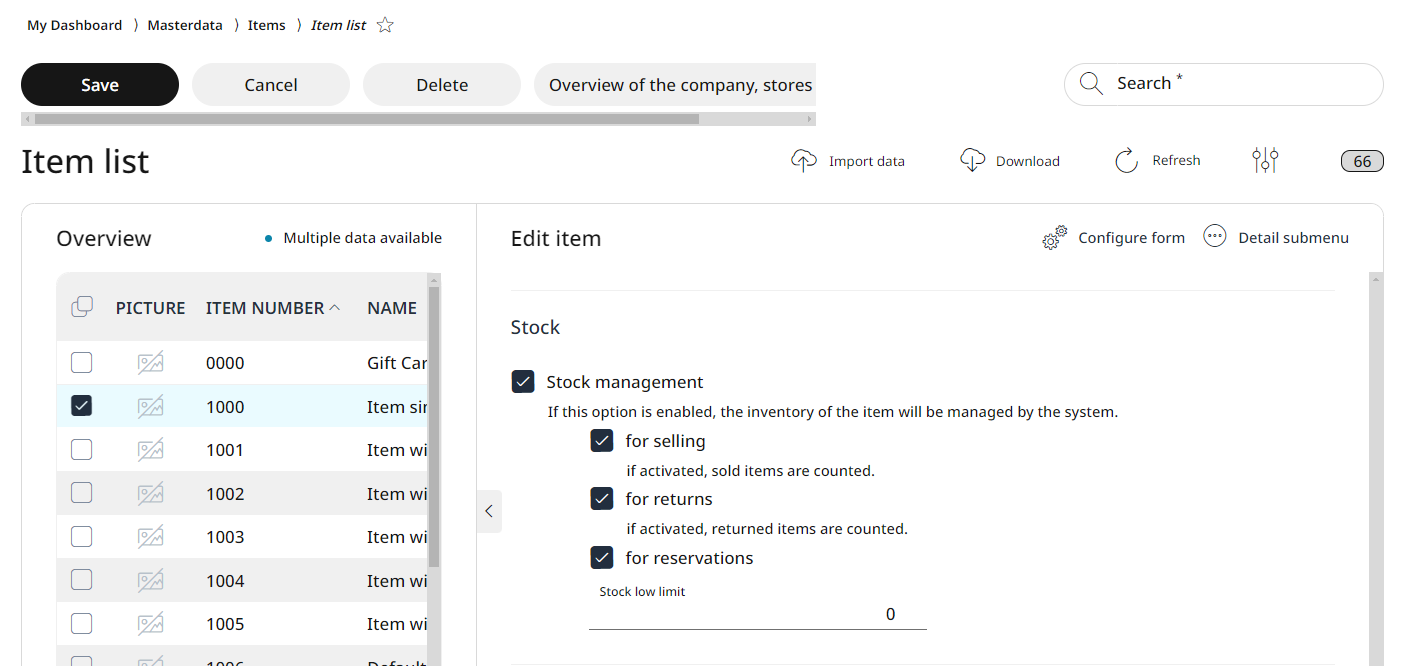
The RETAIL7 system's stock management services enable inventory tracking, managing stock movements, monitoring current stock levels, and receiving low-stock alerts. To use these features, you must activate the stock management option for relevant items during their creation, or later by editing existing items at Menu → Master data → Items → Item list.
In the following chapters we would like to explain what these functions can do and how they can be used most effectively.