9. Exports
Regularly exporting your data is highly recommended, even if not mandatory. Exported data can be saved locally and re-imported into the RETAIL7 POS system as needed, providing a safeguard against data loss. The system offers various export options to keep your data organized and secure.
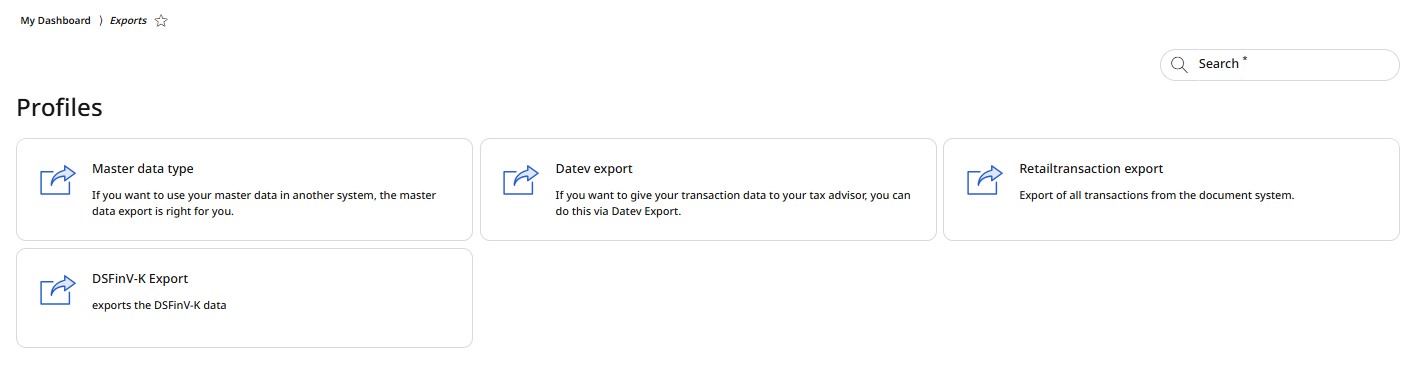
Masterdata export
Masterdata forms the foundation of the RETAIL7 POS system, storing all essential business information. To prevent data loss and avoid recreating data manually, you can export and save it locally for future re-import if needed.
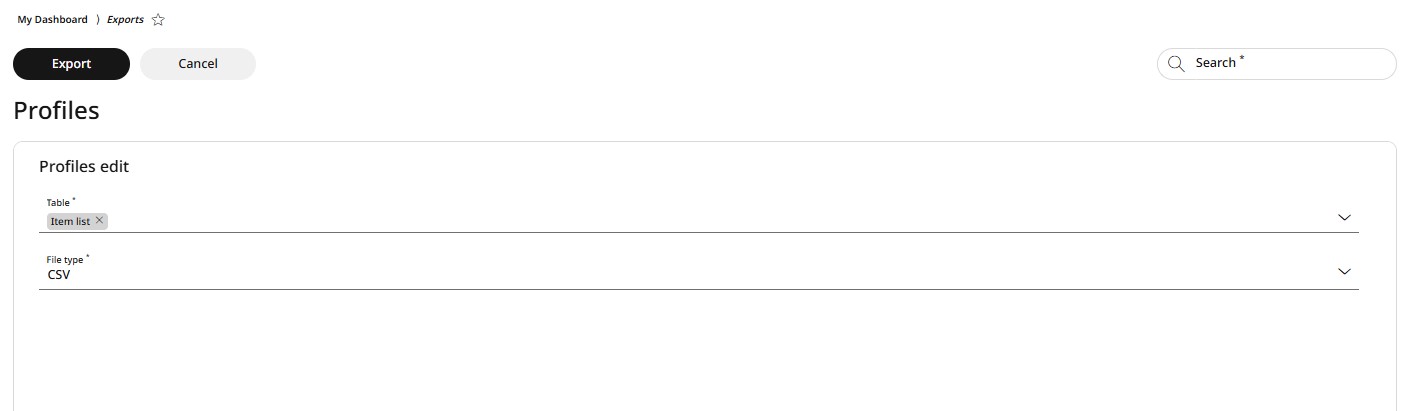
For downloading the masterdata, open the Exports menu and select Masterdata.
Choose the Tables to be exported from the rolldown menu.
Choose File format from CSV, JSON, XLSX, XML or TXT.
By clicking the Export button, the data is sent as an attachment to the registrated email address you are logged in with.
Datev export
The DATEV format is a special standard format for the import/export of master data and transaction data to and from the DATEV programme.
For creating a DATEV export, go to menu → Exports and click on DATEV Export.
Define the parent in the Organizational unit section, where you need to collect the data from.
In the Timeframe section, choose the period for which you want to collect and export the data.
By clicking the Export button, the data is sent as an attachment to the registrated email address you are logged in with.
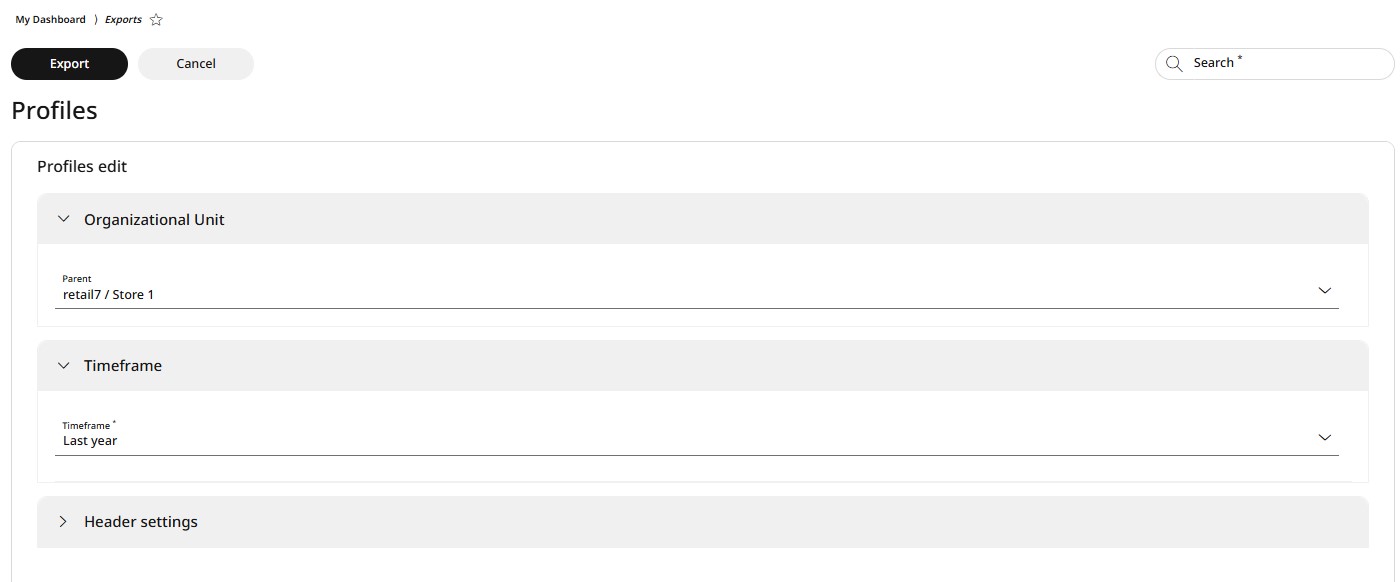
Further configuration options
In the Header settings section, you can save the current export configuration settings as default by checking the box, or adjust the export parameters and save the new settings as the new default.
Retail transactions export
This option allows you to export data on transactions processed through the POS system. This information is crucial for submission to the relevant tax authorities. For specific guidance, please consult your tax advisor.
For exporting the transactions, open the Menu → Exports and click on Retail transactions export.
In the Timeframe section, choose the period for which you want to collect and export the data.
By clicking the Export button, the data is sent as an attachment to the registrated email address you are logged in with.
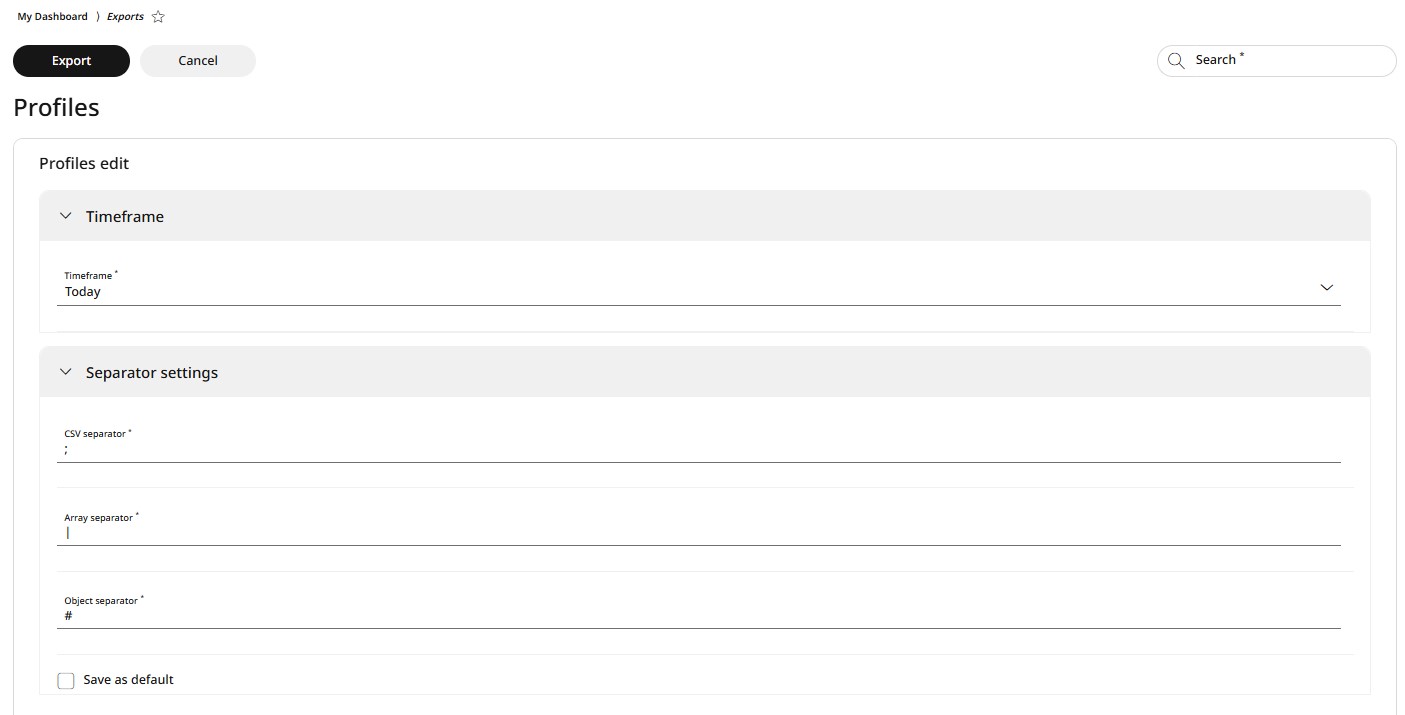
Further configuration options
In the Separator settings section, you can save the current separator settings as default by checking the box, or adjust them as needed and save the new settings as the new default.
DSFinV-K Export
The DSFinV-K standardizes the storage of cash register transaction data, enabling tax authorities to conduct detailed audits. It ensures both tamper-proof usage and correct accounting of transactions, including tips. Businesses must provide a DSFinV-K export upon request for tax audits.
For exporting DSFinV-K data, go to Menu → Exports and click on DSFinV-K export.
In the Timeframe section, choose the period for which you want to collect and export the data.
By clicking the Export button, the data is sent as an attachment to the registrated email address you are logged in with.
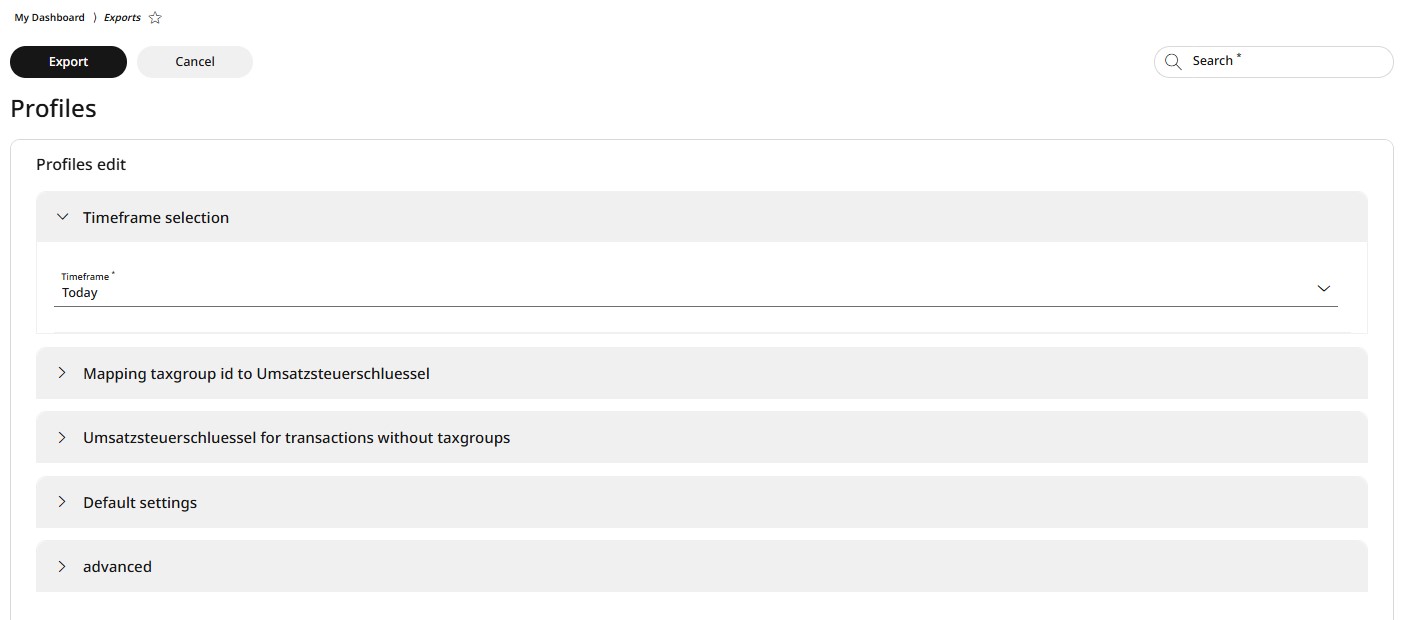
Further configuration options
In the Mapping taxgroup id to VAT key section the mapping taxgroup ID elements can be further configured.
In the VAT key for transactions without taxgroups section the mapping taxgroup ID elements can be further configured.
In the Default settings section you can save the current export configuration settings by checking the box, or adjust the export parameters and save the new settings as the new default.
In the Advanced section you can enable or disable data recalculation.