11.1.6 Return with receipt
Does the customer want to return an item, for example, a garment that does not fit? In this case they need to get their money back. But it's easy to do in the RETAIL7 app, as long as the item was specified as "returnable" when it was created in the Management Console. For more information, see the Item List section.
NOTE: The reasons for the return can also be defined in the Management Console, under Reasons.
Open the RETAIL7 app.
Enter the login data and log in.
Open the Favorites menu.
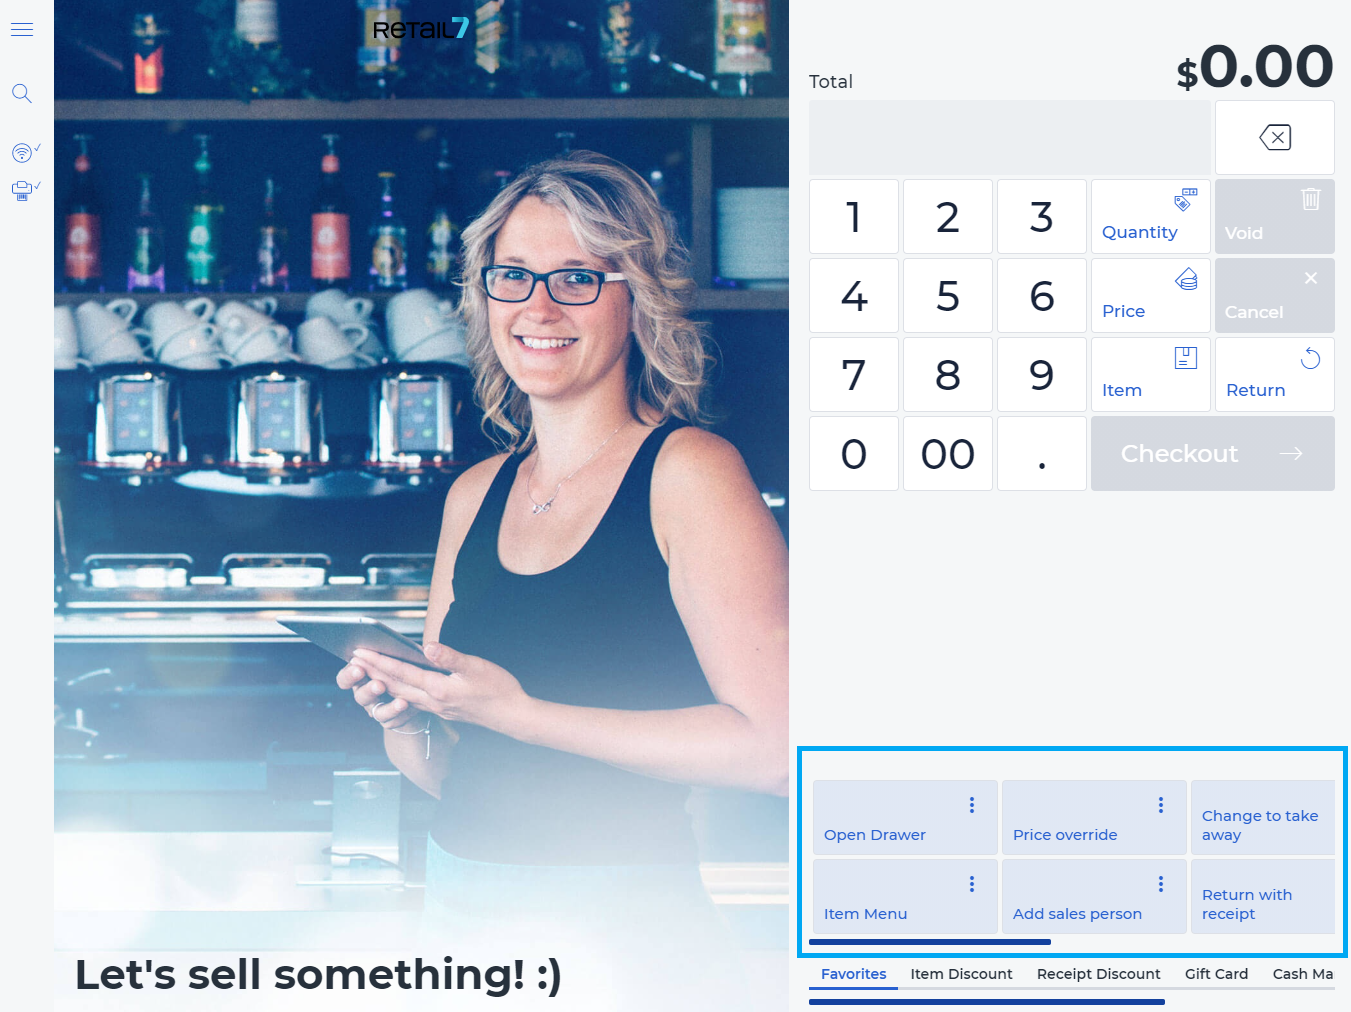 The menu is located in the lower right area of the display, together with all other menus that can be used in the RETAIL7 app. The menus are always displayed after logging in, and you can navigate them with the sliding bars.
4. Select Return with receipt.
This function is available if it has been activated via the Management Console. For this purpose, in the menu → Master data → Items → Item list, it is possible to determine for each item individually whether it can be returned or whether a receipt is necessary or not. A receipt can be used to ensure that the customer really purchased the item in the store.
5. Specify all the required information.
Cash register number - The number is entered automatically by the system. However, it can be edited at any time. The number is set during the setup of the RETAIL7 app on the end device.
Store number - The number is automatically entered by the system. However, it can be edited at any time. The number is set during the setup of the RETAIL7 app on the end device.
Receipt date - Today's date is automatically displayed as the date. The date can be adjusted at any time.
Receipt number - Enter the number of the receipt here.
6. Click OK.
Then a window opens, which is called Return mode. Here you can configure the return of the specified receipt.
7. Select individual items or specify that the entire contents of the transaction should be returned.
To do this, click Complete return to return all items in the transaction. Otherwise, select the desired item and click Return selection.
8. Indicate the Reason for the return.
9. Click OK.
A negative total will be displayed below based on the return. If there was an open transaction which to be continued, this sum will be deducted from the price of the total of the transaction.