11.7.3 Stock transfer
With this function the stock can be moved to another storage location. For example, it is possible to move goods between several locations. Thus, the stock is subsequently registered at the new location.
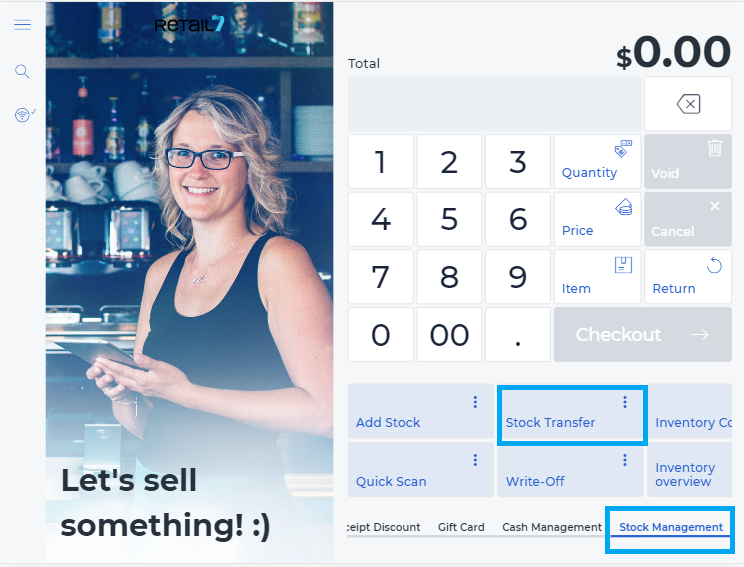
Open the retail7 app.
Open the Stock Management menu.
This menu provides an overview of all functionalities of the retail7 app regarding inventory management. With these functions, the inventory of the registered items can be configured in the retail7 POS system. In addition, the stock must be set up in the Management Console under Menu → Master data → Stock management. For more information, see the section Stock Management.
4. Select Stock transfer.
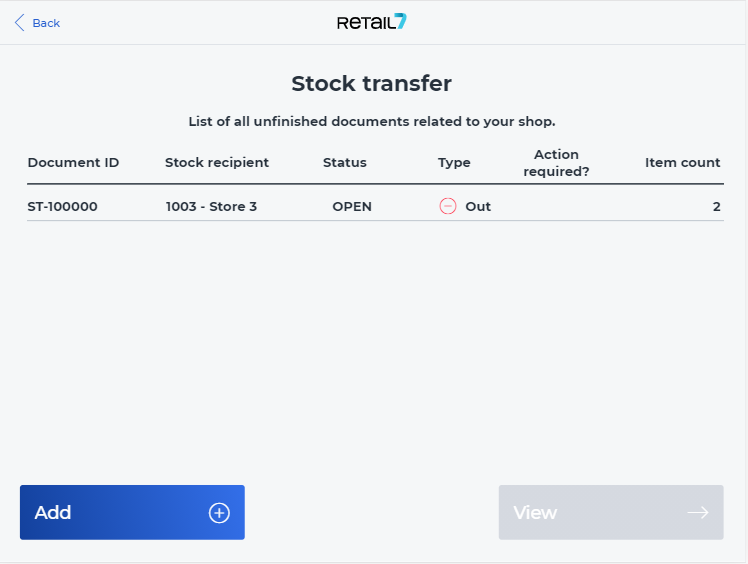
5. An overview list of all previous postponements appears, please click Add.
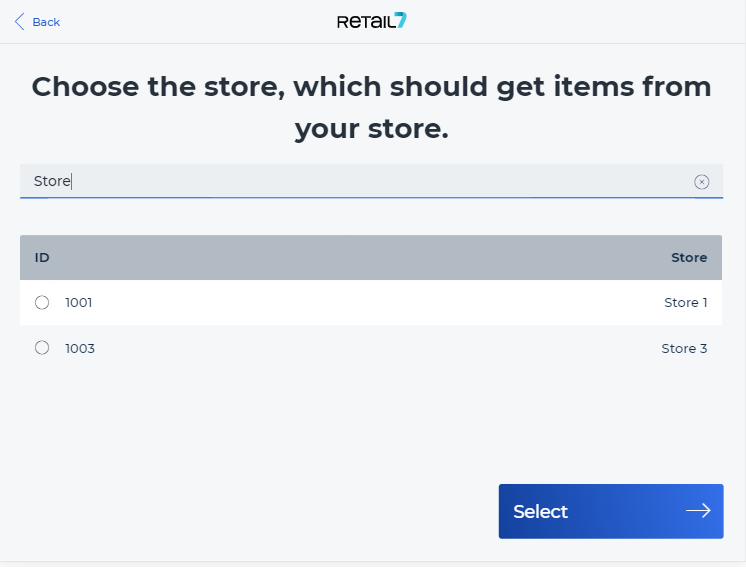
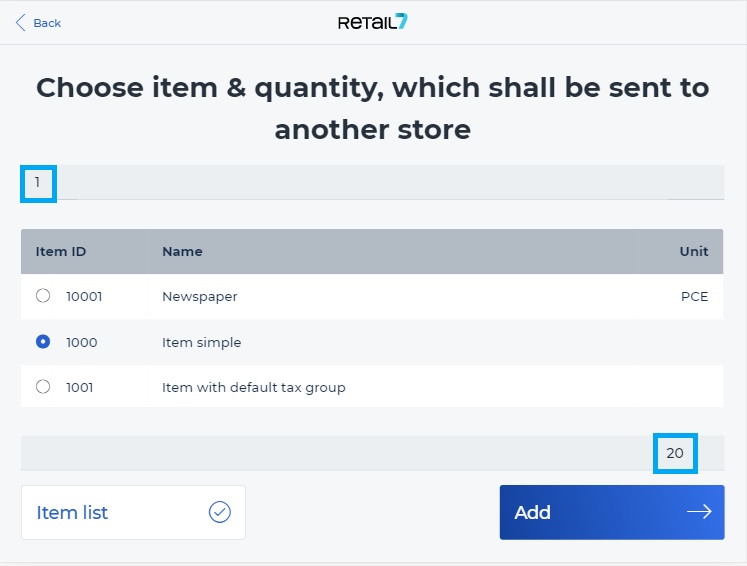
If your items are enabled to be managed, you can select them from the list and confimt each with the Add button. By this, you can select the item(s) to be transferred.
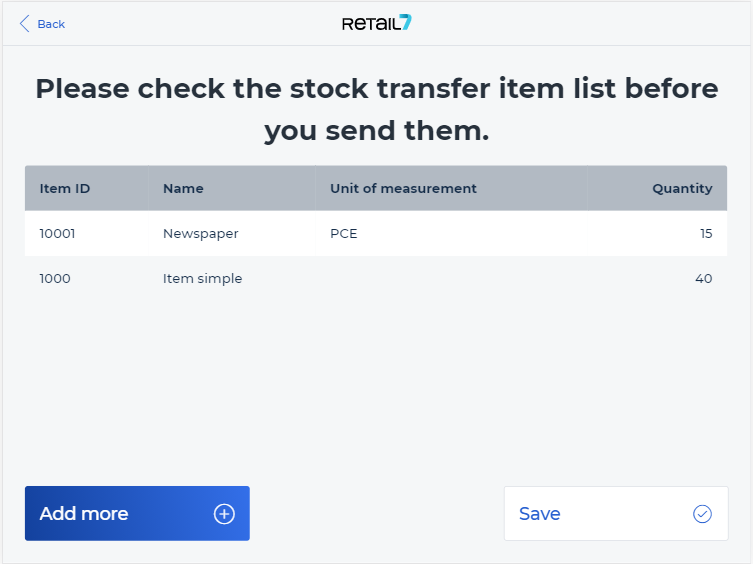
8. Once all items and their quantities are selected, click on Item List. Now you can see the list of the items to be transferred. If all is correct, click on Save.
