4.6.2 Promotion groups
Promotions can be assigned to promotion groups, which is useful for applying different redemption limits during specific periods. Instead of changing each promotion individually, create a promotion group and assign it to the relevant promotions. This will overwrite the original redemption limits with the new ones defined in the group. When the promotion ends, delete the group to revert to the original limits.
Using promotion groups makes it easier to organize promotions and find them via the search function. Each promotion group should have a unique name for easy identification.
Adding a promotion group
This function can be used to create new promotion groups in the system. All fields marked with * are mandatory fields. These must all be filled for successful saving.
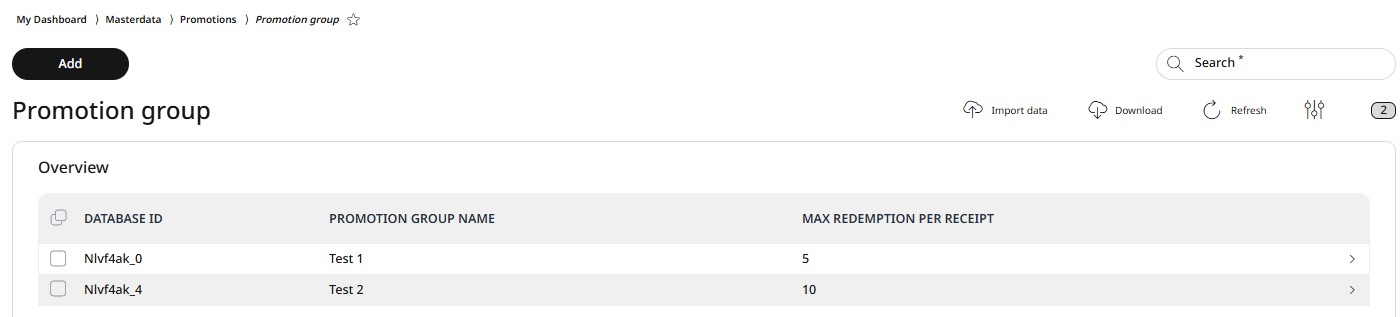
Open the Menu → Master data → Promotions → Promotion groups.
Click on Add.
Give the promotion group a name and enter a value for the maximum redemption per receipt. With the help of the name, the promotion group can be found via the search function. If this promotion group now is assigned to a promotion in the Promotion list menu, the promotion is only be used as many times as the value specified here, regardless of what the original maximum redemption number was in the promotion. More about redemptions in the 4.6.1 Promotion list chapter.
Select Save.
Editing and deleting a promotion group
With RETAIL7 it is possible to configure or delete promotion groups at any time. In this way, the system always remains up to date, since groups that are no longer required are deleted. After changes have been made, it is important to save again so that no information is lost.
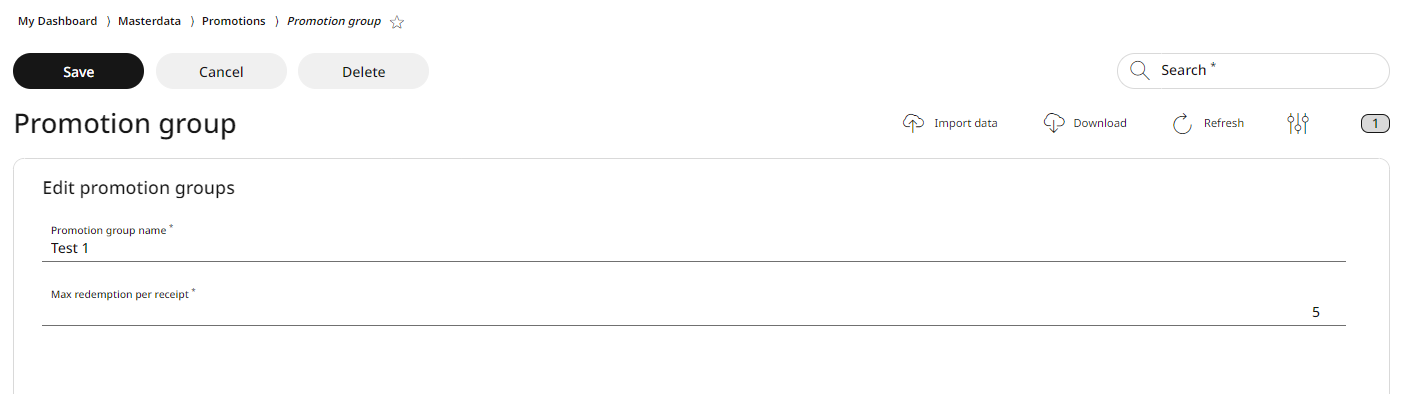
When editing a promotion group, select the desired discount group from the list by clicking on the box in front of its name.
Click on Edit.
Make all the necessary changes.
Click on Save.
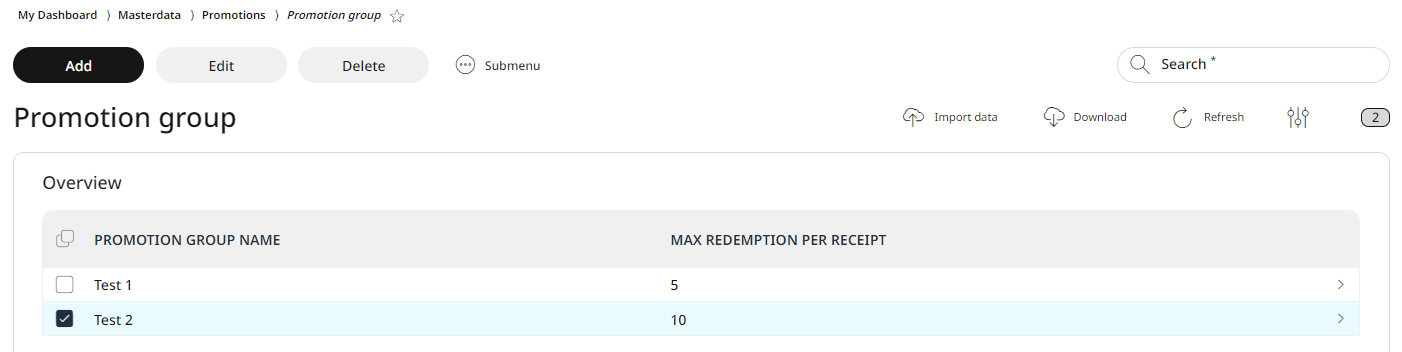
When deleting a promotion group, select the desired promotion group from the list by clicking on the box in front of its name.
Click on Delete.
Confirm the dialog box with Yes.
By clicking No will cancel the deletion process.
Copying promotion groups
To add another group that is very similar to another, the duplicate function can be used. By this, it is not necessary to create the entire group again, but only to copy another one with all the associated settings. Then the desired changes are made and saved again. It should be noted that the names of the groups do not repeat themselves, so that there is no confusion at this point.
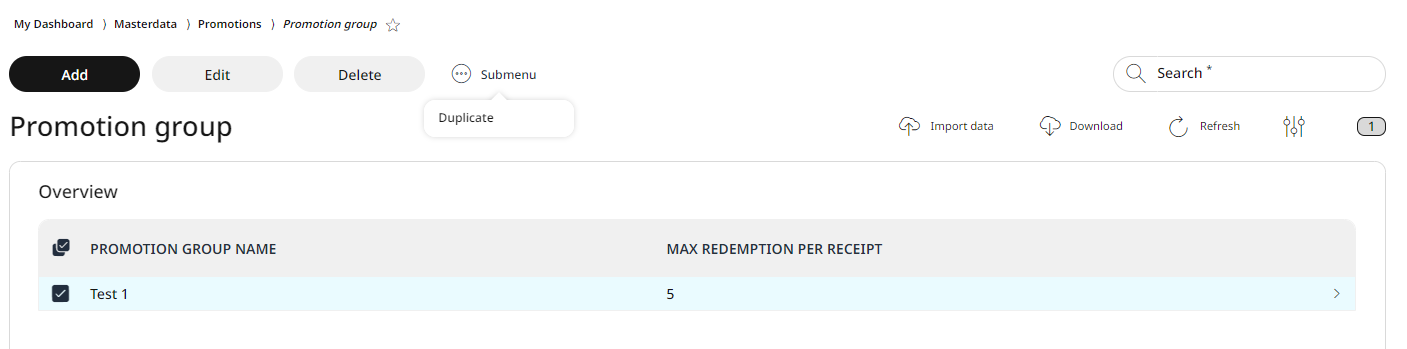
Select the desired promotion group from the list by checking the box in front of its name.
Click on Submenu.
Select Duplicate.
The desired promotion will be copied to the end of the list with all the original settings.
Now choose Edit, make the needed changes and click Save.
Note: beside changing the value of the max redemptions, it is also highly recommended to change the name of the promotion group too, so the different promotion groups can be clearly distinguished when they are assigned to a promotion in the Promotion list menu.
Assigning promotion groups to promotions
After you created a promotion group as described above, you can assign it to one or more items on your Promotion list (Chapter 4.6.1. Promotion list).
Especially around the busiest business periods, like e.g. Christmas season, it makes sense to increase the general maximum redemption per receipt. Now promotion groups can be very helpful, since you have already registered several promotions in your promotion list, but with the use of promotion groups, there is no need to change the redemption maximum numbers of each of these promotions separately. So to change the maximum redeemable per voucher, you can assign a special promotion group to the original promotion.
For doing this, first create the special promotion group here, give it a name and specify the maximum number of redemptions per receipt (which is different from the original redemption number of the promotion in the Promotion list) and save it.
Then go back to Masterdata → Promotions → Promotion list.
Select the promotion where you would like to change the redemption number and go to Redemption tab.
Now the newly created promotion group will be displayed in the Promotion groups scroll-down menu and can be added to the promotion.
Save the change.
The promotion with the promotion group added, is now can be used on the POS right away, with the new redemption number. This means, that is no longer the original number of maximum redemption per voucher that applies, but the number of redemption that was defined in the assigned promotion group. Once the promotion is over, the promotion group can simply be deleted and will automatically disappear from all other promotions. From then on, the normal redemption per receipt, which was entered originally for the individual promotion, counts again.