8.2.2 Tenants
In the RETAIL7 system, the Tenant is the next core organizational unit under the System level. The Tenant represents a company or entity that has purchased and is using the software. By default, the System and the first Tenant level are automatically created upon the system setup.
Note: both System and Tenant levels are visible and manageable only for users with the highest administrative rights.
Functions on the overview

Import data or own configuration
Download data or configuration to your own system
Update the list view
Activate/deactivate table fields
Number of list items
Search
Information about the tenants
Adding tenants
Each Tenant must have a unique name, which is crucial for searching and filtering within the system. The Tenant is the first sublevel in the system’s hierarchical structure and can be organized under a parent element, allowing for more granular management of organizational units.
For adding a new tenant, go to My organization → Organizational units → Tenants and click Add.
Select the parent element which, for all Tenants is the System, as it is the only element above it in the hierarchy.

Enter a unique name for the Tenant. This name will be used to search and filter Tenants within the system. Always assign a distinct name to each Tenant to ensure that it can be easily found through the system's search and filter functions.
After entering the necessary details and confirming the system’s hierarchical structure, click Save to create the new Tenant. Clicking Cancel will discard all entered information, and no Tenant will be created.
Editing and deleting tenants
With the RETAIL7 system, you can edit and delete tenants at any time. This ensures the system stays up to date by removing tenants that are no longer needed. Always save changes after editing to avoid losing new information, and confirm all deletions carefully, as they cannot be undone.
To edit a tenant:
From the list, choose the tenant you want to edit and click Edit.
Update the tenant's name as required.
Names can be used to filter tenants using the search function. Enter the name in the search field and confirm the query to display matching results. Ensure that the new name is unique to avoid confusion.

Click Save, or select Cancel to discard the process.
To delete a tenant:
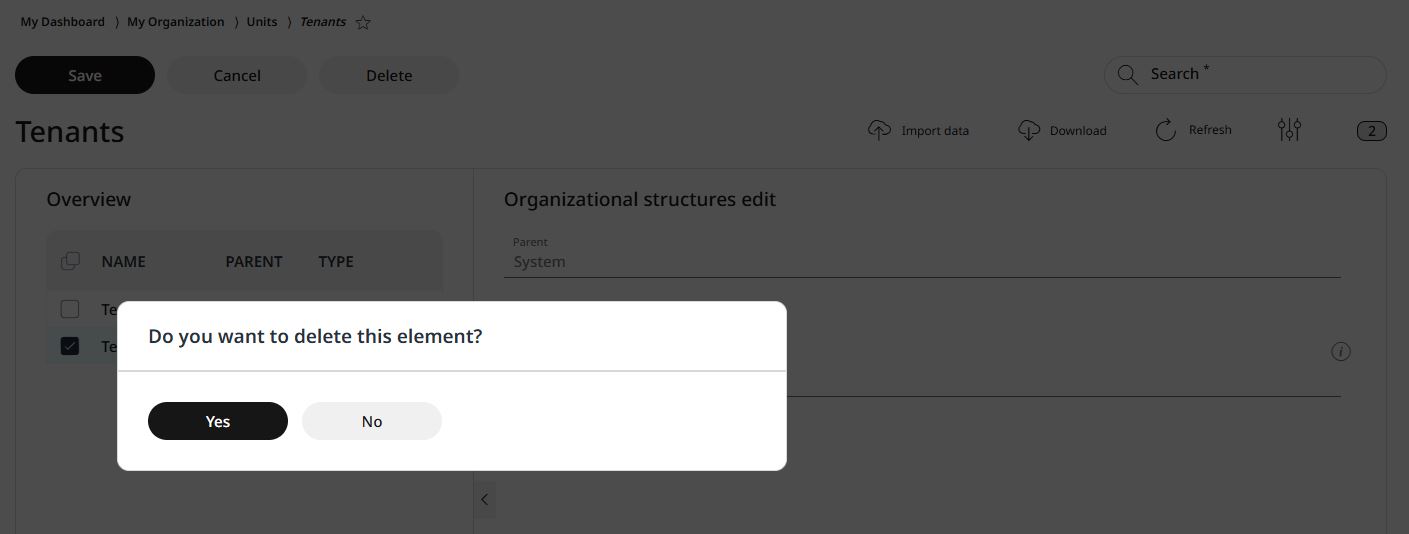
From the list, choose the tenant you want to delete and click Delete.

Confirm the action in the dialog box by clicking Yes, or select No to cancel the process.