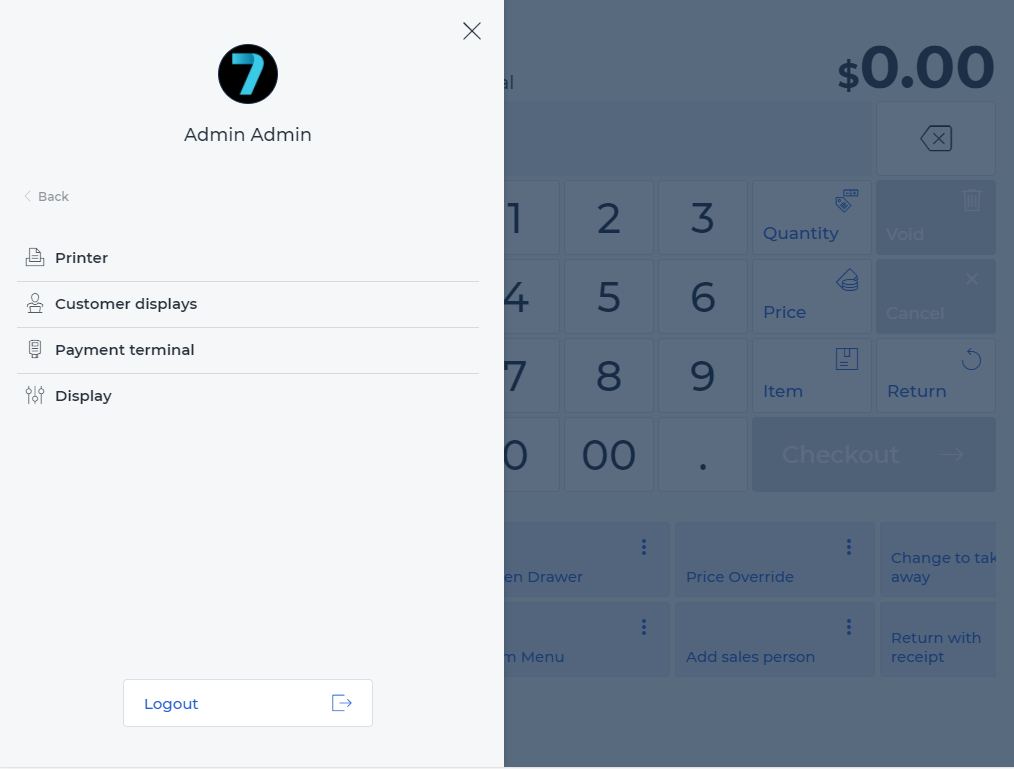
9.2.1 Printer
After opening the retail7 App user menu and the Settings menu, select the Printer menu.
 If no printer was configured during the initial setup, this list is empty.
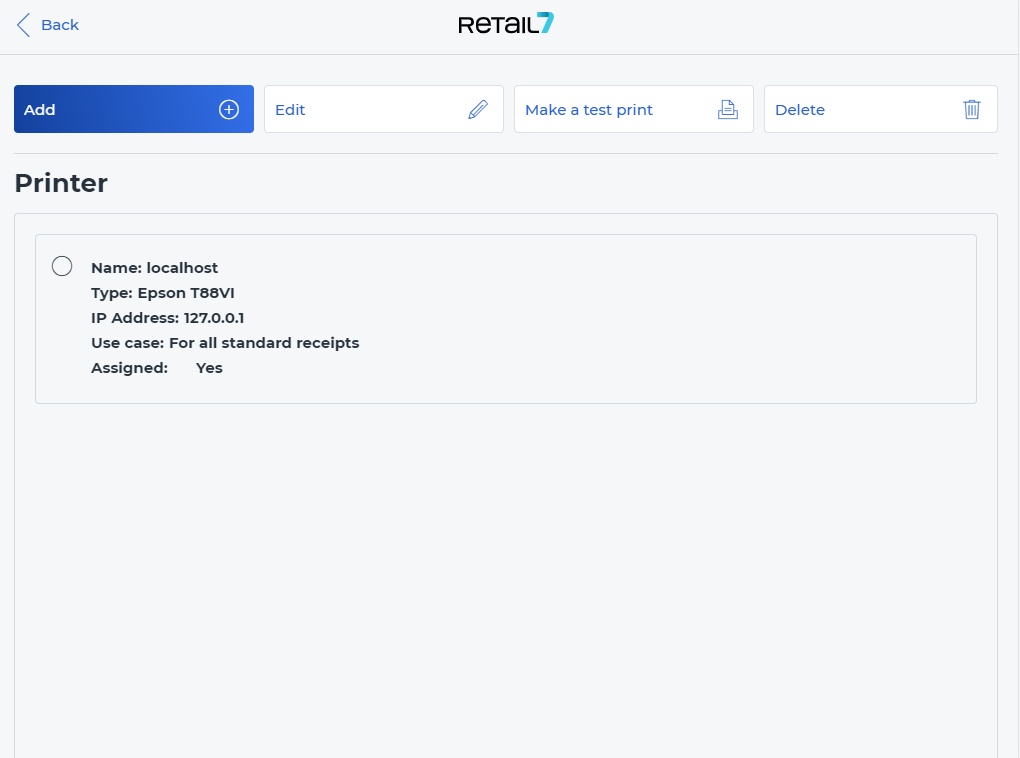 1. Click Add to configure a new printer.
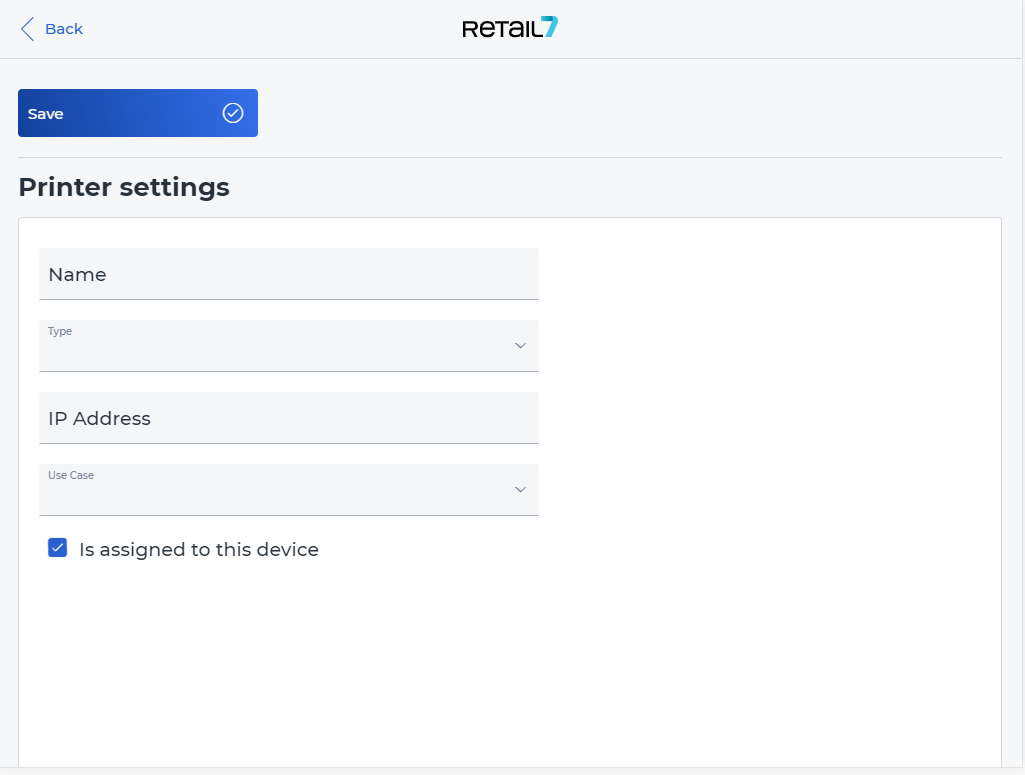 2. Specify a name for the printer.
This name can later be used to uniquely identify the printer in the list.
3. Select the printer type.
The retail7 app suggests a list of compatible printers from which the appropriate type can then be selected.
4. Insert the IP address of the printer.
In the Printer section, more information is available regarding the configuration.
5. Select the use case from the list.
The applications can be bound to locations, such as bar. In this example, this means that the printer is located at the bar and is also assigned to the cash register located there.
6. Check the box if this printer should be assigned to the open cash register.
7. Select Save.
The printer is then listed in the overview. Subsequently, the desired printer can be selected from the list and all previously made settings can be edited again or the printer can be completely deleted from the list.