10.5.2 Table forms
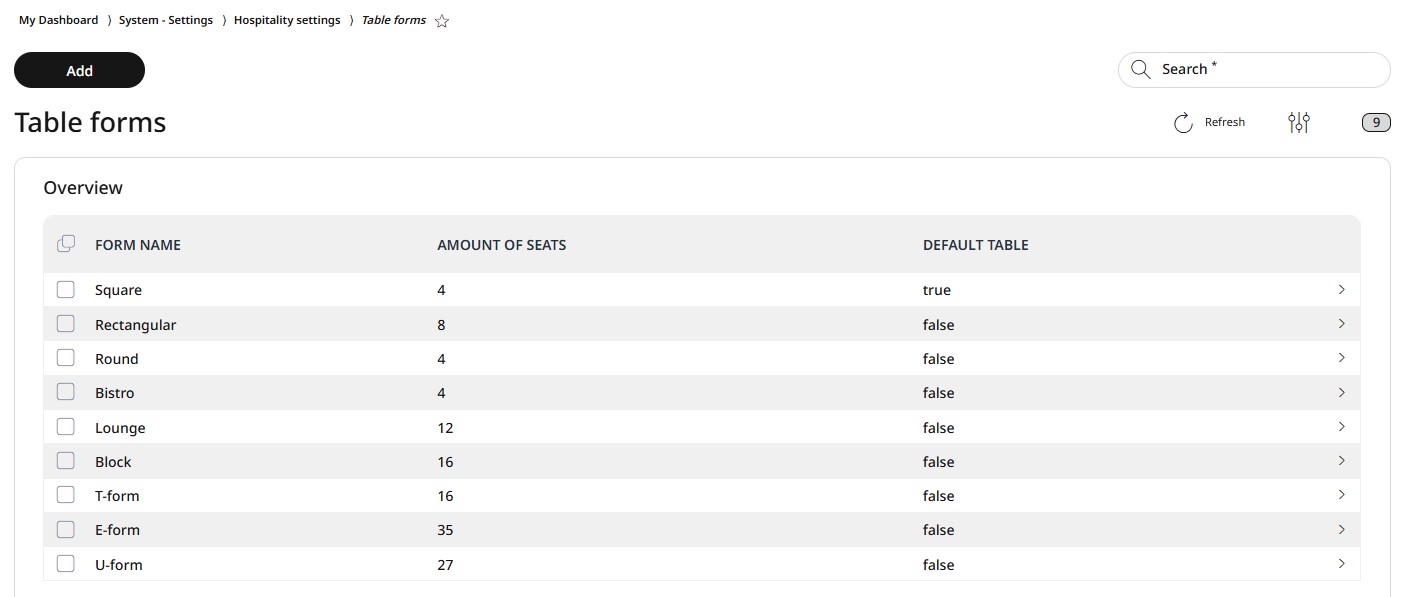
In the Floor Plan Editor, you can configure the shape of tables using a dropdown menu. The RETAIL7 system provides a variety of table forms to choose from, accessible under System Settings → Hospitality settings → Table Forms.
Here, you will find the list of available table forms that can be customized to suit your needs. Their name, size and graphical elements can be modified, and you can also set a specific form as the default table.
If you need a custom table form, you can add it here. Once saved, the new form will immediately appear in the dropdown menu of the Floor Plan Editor, ready for use.
Adding a new table form
For adding a new table form, go to System settings -> Hospitality settings -> Table forms and click on Add.
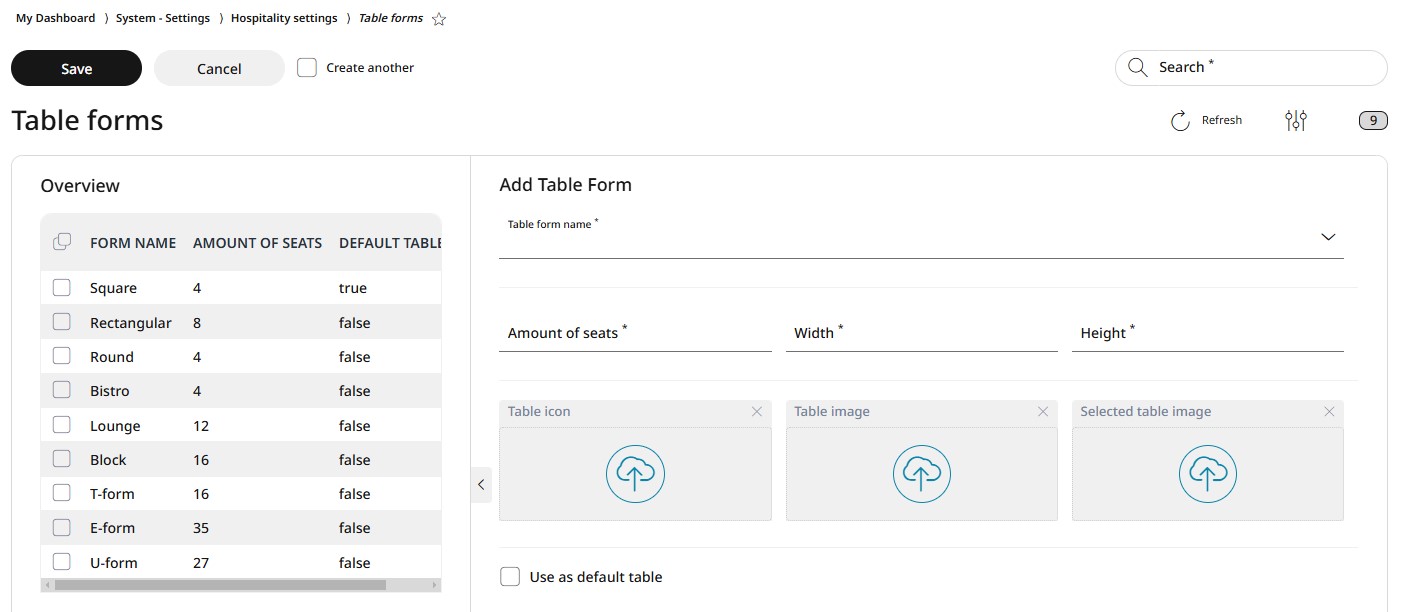
Enter a unique and distinctive name for the new table form to ensure it is easily recognizable in the dropdown menu.
Add the amount of seats and the exact size in width and height of the table. Be precise when entering these details, as they will be used in the Floor Plan Editor to configure the room layout. The data also determine how many tables can fit within a given room.
Upload the icon, table image, and selected table image in Scalable Vector Graphics (.svg) format to ensure high-quality, scalable visuals.
Select the checkbox if you want to set this new table form as the default table format.
Click on Save, and the new table form will immediately appear in the dropdown menu of the Floor Plan Editor.
Editing and deleting a table form
You can edit or delete saved table forms at any time. When a table form is edited, existing floor plans that used the original form remain unchanged. The updated table form will only apply to newly created floor plans.
For editing a table form
Select the desired table form from the list and click Edit.
Make the necessary changes in the Floor Plan Editor, click Save to apply them and Close the Floor Plan Editor.
Select Save to confirm the changes or Cancel to abort the process.
For deleting a table form
Select the desired table form from the list.
Click on Delete.
Confirm the dialog box with Yes or press No to interrupt the deletion process.