Download, Quick Start & Example
Download
You can download the SDK file here : <Download the SDK>
How to start
The r7Connect SDK file contains the R7Connector class which is needed to interact with the POS besides all needed internal functionality. A new instance can be created like in the following:
const r7Connector = new R7Connector();Quick Example
Just import the r7Connect SDK into your web page, instantiate the R7Connector class and you are ready to trigger functions on the RETAIL7 POS. This sample can be found as well at http://content.retail7.io/appenablement/sdk/r7-connect-sample.html for your convenience for testing.
r7Connect Example
<!DOCTYPE html>

<html lang="en">

    <head>

        <title>r7Connect</title>

        <meta charset="utf-8" />

        <meta name="viewport" content="width=device-width, initial-scale=1" />

        <link rel="stylesheet" href="https://cdn.jsdelivr.net/npm/clay/lib/css/atlas.css" />

                </head>

                <body>

                    <script src="r7-connect-sdk.min.js" type="text/javascript"></script>

                    <script type="text/javascript">

                        const r7Connector = new R7Connector();


                        async function getSessionContext() {

                            const sessionContext = await r7Connector.getSessionContext();

                            logData("getSessionContext", sessionContext);

                        }


                        async function getItemInfo() {

                            const itemInfo = await r7Connector.getItemInfo("1001");

                            logData("getItemInfo", itemInfo);

                        }


                        function registerItem() {

                            r7Connector.registerItem("1001");

                        }


                        function registerExternalItem() {

                            r7Connector.registerExternalItem({

                                id: "12345",

                                name: "Sample Item",

                                unitPrice: 2.4,

                                quantity: 3

                            });

                        }


                        function registerExternalCustomer() {

                            r7Connector.registerExternalCustomer({

                                id: "991001",

                                externalId: "11111111",

                                name: "John Doe",

                                street: "Friedrichstraße 204",

                                postalCode: "10117",

                                city: "Berlin",

                                country: "DE",

                                email: "[email protected]",

                                phone: "+49 30 800 989 31 0",

                                taxId: "123/456/789",

                                vatId: "DE123456789",

                                comments: "Contact by phone preferred."

                            });

                        }


                        function logData(context, data) {

                            console.log(context, data);

                            const formattedJSON = JSON.stringify(data, "  ");

                            alert(`${context}:\n${formattedJSON}`);

                        }

                    </script>

                    <button class="btn btn-primary c-m-2" onclick="getSessionContext()">getSessionContext()</button>

                    <button class="btn btn-primary c-m-2" onclick="getItemInfo()">getItemInfo()</button>

                    <button class="btn btn-primary c-m-2" onclick="registerItem()">registerItem()</button>

                    <button class="btn btn-primary c-m-2" onclick="registerExternalItem()">registerExternalItem()</button>

                    <button class="btn btn-primary c-m-2" onclick="registerExternalCustomer()">registerExternalCustomer()</button>

                </body>

            </html>
Configure the Sample Integration
in the Management Console
Configuration Step 1
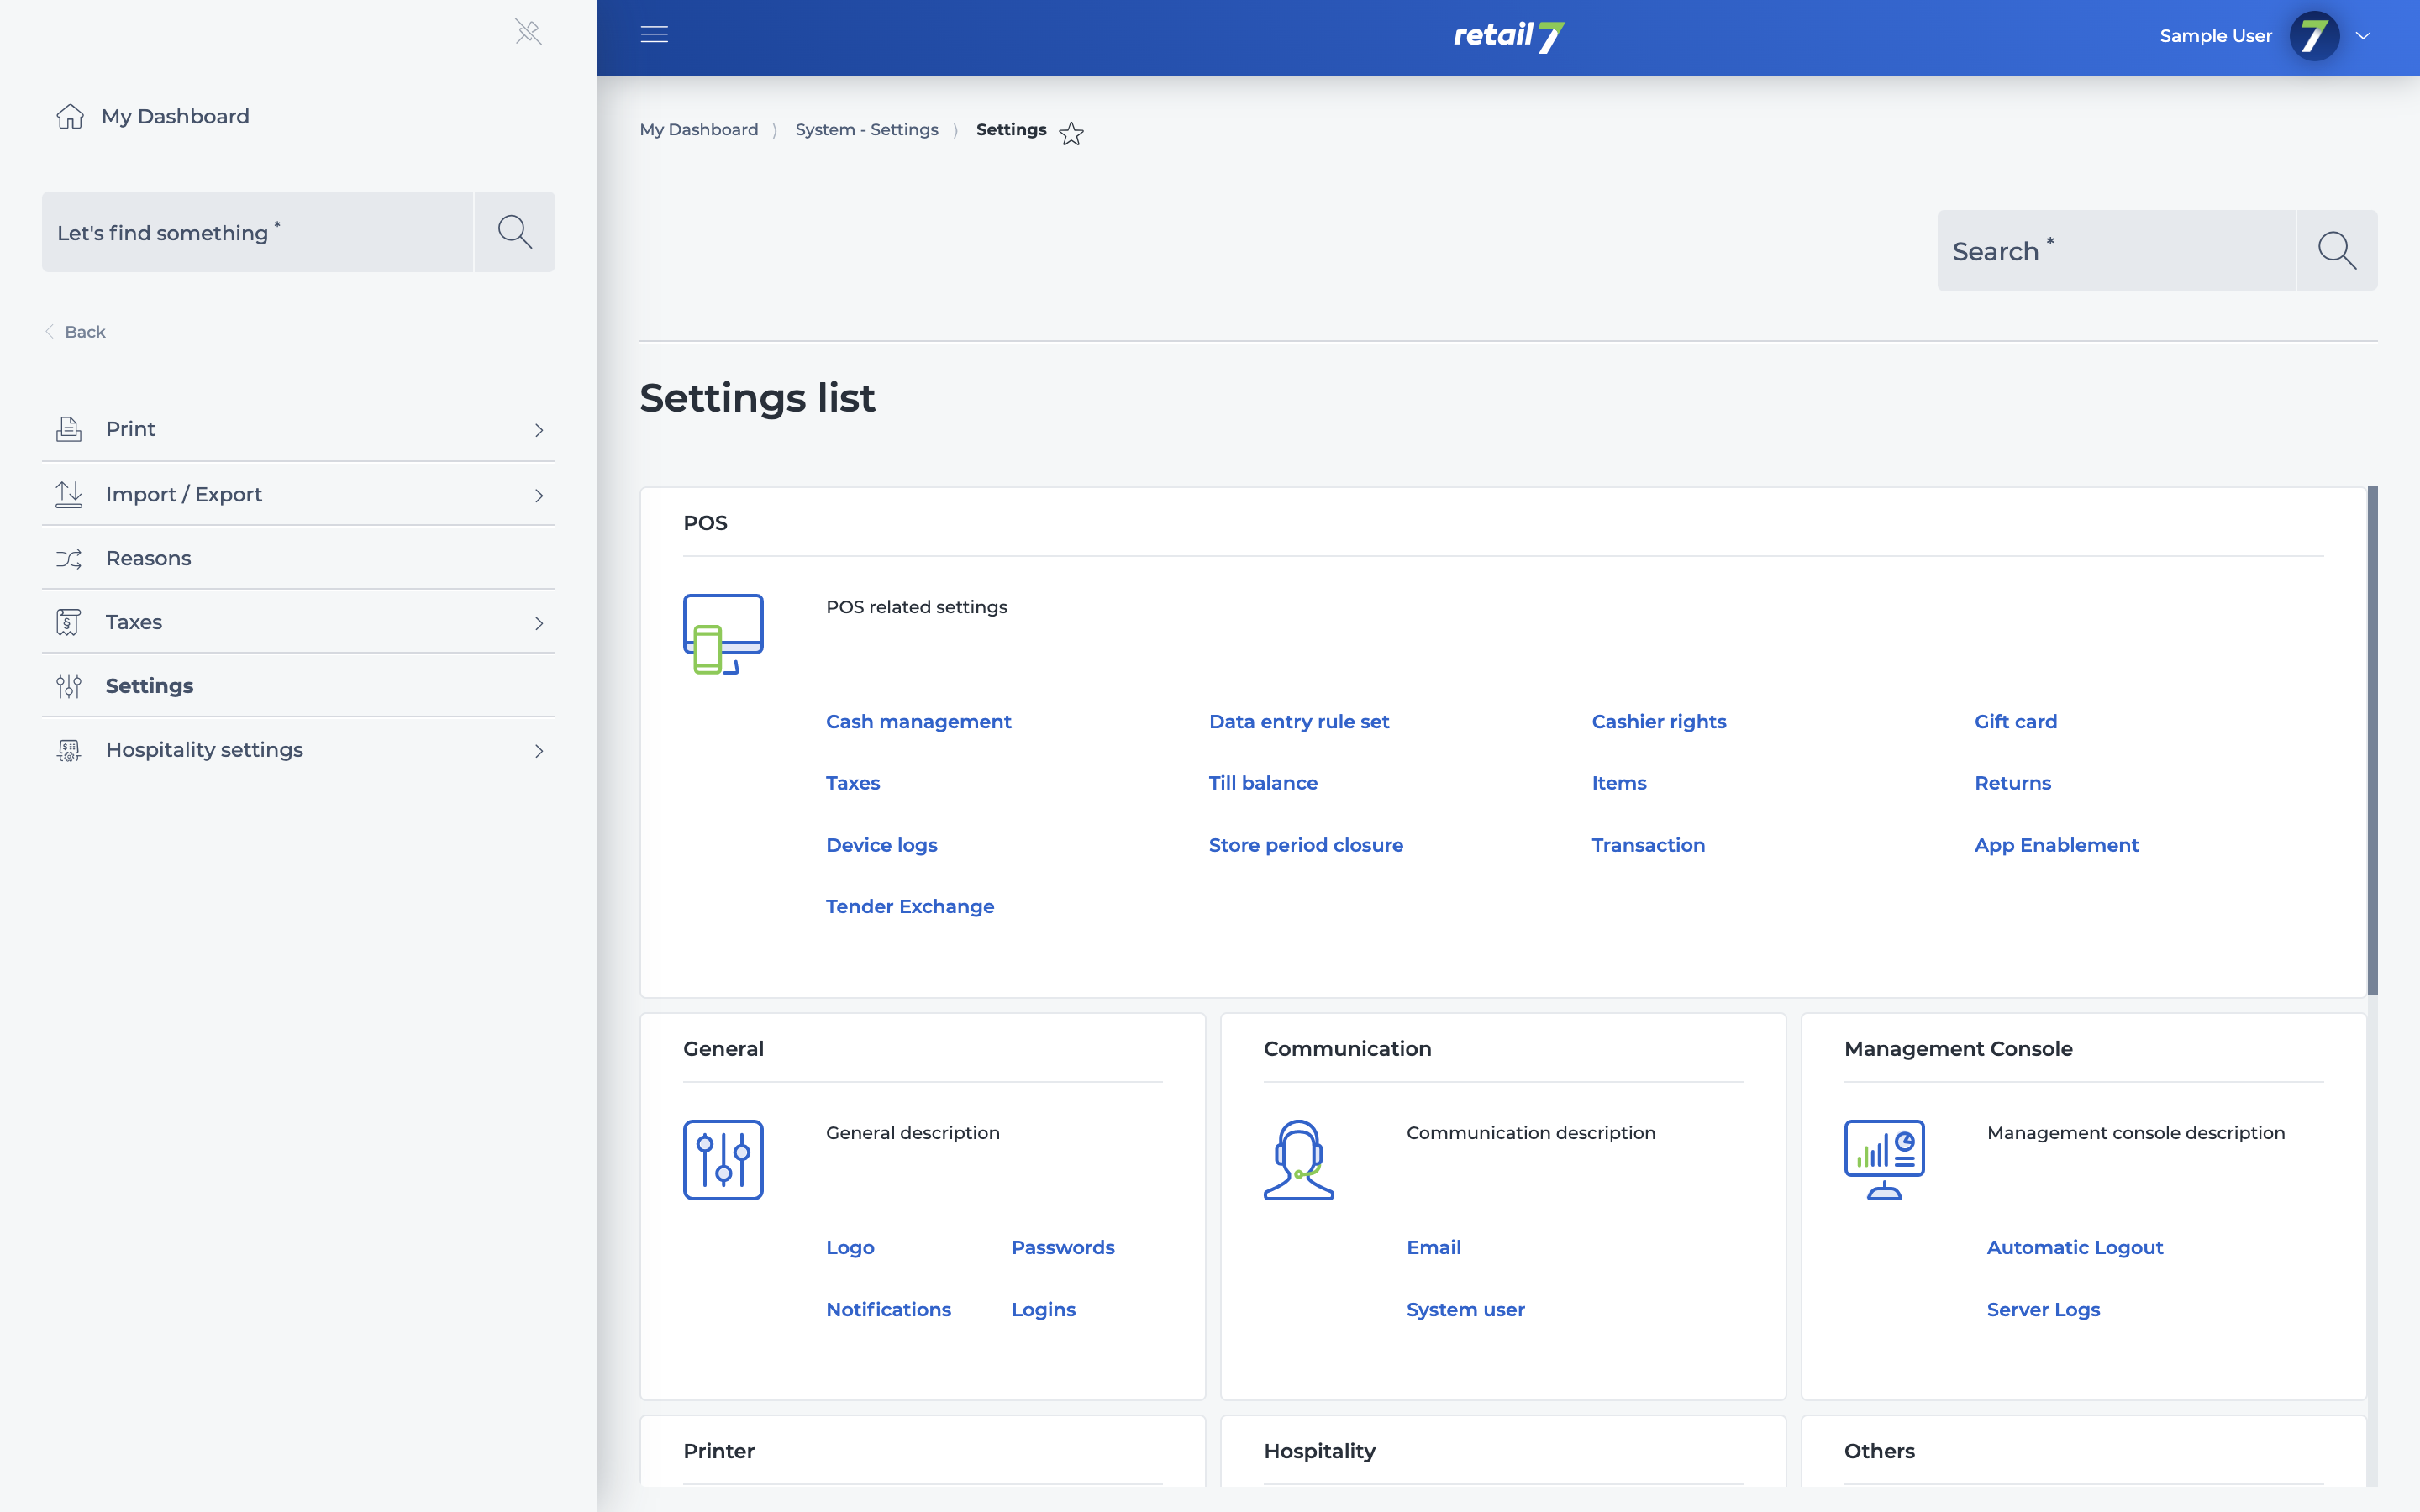
To enhance an RETAIL7 POS application with custom functionality using the r7Connect SDK, please navigate to the settings in your Management Console and open the App Enablement settings entry. You can find it in the settings section "POS".
Configuration Step 2
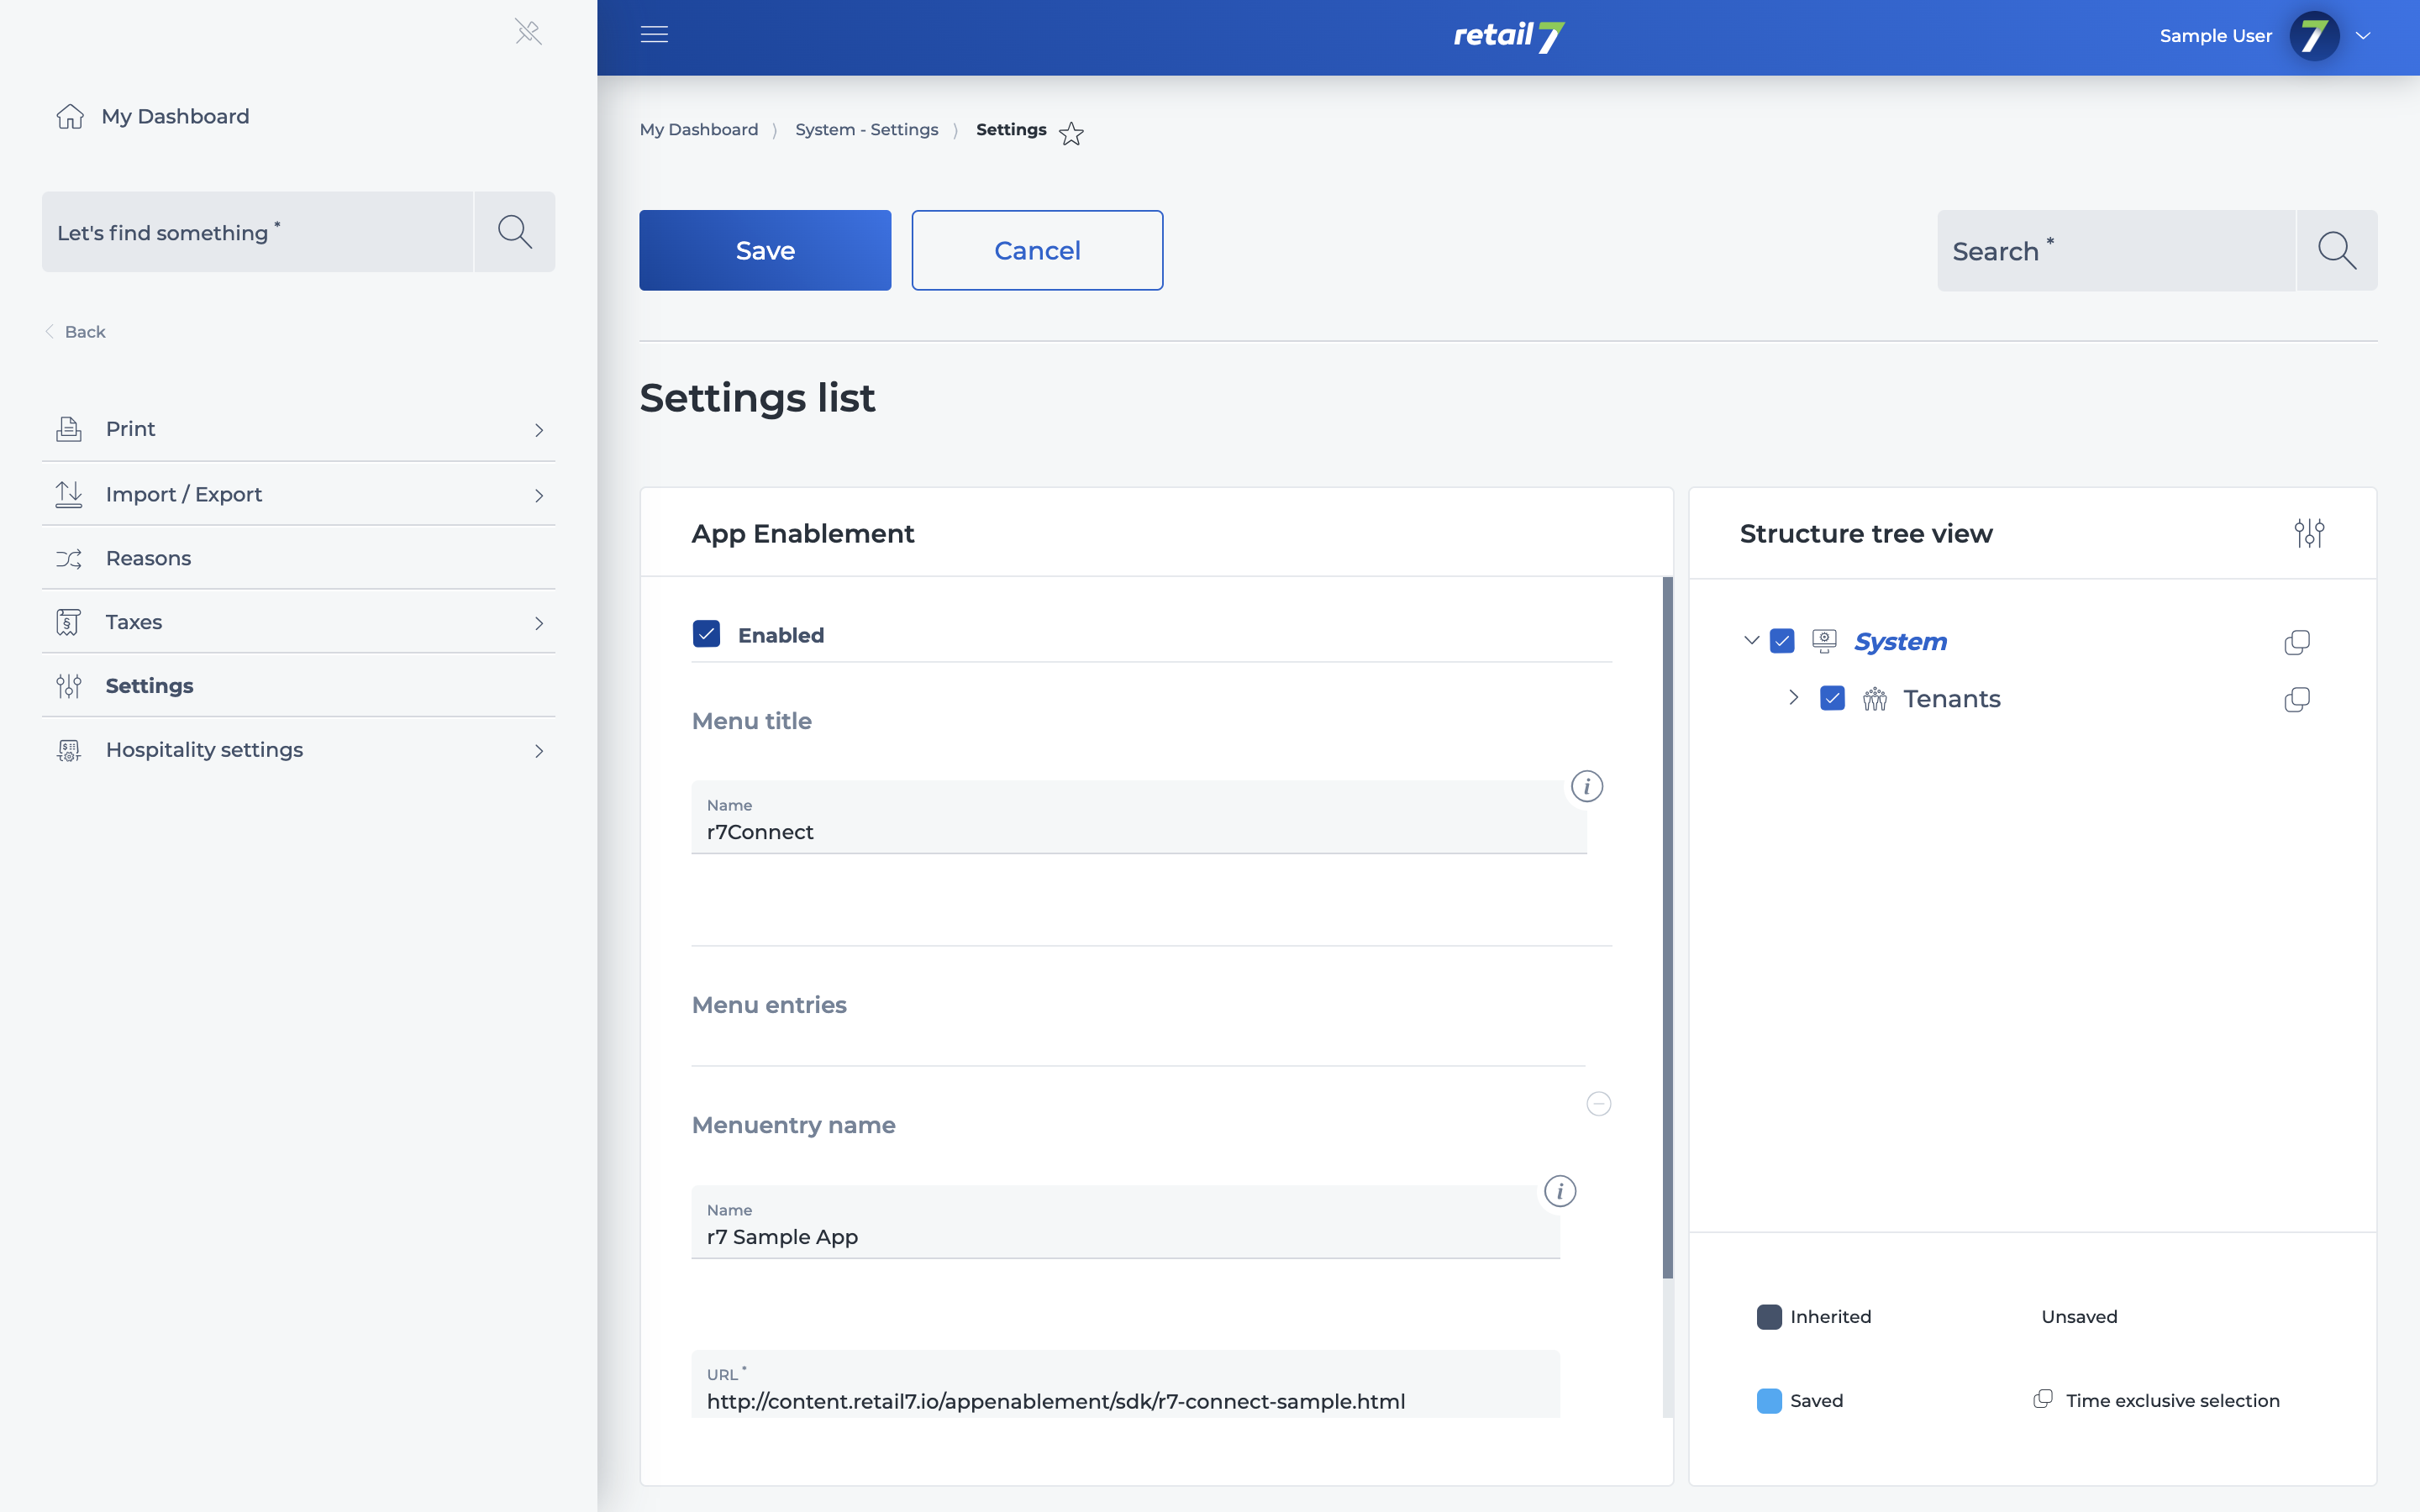
In the Settings list of the app enablement you can activate the functionality, define the Menu Title and one or more app enablement links which point to your web app(s). Additionally it can be assigned to dedicated organizational structure nodes, in order to control which app should be available on which POS. By default your settings will be available on every device.
Configuration Step 3
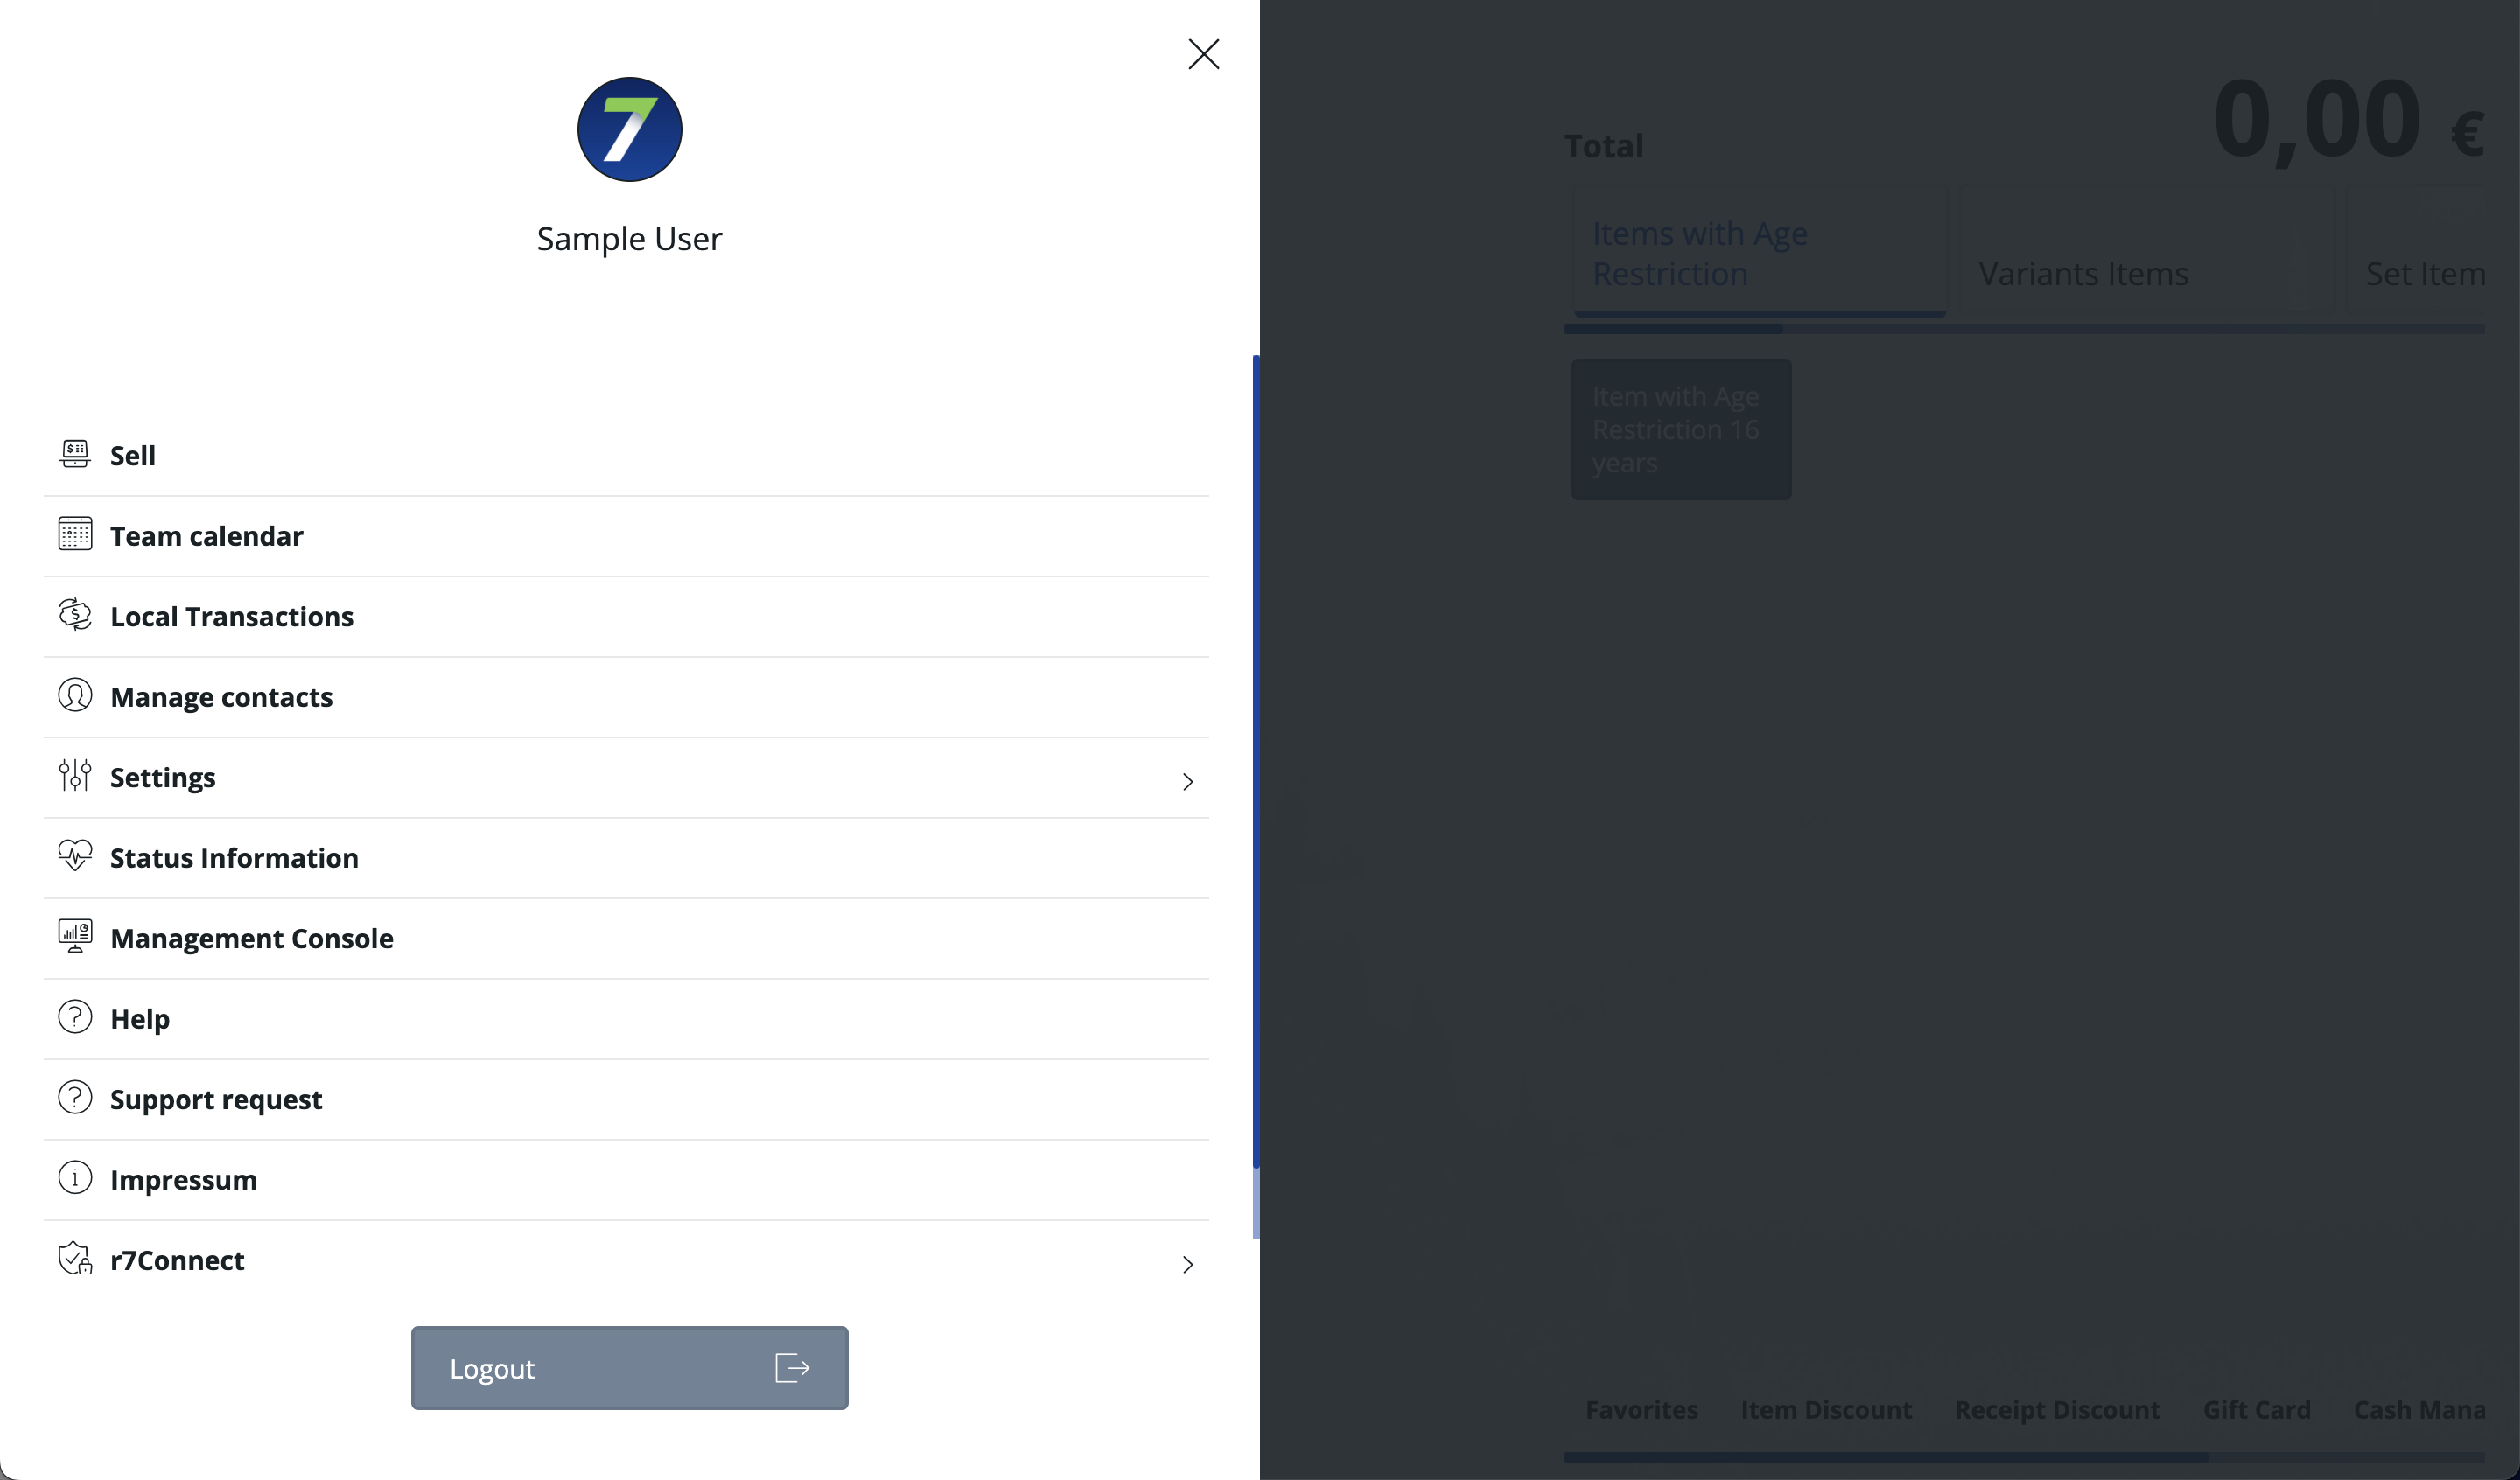
Once you saved the settings and restarted the POS, you should find your defined menu entry on the very bottom in the POS menu.
Configuration Step 4
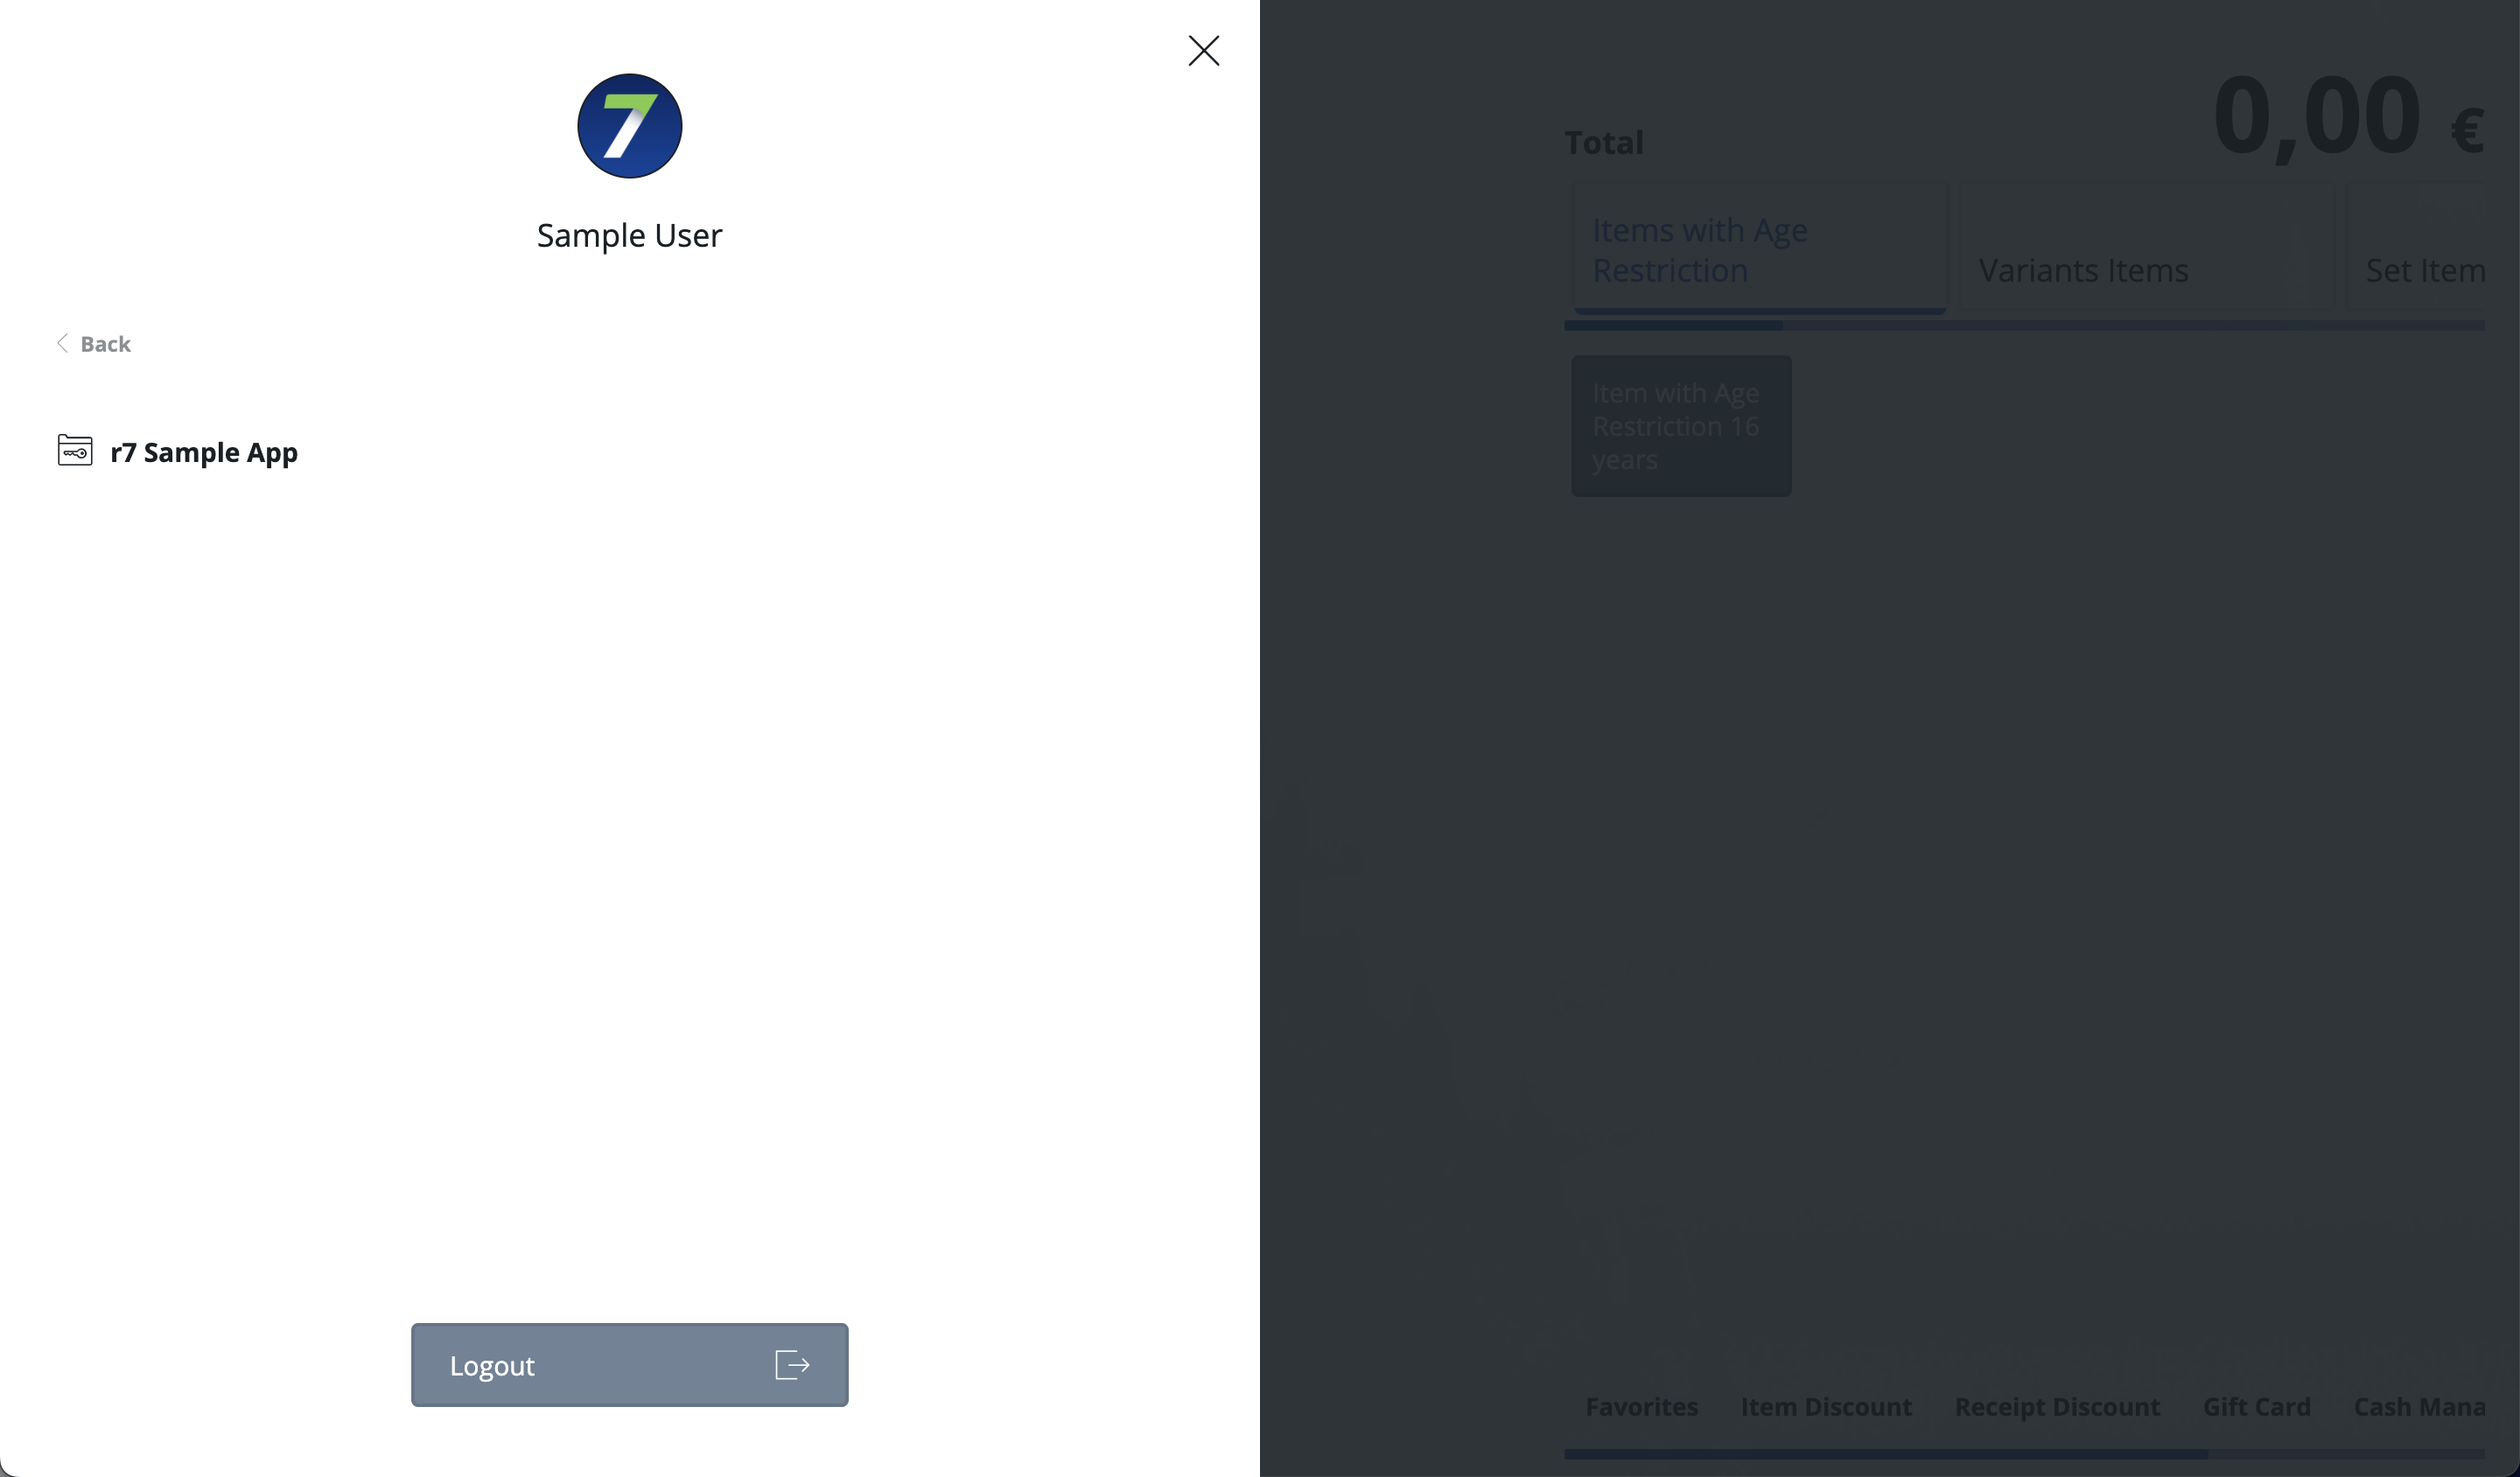
Clicking on it leads to the overview of your defined menu entries.
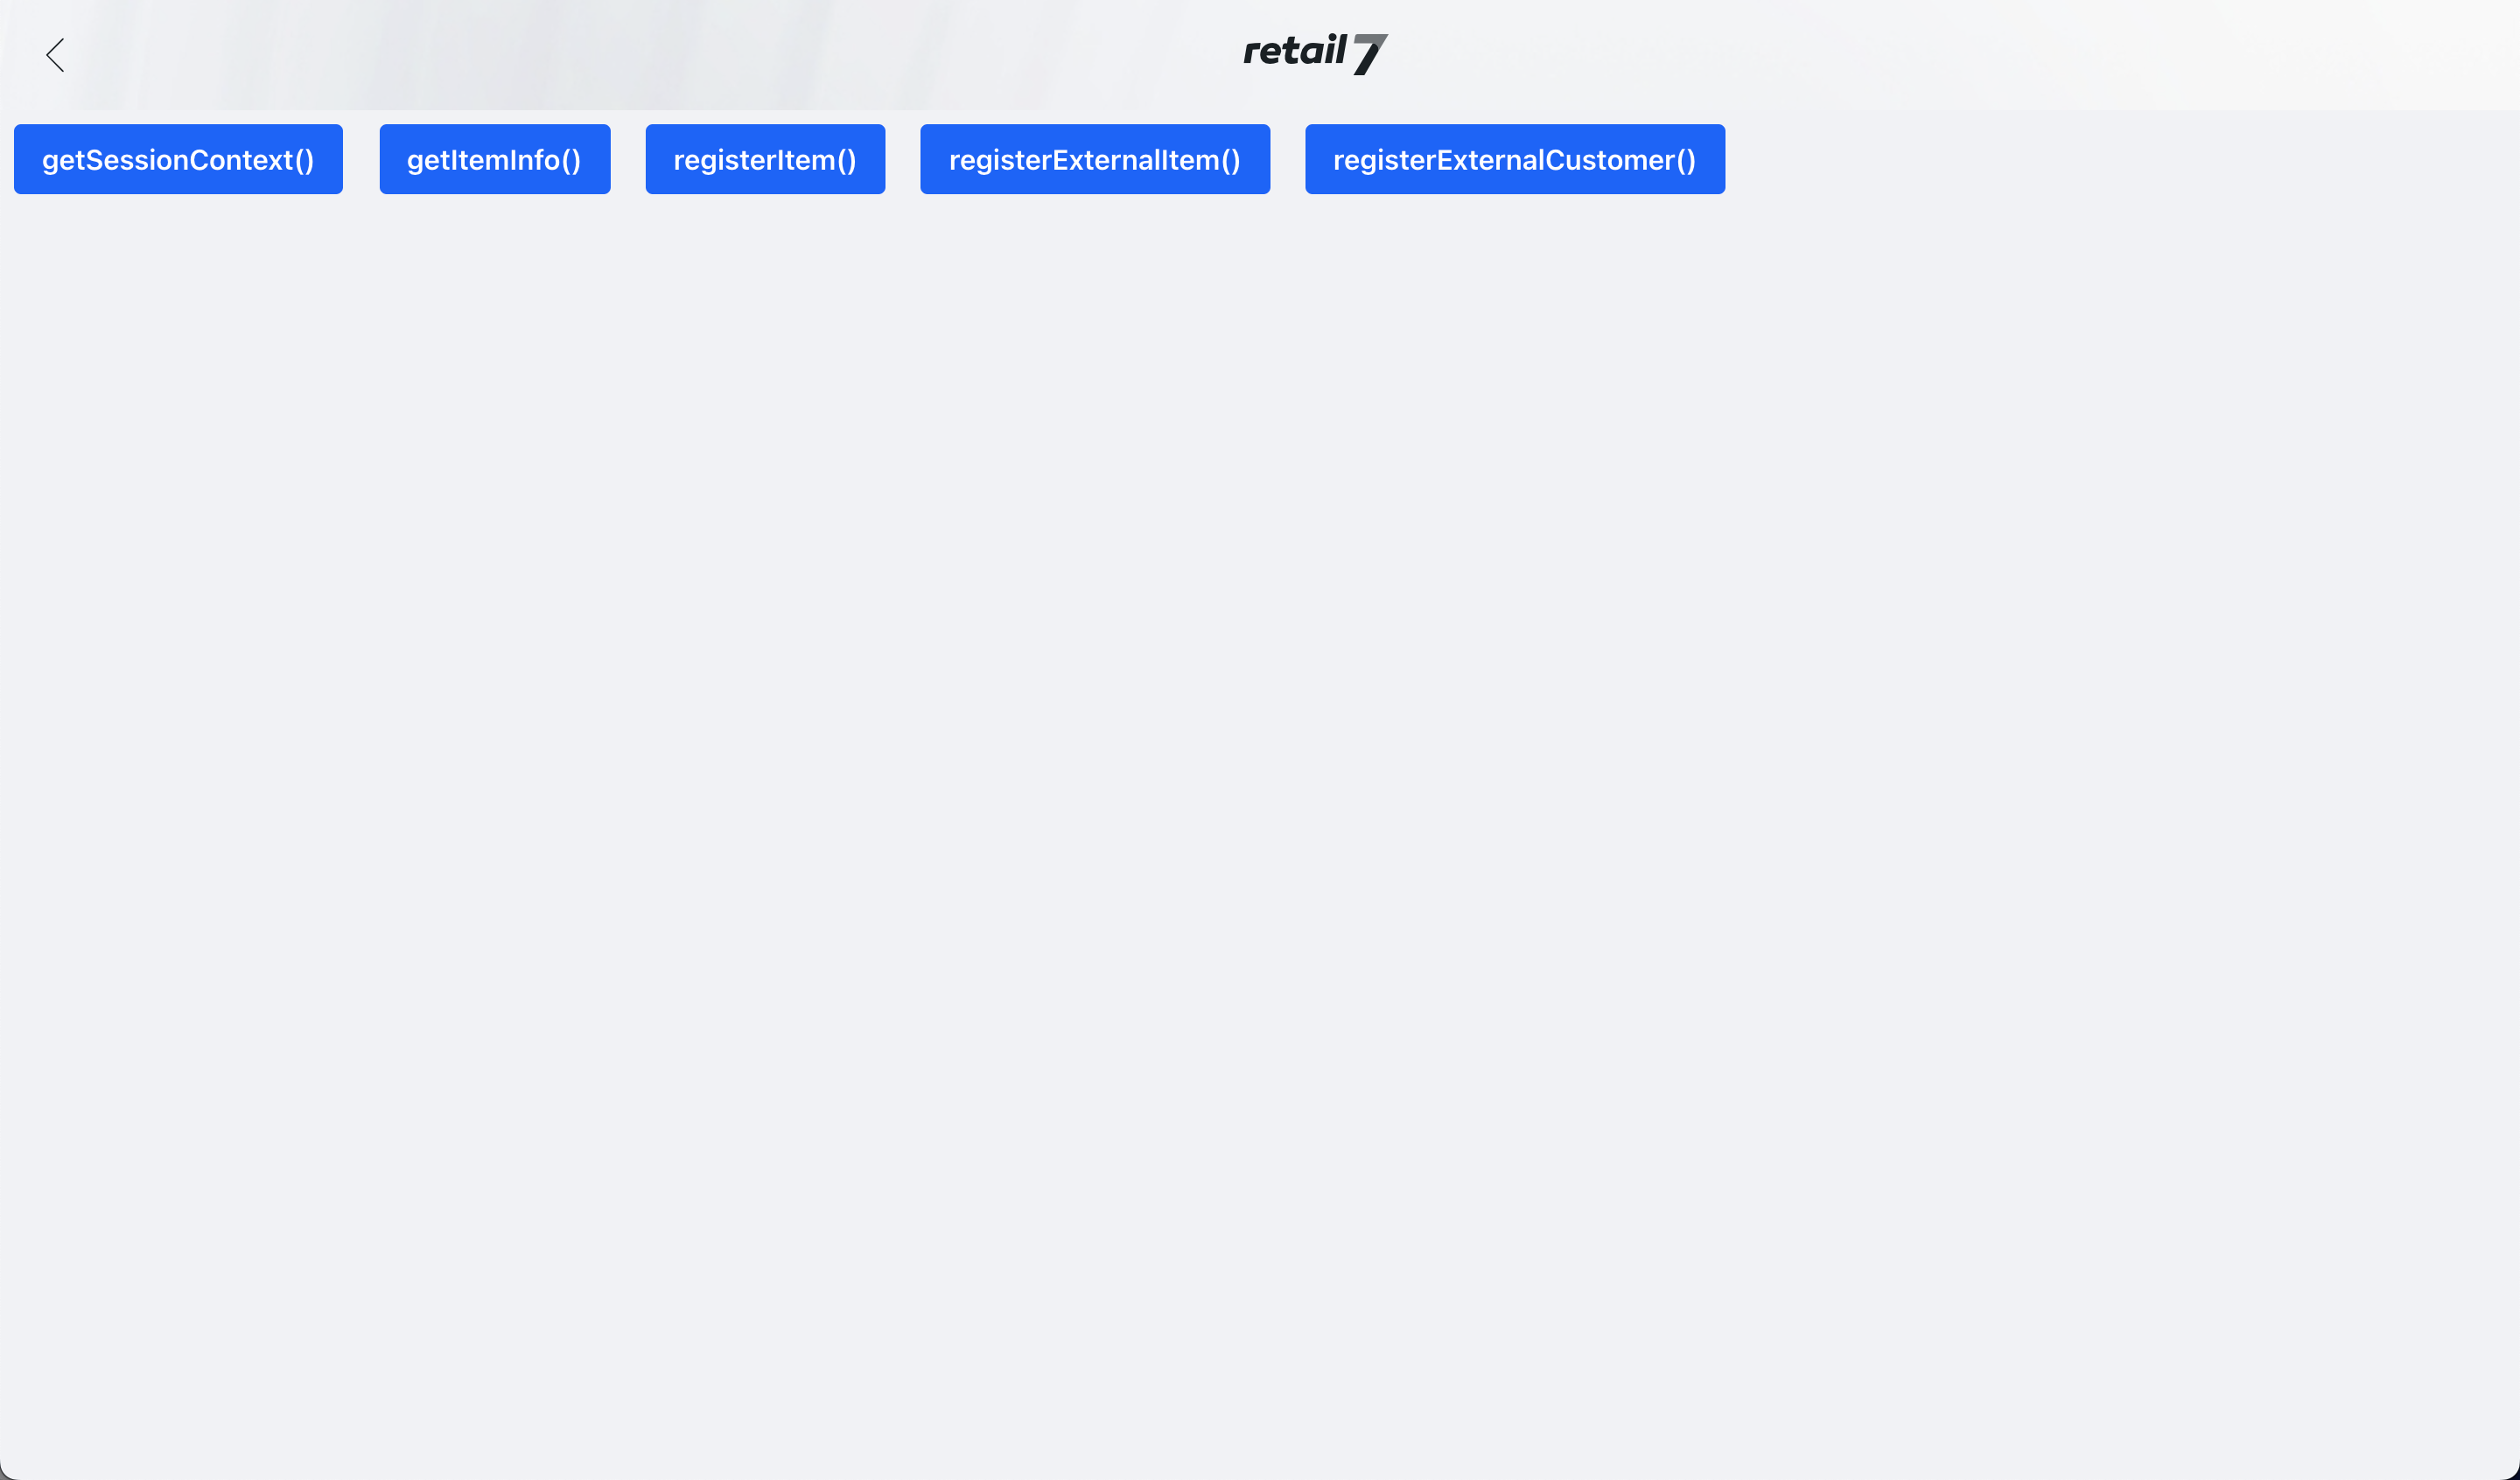
Configuration Step 5
Selecting the menu entry of your choice shows the actual app enablement page you created. In this example we see the five buttons created in the code snippet example.
Congratulations
You did it and your application should be running in your POS by now.
Soon it will be available to place a r7Connect app directly in the functional button groups and on the homescreen.
If you have any questions or suggestions please feel free to contact us.